background image

5

2

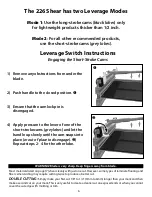
While gently pushing handle 

down, pull Safety Lock Pin out, 

then lift handle.

1

3

5. 

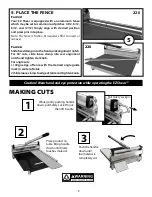
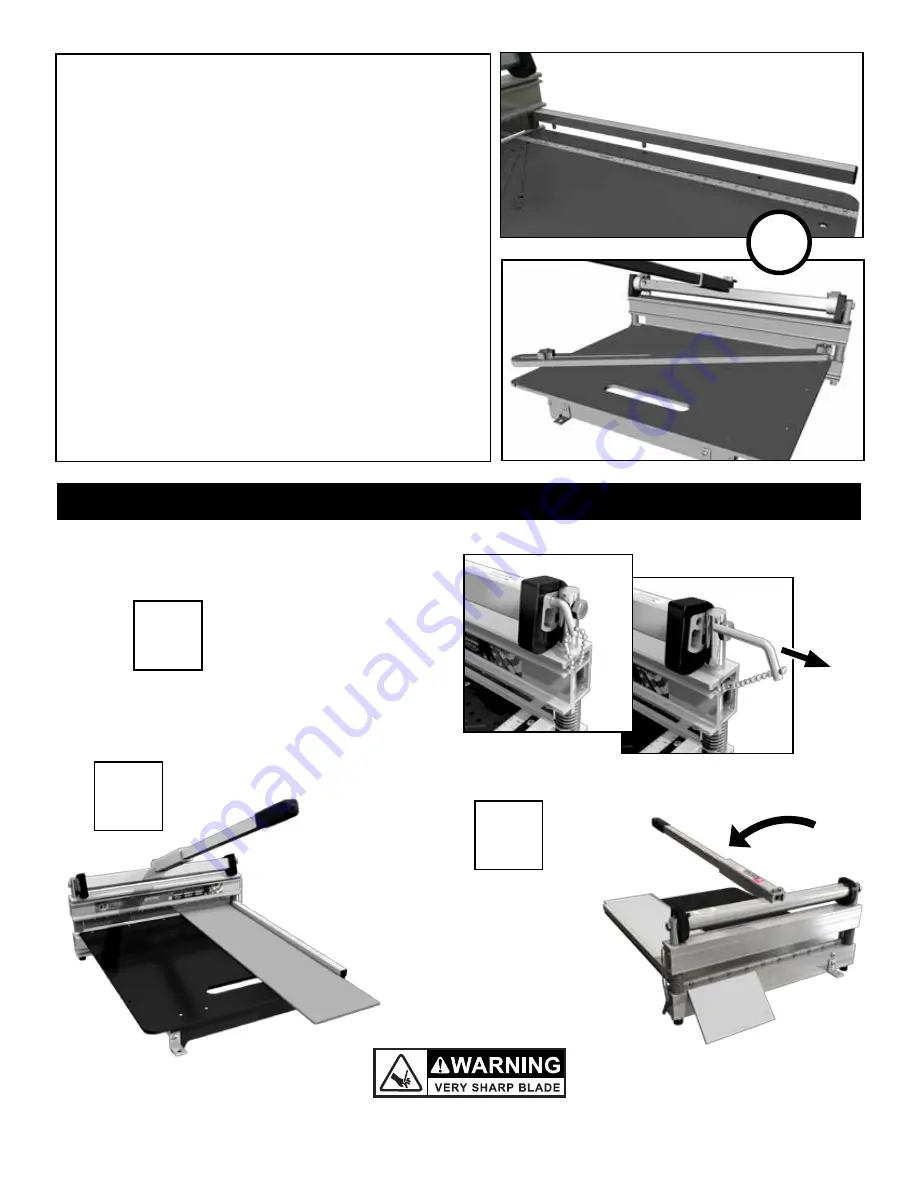
PlAcE THE FEncE

For 220:

Your EZ Shear is equipped with an aluminum fence 
which may be set to common roof pitches. (4/12, 6/12, 
8/12, and 12/12) Simply align with desired position 
and press pins into place.

Note: The fence is friction fit (requires effort to insert or 
remove).

For 226:

Slide fixed clamp into the front quick alignment notch.
For 90° cuts, slide loose clamp into rear alignment 
notch and tighten star knob.
For angle cuts:
1) Align edge of fence with the desired angle guide 
mark in center of table. 
2) Slide loose clamp to edge of table and tighten knob.

220

226

Pull Safety Lock pin

mAKING CUTS

Place product on 
table� Bring handle 
down until blade
touches material�

Push the handle 
down until 
the material is 
completely cut.

5

Caution! Wear hand and eye protection while operating the EZ Shear™

Summary of Contents for EZ Shear SST220

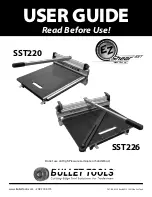
Page 1: ...USER GUIDE Read Before Use Do not use on High Pressure Laminate or Solid Wood www BulletTools com 208 772 0175 PRT INS 0220 RevB 05 13 2013 Bullet Tools SST220 SST226 Make the Cut...

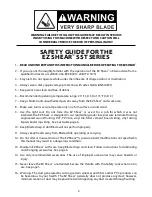
Page 2: ...sboard lap siding See Cut Guide page 6 10 Keep Blade sharp A dull Blade will not perform properly 11 Always keep hands away from Blade while operating or carrying 12 Do not alter or misuse this tool T...

Page 3: ...Bracket 4 9 HARDWARE KIT 1 Power Assembly 1a Safety Lock pin 2 Handle Assembly 3 Fence Assembly 4 Table 5 Tail 6 Rails 4 7 Hone Stone 8 Mounting Bracket 4 9 HARDWARE KIT Item A 4 6mm x 60mm PH Phillip...

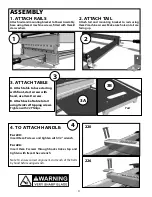
Page 4: ...Table A Attach table to base starting with front start screws with hand use Item D screws B Attach back of table to tail using ItemEself tapping screws Tighten with 2 Phillips 3 3B 3A Tail Assembly 1...

Page 5: ...sert or remove For 226 Slide fixed clamp into the front quick alignment notch For 90 cuts slide loose clamp into rear alignment notch and tighten star knob For angle cuts 1 Align edge of fence with th...

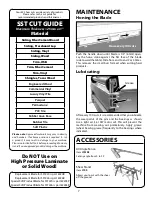
Page 6: ...wly until the cam snaps into place or out of place to disengage Repeat steps 2 4 for the other lobe Leverage Switch Instructions Engaging the Short Stroke Cams Most materials listed on page 7 shear cl...

Page 7: ...EZ Shear cuts a wide variety of products Please refer to this cut guide for recommended products and thicknesses Please note Approved materials may vary in density and hardness If extreme pressure is...

Page 8: ...instructions BULLETPROOF WARRANTY SILVER 1 Year Bullet Tools warrants only to the original purchaser of this product when purchased from an authorized reseller or distributor that this product will b...

Reviews: