SecuTronic
10 I Englsih
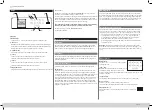
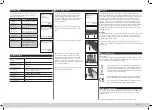
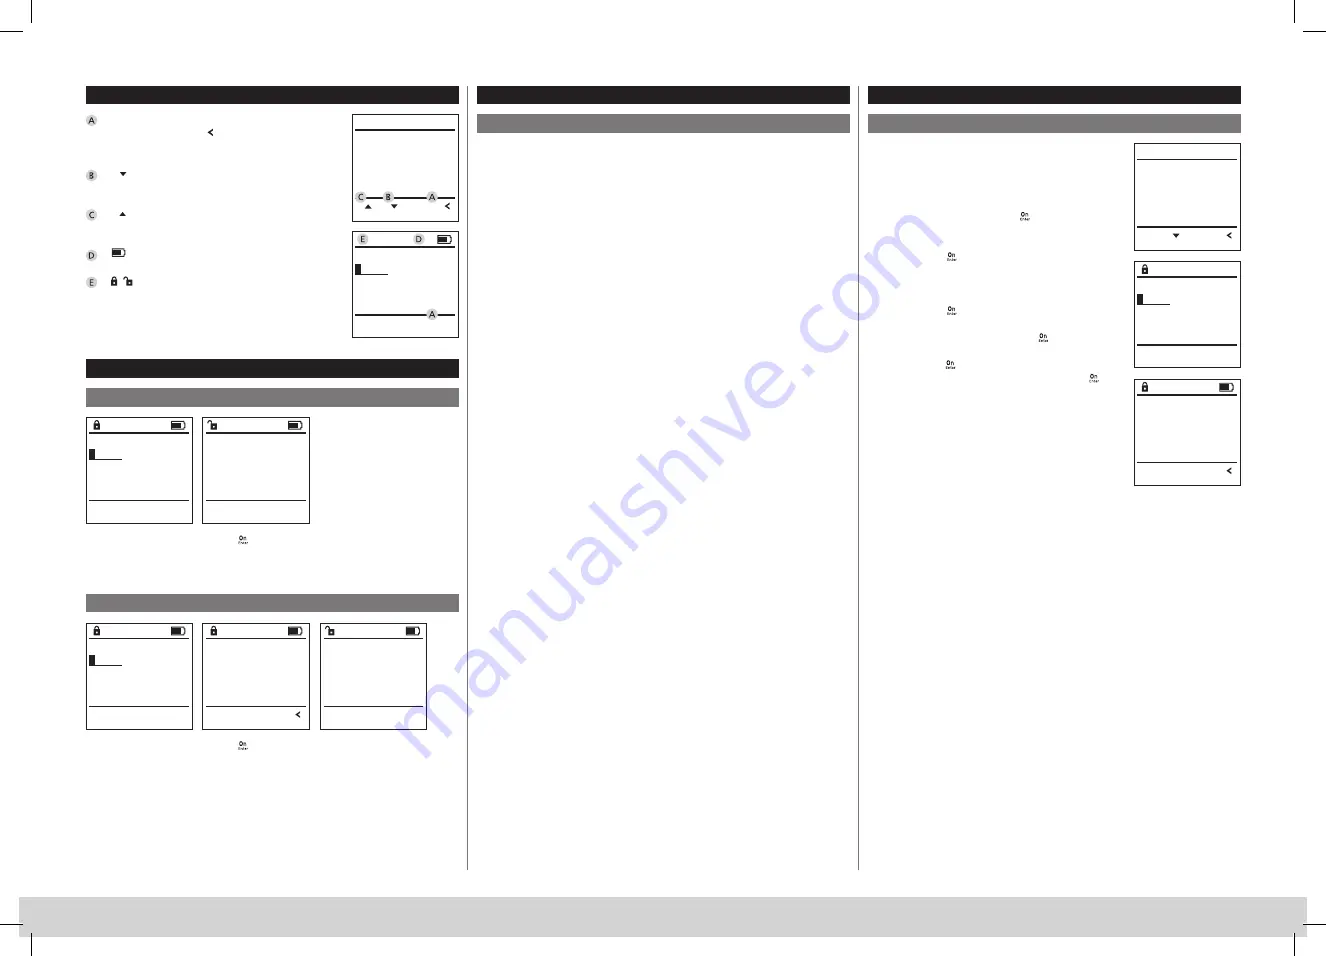
Display
Specifies whether you can use the
key to
cancel the last entry (
Codeänderung
Sprache/Language
Administrator...
Info
FUNC:
1:
2:
H A U P T M E N U
) or switch to the main
menu (
CODE / Fingerp.:
FUNC: M
).
(
Codeänderung
Sprache/Language
Administrator...
Info
FUNC:
1:
2:
H A U P T M E N U
) appears when you can scroll down using
the “2“ key.
(
Codeänderung
Sprache/Language
Administrator...
Info
FUNC:
1:
2:
H A U P T M E N U
) appears when you can scroll up using
the “1“ key.
(
CODE / Fingerp.:
FUNC: M
) indicates the battery level.
(
CODE / Fingerp.:
FUNC: M
/
ŝƩĞƌĞŚŬŶĂƵĨ
ďĞƚćƟŐĞŶ͊
09.08.19 14:50
) indicates whether the locking mechanism
has released the lock and the safe can be opened.
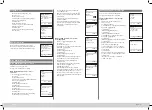
Opening
Opening with PIN code
Opening with fingerprint
• Switch on the lock using the
key.
• Enter the 6-digit PIN code (factory setting “1-2-3-4-5-6“).
• “
Please turn the knob!
“ appears in the display
• Turn the knob.
• Switch on the lock using the
key.
• Move a programmed finger from the top to bottom centrally over
the sensor.
• The message
“Validity not achieved“
appears on the display.
• Enter a valid 6-digit pin code (factory setting “1-2-3-4-5-6“) of another user.
• “
Please turn the knob!
“ appears in the display
• Turn the knob.
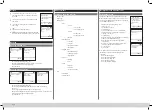
Menu structure
Setting up the menu structure
• Change code
• Language
• Administrator
> User
> Create
> Create code
> Create fingerprint
> Assign
> Assign code
> Assign fingerprint
> Delete
> Time functions
> Set time
> Set date
> Automatic ST/WT
> Delay time
> Programming
> Database update
> Firmware update
> Reorganise
> Processes
> Display
> Save
> Setup
> Register
> FP reset
> Generate AES key
• Info
> System info
> System check
Description of the menu functions
Code Change menu
Change the administrator code and the user codes.
We would like to point out that, for security reasons,
the factory-set administrator code must be changed
to an individually set code.
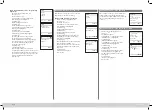
• Switch on the lock using the
- key.
• Then press
.
• The “
Main menu
“ appears.
• Confirm with
.
• You can use the keys 1 or 2 to scroll until the
administrator/user is displayed and you wish
to change the code for.
• Confirm with
.
• Enter the old or factory code that was previously
valid using the keypad and press
.
• Enter the new code using the keypad and
confirm with
.
• Repeat your entry and confirm it again with
.
• “Code change completed“
is displayed after
a correct entry.
• Press any key.
Note: When a safe lock is first started up, additional
information on the current date and time are
requested:
• Enter the day (2 digits)
• Enter the month (2 digits)
• Enter the year (2 digits)
• Enter the hour (2 digits)
• Enter the minutes (2 digits)
Code change
Language/Sprache
Administrator ...
Info
FUNC:
1:
2:
M A I N M E N U
CODE / Fingerp.:
FUNC: M
CODE / Fingerp.:
FUNC: M
Please turn
the knob!
Enter next
ĂƵƚŚŽƌŝƐĂƟŽŶ
FUNC:
Please turn
the knob!
Code change
Language/Sprache
Administrator ...
Info
FUNC:
2:
M A I N M E N U
New Code:
FUNC: M
Code change
completed!
FUNC:
CODE / Fingerp.:
FUNC: M
2
Summary of Contents for SECUTRONIC
Page 9: ...SecuTronic 178 Notes 8 ...
Page 10: ...SecuTronic 179 Notes 9 ...


