background image

IN THE BOX:


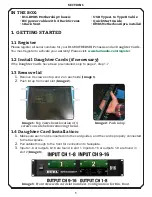
• 

B16-BMB5 Mothership Chassis   


• 

USB Type A to Type B Cable


• 

IEC power cable with 4 Rack Screws   

• 

QuickStart Guide


• 

Rack 

Vent 


• 

BMB5 Motherboard pre-installed

1. GETTING STARTED

1.1 Register

Please register all serial numbers for your 

B16 MOTHERSHIP

 chassis and all 

Daughter Cards

You must register to activate your warranty! Please visit: 

www.burlaudio.com/register

.

1.2 Install Daughter Cards (if necessary)

If the 

Daughter Cards

 have been pre-installed, skip to page 2, step 1.7. 

1.3 Remove lid

1.

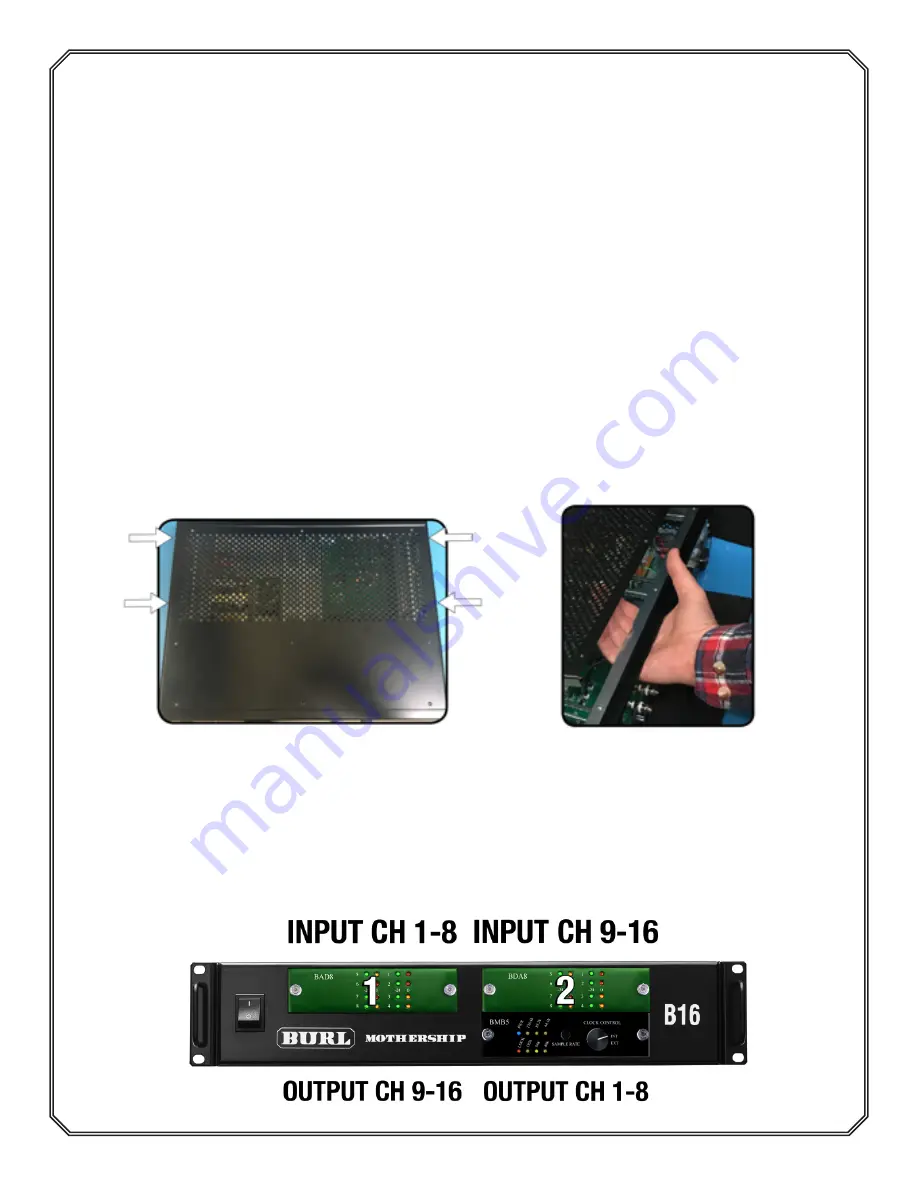
  Remove 9 screws on top and 2 on each side (

Image 1

).

2.

  Push lid up from card slot (

Image 2

).

1.4 Daughter Card Installation: 

1.

  Make sure each card is inserted into the card guides, and the card is properly connected 

to the backplane.

2.

  Pull cables through to the front for connection to faceplate.

3.

  Inputs 1-8 or outputs 9-16 are found in slot 1. Inputs 9-16 or outputs 1-8 are found in 

slot 2 (

Image 3

).

1

SECTION 1

Image 2: Push lid up.

Image 1: Top view shows location of 4 

screws on side before removing the lid.

Image 3:


Front view with card slot numbers. Configuration for 8 in, 8 out.

Summary of Contents for B16-BMB5 MOTHERSHIP

Page 1: ...B16 BMB5 MOTHERSHIP BMB5 Rev A Rom A1 USB 2 0 Quick Start Guide Section 1 Getting Started Section 2 BMB5 Quick Start for Mac OSX Section 3 BMB5 Quick Start for Windows Revision 1 August 28 2018...

Page 2: ...been pre installed skip to page 2 step 1 7 1 3 Remove lid 1 Remove 9 screws on top and 2 on each side Image 1 2 Push lid up from card slot Image 2 1 4 Daughter Card Installation 1 Make sure each card...

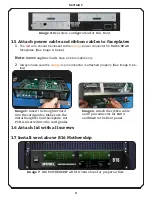
Page 3: ...n connector is attached properly See Image 6 be low 1 6 Attach lid with all screws 1 7 Install vent above B16 Mothership Image 6 Attach the ribbon cable and 2 pin connector for BAD4 and BDA8 to the fr...

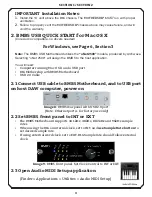
Page 4: ...ed Computer running Mac OS X and a USB port B16 Mothership with BMB5 Motherboard USB 2 0 Cable 2 1 Connect USB cable to BMB5 Motherboard and to USB port on host DAW computer power on 2 2 Set BMB5 fron...

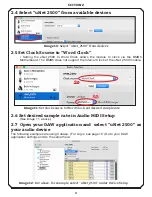
Page 5: ...t desired sample rate in Audio MIDI Setup See image 11 above 2 7 Open your DAW application and select uNet 2500 as your audio device The following examples are using Cubase For Logic see page 10 Go to...

Page 6: ...ry time you change Sample Rate Buffer Size or Clock Source 1 Save and Quit your DAW application 2 Unplug the USB cable from the computer 3 Plug USB cable back in to computer 4 Restart your DAW applica...

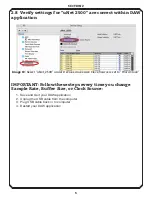
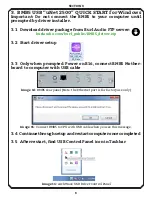
Page 7: ...3 2 Start driver setup 3 3 Only when prompted Power on B16 connect BMB5 Mother board to computer with USB cable 3 4 Continue through setup and restart computer once completed 3 5 After restart find US...

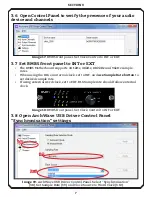
Page 8: ...ate button to set desired sample rate If using external word clock set to EXT B16 Sample rate should follow external clock 3 8 Open ArchWave USB Driver Control Panel Synchronisation settings 3 9 3 10...

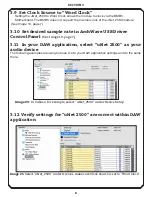
Page 9: ...rate in ArchWave USB Driver Control Panel See Image 19 page 7 3 11 In your DAW application select uNet 2500 as your audio device The following examples are using Cubase Go to your DAW application sett...

Page 10: ...g B16 BMB5 With Logic Pro 4 1 Select uNet_2500 as your device 1 Open Audio Preferences Logic Pro X Preferences Audio 2 Select uNet_2500 for both Output Device and Input Device Image 22 Select uNet_250...

Page 11: ...10...

Reviews: