R
6
en
3 USING YOUR DETECTOR
1. Connect the signal return cable to an
uncoated part of the metal substrate using
the crocodile clip.
2. Moisten the sponge with clean tap
a
water
b
.
3. Keep the sponge clear of the test surface
and switch on the detector.
4. Wait approximately four seconds for a loud double beep indicating that the internal calibration test
routine is complete.
5. If using the dual or triple voltage versions, select the test voltage required:
• 9 V is suitable for coatings up to 300 µm (12 mils) thick.
• 90 V is suitable for coatings up to 500 µm (20 mils) thick.
• 67.5 V is the US standard test requirement.
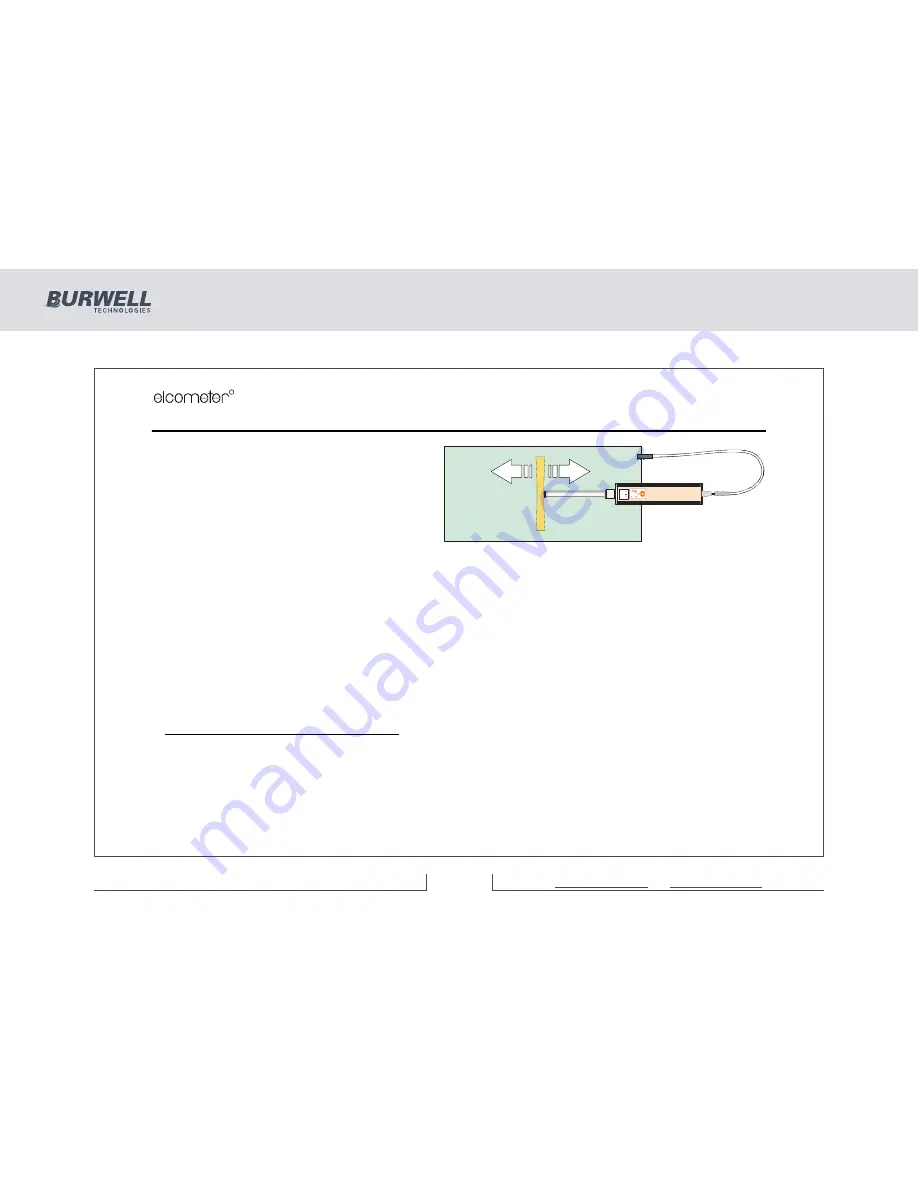
6. Pass the sponge over the coated surface.
If the sponge passes across a pinhole in the coating, the alarm LED will flash and an audible alarm will
sound. The alarm will stop when the sponge moves away from the pinhole.
7. If required, locate the pinhole more precisely by retesting the area using a corner of the sponge only.
a. Tap water contains salts which allow it to conduct electricity.
b. To maximise the efficiency of your detector, add a surfactant such as Kodak Photo-flo™ to the water. Follow the dilu-
tion instructions supplied with the surfactant. Kodak Photo-flo™ can significantly reduce the surface tension of the
water, therefore allowing the moisture to penetrate the smallest of pinholes. To order Kodak Photo-flo™ see “Spare
parts and accessories” on page 8.
El
co
m
et
er
270 6
7.
5
9
90
Vo
lts
270
Pinhole Detector
8 of 15
For more information
/ 1300 287 935
mail@burwell.com.au / www.burwell.com.au


