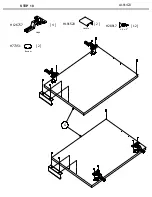
1
2
3
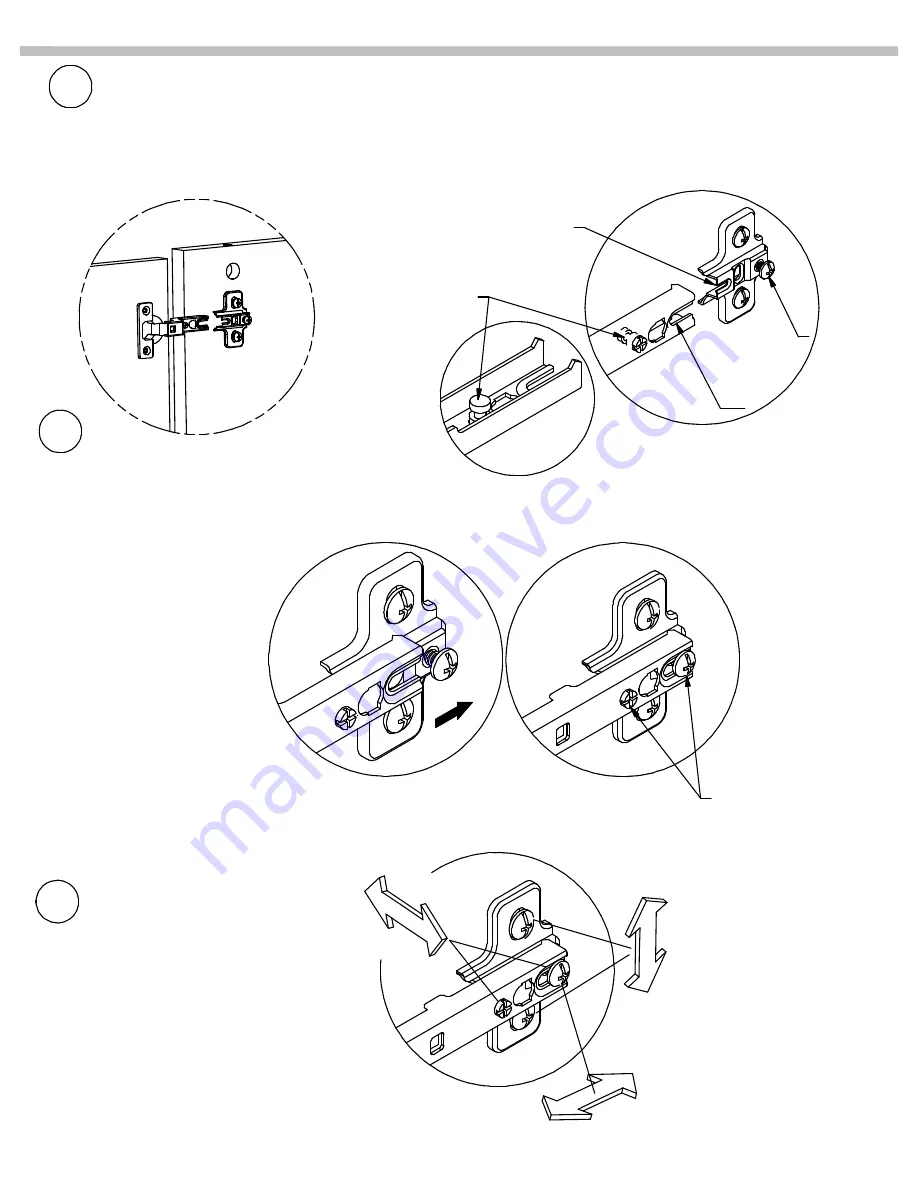
HINGE MOUNTING 1, 2, 3
Adjust alignment
Ajustar la alineación
Ajuster l'alignement
Slide hinge into position and tighten
Deslice la bisagra en posición y apriete
Faites glisser la charnière en position et serrez
Set screw
Screw
Align set screw with slot (A) and slot (B) with screw
Alinee el tornillo de fijación con la ranura (A) y la ranura (B) con el tornillo
Aligner la vis sans tête avec la fente (A) et la fente (B) avec la vis
(A)
(B)
Tighten
Summary of Contents for JTS160FWWH
Page 3: ...EXPLODED VIEW A191423 G E H D B F H A C...
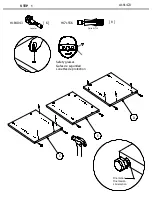
Page 10: ...3 STEP A191423 H171556 6 Quickfit TL4 F...
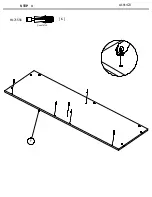
Page 14: ...7 STEP A191423 H171556 9 Quickfit TL4 A...
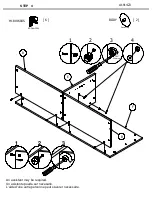
Page 16: ...9 STEP A191423 H23604 8 Shelf Pin H126396 8 Shelf Pin Sleeve H H...
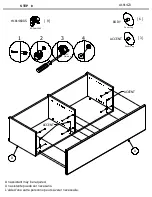
Page 17: ...10 STEP A191423 H126757 4 Hinge H28917 12 8 x 5 G H77351 2 Bumper H191520 2 Handle...
Page 19: ...12 STEP A191423 H126758 4 Mounting Plate Go to step 14 Ir al paso 14 Aller l tape 14...
Page 20: ...13 STEP A191423 H126758 4 Mounting Plate...
Page 21: ...14 STEP A191423 G G Or O Ou...

