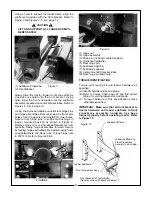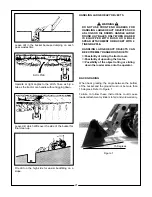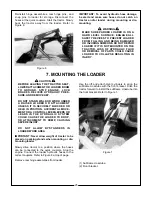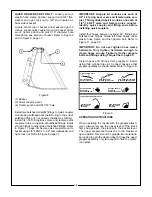
Reinstall hinge assemblies, rear hinge pins, and
snap pins to loader for storage. Disconnect the
hoses at the quick couplers. Start the tractor. Slowly
back the tractor away from the loader. Refer to
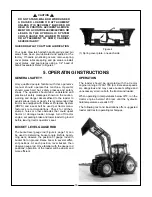
Figure 8.
Figure 8
IMPORTANT: To avoid hydraulic hose damage,
be alert and make sure hoses do not catch on
tractor and/or loader during mounting or dis-
mounting.
WARNING
MAKE SURE PARKED LOADER IS ON A
HARD LEVEL SURFACE. ENGAGE ALL
SAFETY DEVICES TO PREVENT LOADER
FROM FALLING AND BEING DAMAGED
OR INJURING SOMEONE. DO NOT REPAIR
LOADER IF IT IS NOT MOUNTED ON THE
TRACTOR. LOSS OF HYDRAULIC FLUID
OR REMOVAL OF PARTS COULD CAUSE
LOADER TO COLLAPSE RESULTING IN
INJURY.
7. MOUNTING THE LOADER
CAUTION
BEFORE LEAVING THE TRACTOR SEAT,
LOWER ATTACHMENT OR LOADER BOOM
TO GROUND, STOP ENGINE, LOCK
BRAKES, RELIEVE HYDRAULIC PRES-
SURE, AND REMOVE KEY.
DO NOT STAND, WALK OR WORK UNDER
A RAISED LOADER OR ATTACHMENT
UNLESS IT IS SECURELY BLOCKED OR
HELD IN POSITION. ACCIDENTAL MOVE-
MENT OR A CONTROL LEVER/LEVERS OR
LEAKS IN THE HYDRAULIC SYSTEM
COULD CAUSE THE LOADER TO DROP,
OR ATTACHMENT TO DUMP, CAUSING
SEVERE INJURY.
DO NOT ALLOW BYSTANDERS IN
LOADER WORK AREA
IMPORTANT: Never allow weight of tractor to be
placed on parking stands when mounting or dis-
mounting loader.
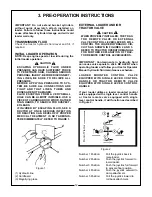
Slowly drive tractor to a position where the hoses
can be connected to the quick couplers. Stop the
engine. Connect the loader hydraulic hoses to the
correct couplers. Refer to Figure 8 at top of page.
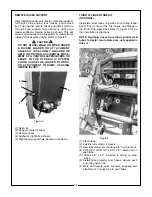
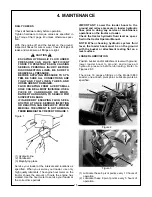
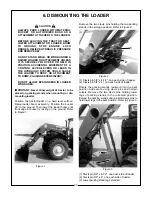
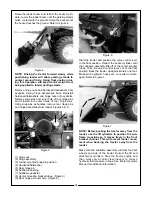
Remove rear hinge assemblies from loader.
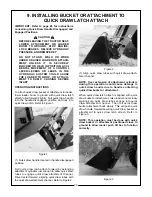
Use the lift and attachment cylinders to align the
subframe crosstube with the front bracket. Drive the
tractor forward to install the subframe crosstube into
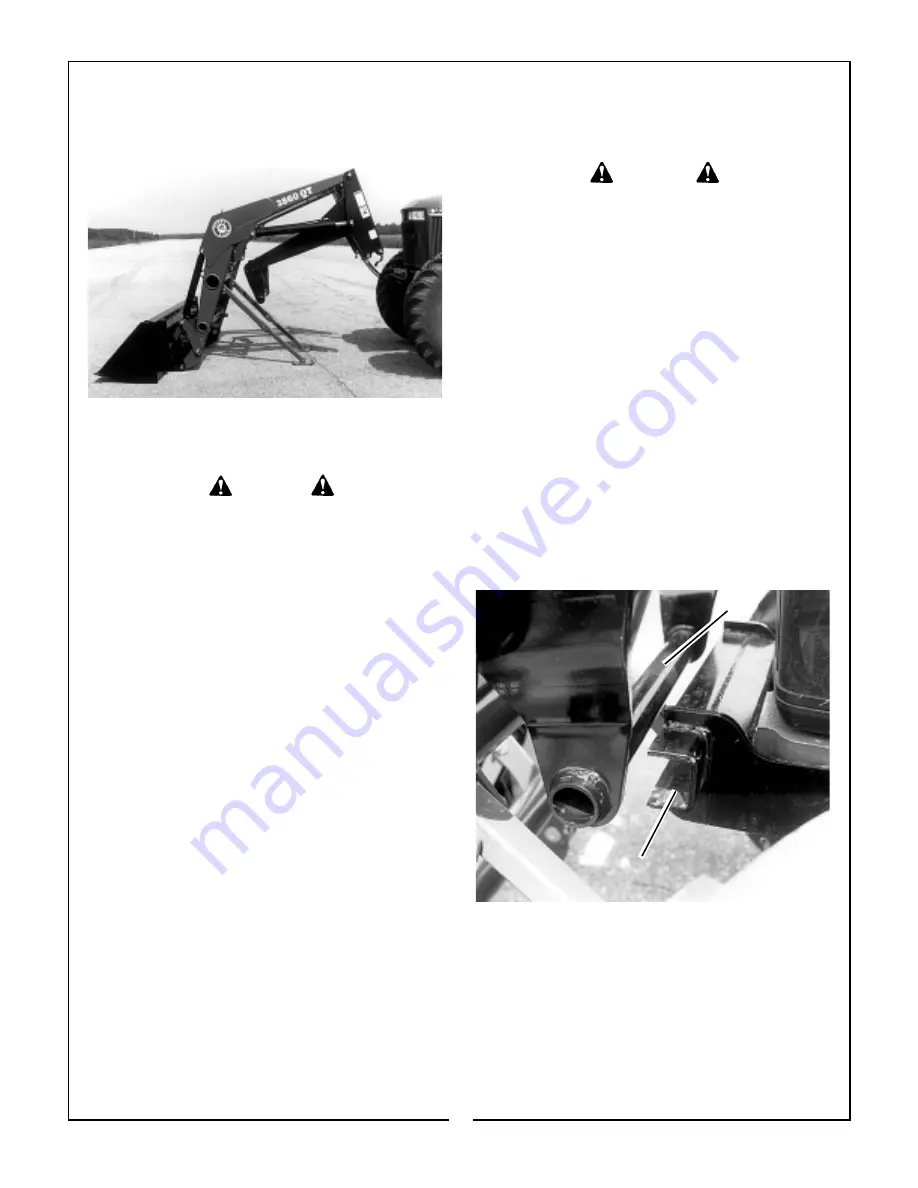
the front bracket. Refer to Figure 1.
(1) Subframe crosstube.
(2) Front bracket.
1
2
Figure 1
25

