background image

Installation 

Transportation 

Caution: 

2 people are required to unpack 

and handle the appliance, it is recommended that 
gloves are worn. 


y

  The appliance should be transported only in 

an upright position.  Do not tilt the appliance 
greater than 45

°

.  The packaging as supplied 

must be intact during transportation. 

y

  After transporting the appliance, leave it for at 

least 4 hours before switching on to allow the 
cooling system to settle.  Failure to comply 
could result in damage to the appliance. 

y

  Do not move the appliance by pulling the door 

or handle as it may damage your flooring and 
wall coverings etc. 

y

  Ensure the supply cable is not caught under 

the appliance during and after moving. 

y

  Carefully remove all packaging materials 

including the foam base, dispose of correctly. 


y

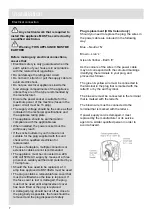
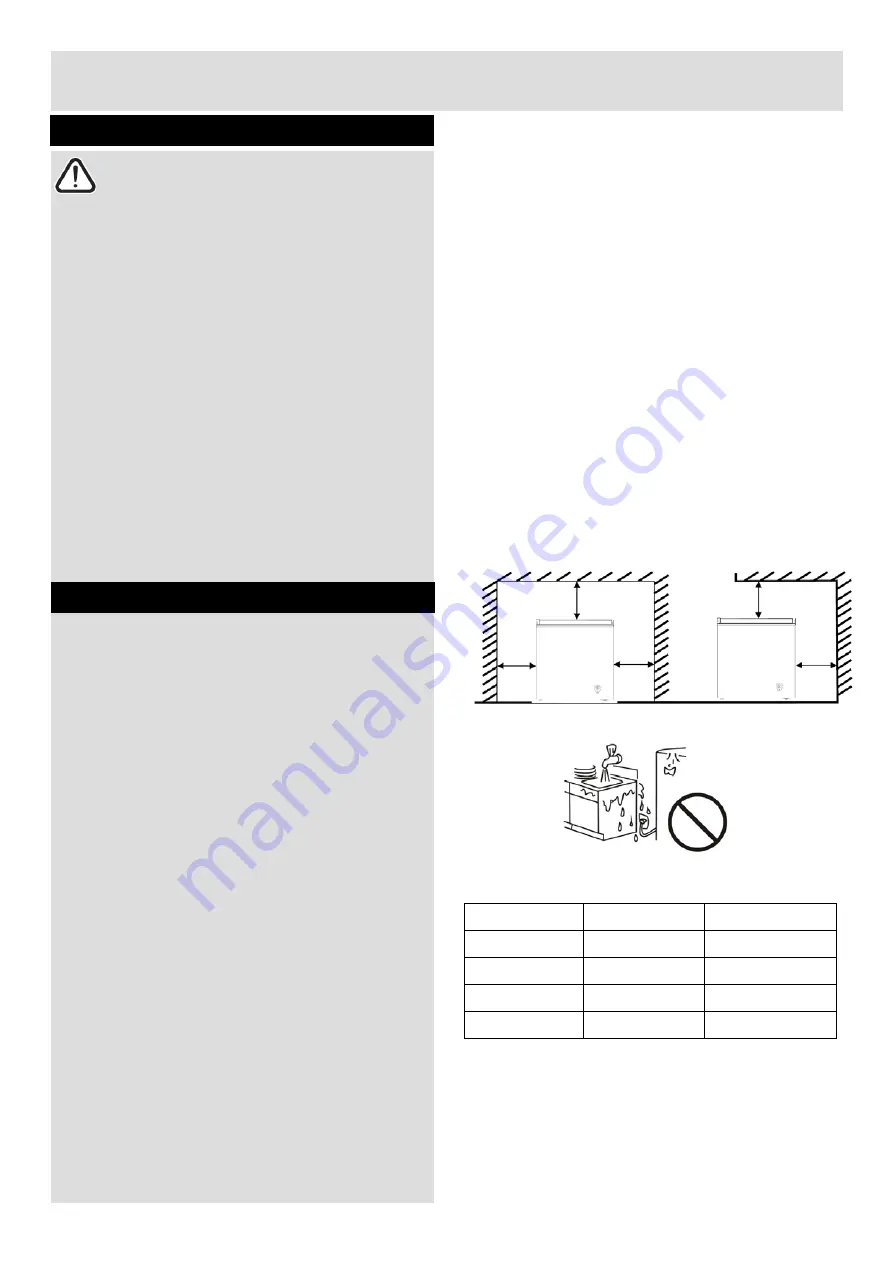
  Ensure sufficient spacing is provided for the 

appliance to be installed.  Leave space on 
both sides (20cm), back (20cm) and above the 
appliance (70cm) to ensure proper ventilation. 

y

  Do not place the appliance near a heat source 

or in direct sunlight. 

y

  Do not put any heavy objects on top of the 

appliance.  It will damage the appliance.  

y

  Do not install the appliance in moist and wet 

place.  

y

  It should be installed on a smooth surface to 

avoid excessive vibration and noise. 

y

  Each appliance has a climate class (shown on 

the rating plate) where it indicates the 
temperature range of the appliance operation 
in place.  The appliance may not work properly 
if it is left for a long period at a temperature 
outside the specified range.  

y

  Refer to section “Care and Maintenance” to 

prepare your appliance for use. 


Climate Class

Amb. T. (

°

C) 

Amb. T. (

°

F) 

SN 

10 ~ 32

°

50 ~ 90

°

16 ~ 32

°

61 ~ 90

°

ST 

16 ~ 38

°

61 ~ 100

°

16 ~ 43

°

61 ~ 110

°


Installation 

6

Summary of Contents for 249 /8328

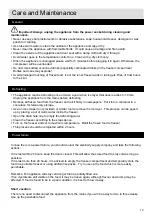
Page 1: ...portant information which will help you get the best from your appliance and ensure safe and correct installation use and maintenance If you need help or have damaged or missing parts call the Custome...

Page 2: ...9 Before first use 6 Using your appliance 6 Useful information 7 Energy saving tips 7 Care and Maintenance 8 9 General 8 Defrosting 8 Power failure 8 Moving your appliance 9 Trouble Shooting 10 Techn...

Page 3: ...lt in injury or damage to the appliance Do not allow children to play with the appliance to avoid the risk of entrapment and suffocation Keep ventilation opening in the appliance enclosure or in the b...

Page 4: ...shall not play with the appliance Cleaning and user maintenance shall not be made by children without supervision If the supply cord is damaged it must be replaced by the manufacturer its service age...

Page 5: ...ING Do not damage the refrigerant circuit WARNING Do not use electrical appliances inside the food storage compartments of the appliance unless they are of the type recommended by the manufacturer WAR...

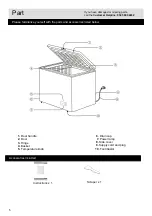
Page 6: ...below 1 Door handle 6 Drain cap 2 Door 7 Power lamp 3 Hinge 8 Side cover 4 Basket 9 Supply cord and plug 5 Temperature knob 10 Foot C astor Instructions x 1 If you have damaged or missing parts call...

Page 7: ...m base dispose of correctly y Ensure sufficient spacing is provided for the appliance to be installed Leave space on both sides 20cm back 20cm and above the appliance 70cm to ensure proper ventilation...

Page 8: ...nsion cables are not recommended y The appliance must be connected to a 220 240 volt 50Hz AC supply by means of a three pin socket suitably earthed and protected by a 13 amp fuse y Should the fuse nee...

Page 9: ...1 Temperature adjustment y The compartment temperature can be set by the temperature knob between MIN and MAX coldest setting We recommend setting the temperature knob midway first y To ensure the com...

Page 10: ...ellfish y Re seal packs properly after removing items This prevents drying or freezer burn and a build up of frost on any remaining food y Place your freezer away from direct sunlight your oven or any...

Page 11: ...he freezer and roll it firmly in newspapers Put it into a container in a cool place for temporary storage y Use an ice scraper not provided or similar tool to remove the ice layer This process can be...

Page 12: ...appliance Long vacation Remove all the food if you are away for three weeks or more Unplug the appliance and leave the doors open to provide air circulation to prevent odour and mould Moving Refer to...

Page 13: ...e open Insert the mains plug Check the protection devices and fuses Appliance not cool enough Cooling system not settle after transportation Doors not close properly Frequently doors open Loading food...

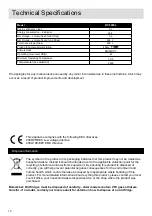
Page 14: ...herwise be caused by inappropriate waste handling of this product For more detailed information about recycling this product please contact your local council office your household waste disposal serv...

Page 15: ...rts knobs or consumable items The product must be correctly installed and operated in accordance with the instructions contained in this manual It must be used solely for domestic purpose The guarante...

Reviews: