background image

Page 6

User instructions

CD operation

Playback

1:

 Make sure you are in 

CD 

mode, if not press the 

CD 

button on the remote or press the 

SOURCE 

button 

(3)


until you reach 

CD.

2:

 Press the 

EJECT 

button 

(12

,

 35)

, when the disc 

drawer pops out insert a disc 

(label side facing 

upwards)

, press the 

EJECT 

button again to close .

3:

 When the door is closed “

LOAD”

 will appear on the 

display as the unit detects compatible audio tracks .

3:

 Playback will begin automatically from Track 

01

 .

4:

 To stop playback press the 

STOP 

 button 

(5

,

 30)

 .

NOTE: Pressing STOP once allows you to resume 
playback from the ‘stopped’ position. Press STOP 
twice to cancel playback memory.

5:

 To pause playback press the 

PLAY/PAUSE 

 button 

(4

,

24)

 during playback . To resume playback press 

once more .

Skipping Tracks

1:

 To skip to the next track on a disc press   

(9

,

 31)

 .

2:

 To skip to the previous track press   

(8

,

 31)

 .

Fast Searching Tracks

1:

 To fast forward a track during playback press the 


(23)

 button . Each press of the button increases the 

search speed 

EG:


2

x & 

4

x the next press will resume 

normal playback . To fast rewind a track during 
playback press the 


(23)

 button .

Repeat Operation

1:

 During playback pressing the 

REPEAT 

button 

(17)

 will 

flag the current track to repeat indefinitely .

0 0 : 0 2 : 0 1

CD

2:

 Pressing the 

REPEAT 

button again will repeat all 

tracks on the disc .

0 0 : 0 2 : 0 1

CD

ALL

Repeat Operation (cont)

3:

 To cancel the repeat function press the 

REPEAT 

button for a third time .

Numeric buttons

While listening to a CD a specific track number can 
be played by pressing the relative digit on the number  
buttons . EG track 6 would be 06 . To play track 12 you 
would press the 1 button then 2 .
NOTE: the display will not react instantly although the 
track has been selected to play . After a few seconds 
the track number will appear on the display as 006 for 
track 6 .

Programme playback

You may wish to play back tracks of a CD in a different 
order than the original disc was recorded in.
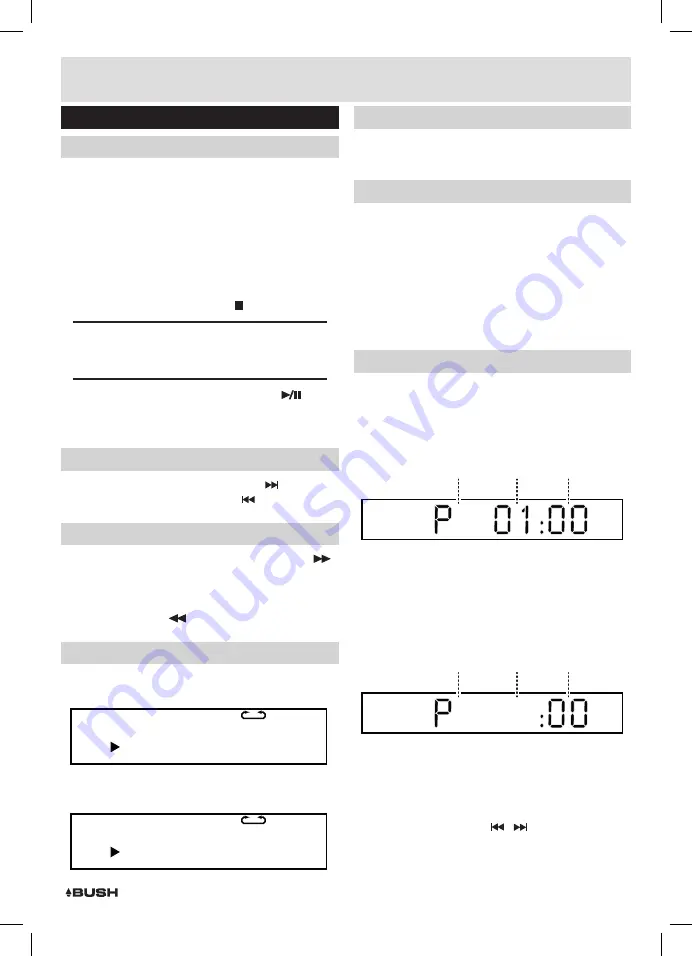
1:

 Press the 

PROG 

button 

(36)

 to enter the program 

setup function . You will see the below appear on the 
display .

Program indicator

Track order

Track to play

2:

 Use the numeric buttons to enter the tracks you want 

played in order . 

EG:

-  first track  to be played is track 

5


on the disc . The playback track order No is 

01

 so enter 

0

 and then 

5

 using the numeric buttons .

3:

 As soon as the 

2

 digit number has been entered you 

will see the display change to indicate the next track 
can be entered .

Program indicator

Track order

Track to play

0 2

4:

 Continue entering the digits for each track until 

finished .

5:

 Press the 

PLAY/PAUSE 

button 

(4

,

 24)

 to begin 

playback in the programmed order .

6:

 To review the program you can press the 

PROGRAM 

button again and use the    /    buttons 

(8

,

 9 & 31)


to cycle through the programmed order .

7:

 To cancel the program sequence press the 

STOP 

button twice .

Summary of Contents for 267/6171 (D)

Page 1: ...installing or using 267 6171 D BUSH CD Hi Fi Micro System These instructions contain important information which will help you get the best from your appliance and ensure safe and correct installation use and maintenance If you need help or have damaged or missing parts call the Customer Helpline 0870 600 3030 AUDIO IN ...

Page 2: ...dio operation 5 Scanningforstations 5 Settingafrequencymanually 5 Finetuningthefrequency 5 Savingastationtoapresetchannel 5 Recallingstationpresets 5 CDoperation 6 Playback 6 SkippingTracks 6 FastSearchingTracks 6 RepeatOperation 6 Numericbuttons 6 Programmeplayback 6 RandomOperation 7 Connectinganexternalaudiodevice 7 UKMainspluginformation 7 Technicalspecifications 7 Care maintenance 7 Contactde...

Page 3: ...ctionsorasmarkedontheproduct Themainsplugisusedasthedisconnectdevice the disconnectdeviceshallremainreadilyaccessible Thissymbolmeansthatthisunitisdouble insulated Anearthconnectionisnotrequired CAUTION CLASS1LASERPRODUCT ThisproductutilizesaClass1laser ThislaserDVD Playerisequippedwithsafetyswitchestoavoid exposurewhenthedoorisopenandthesafety interlocksaredefeated Invisiblelaserradiationis prese...

Page 4: ...Tbutton 13 LEDdisplay 14 ANTENNAcable 15 SPEAKERterminals 16 MAINScable RemoteControl 17 REPEATbutton 18 STANDBYbutton 19 CDSOURCEbutton 20 FMRADIOSOURCEbutton 21 AUDIO AUX SOURCEbutton 22 RANDOMbutton 23 FFWD FRWDbuttons 24 PLAY PAUSEbutton 25 SAVEPRESETbutton 26 SEARCHbutton 27 MONO STEREO FM button 28 TONEbutton 29 VOLUME button 30 STOPbutton 31 SKIP PREVIOUS button 32 FREQUENCY FM ENTRYbutton ...

Page 5: ... cont 3 Connectthespeakerwirestotheterminalsonthe rearoftheunit 15 Takecaretomatchthespeaker placedtotheLEFTtotheLEFToutputontherearof theunit RepeatfortheRIGHTspeaker 4 Whenconnectingensurethewirewithawhitestripe connectstotheREDterminalandthewirewithno stripetotheBLACKterminal Connecting the mains power 1 ConnectthemainsplugtoaUKwalloutlet 2 Extendthepigtailantennaasfarasitcango NOTE Thequalityo...

Page 6: ...6 60 3 Whenenteredtheunitwillplaythestationfoundat thatenteredfrequency Ifstaticisheardandyouknow thefrequencyiscorrect re positiontheantenna Fine tuning the frequency Shouldyouneedtofinetuneafrequencyyoucan skip upordownthefrequencyrangein0 05MHz increments 1 Pressthe button 23 toskip0 05MHzupthe frequencyrange 2 Pressthe button 23 toskip0 05MHzdownthe frequencyrange Saving a station to a preset ...

Page 7: ...tonagainwillrepeatall tracksonthedisc 00 02 01 CD ALL Repeat Operation cont 3 TocanceltherepeatfunctionpresstheREPEAT buttonforathirdtime Numeric buttons WhilelisteningtoaCDaspecifictracknumbercan beplayedbypressingtherelativedigitonthenumber buttons EGtrack6wouldbe06 Toplaytrack12you wouldpressthe1buttonthen2 NOTE thedisplaywillnotreactinstantlyalthoughthe trackhasbeenselectedtoplay Afterafewseco...

Page 8: ...se 3 Amp hasbeenfittedtothisappliance Foryoursafety pleaseobservethefollowinginformation TheunitisdesignedtooperateonACmainssupply230 volts 50Hz Thewiresinthemainsleadarecolouredinaccordance withthefollowingcode BLUE NEUTRAL BROWN LIVE UndernocircumstancesshouldtheNeutralorLive wiresbeconnectedtothe E Earth terminal Technical specifications SupplyVoltage Mains 220 240V 50Hz Max PowerConsumption 20...

Page 9: ...laybacksideofthedisc Donotattachpaperortapetodisc Fingerprintsanddustonthedisccausepictureand sounddeterioration Wipethediscfromthecentre outwardswithasoftcloth Alwayskeepthediscclean Ifyoucannotwipeoffthedustwithasoftcloth wipe thedisclightlywithaslightlymoistenedsoftclothand finishwithadrycloth Donotuseanytypeofsolventsuchasthinner benzene commerciallyavailablecleanersorantistatic sprayforvinyl ...

Page 10: ...antee does not cover accidental damage misuse cabinet parts knobs or consumable items The product must be correctly installed and operated in accordance with the instructions contained in this manual It must be used solely for domestic purpose The guarantee will be rendered invalided if the product is re sold or has been damaged by inexpert repair Specifications are subject to change without notic...

Reviews: