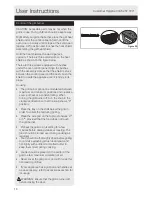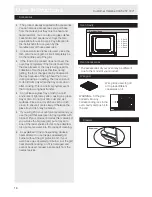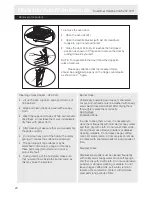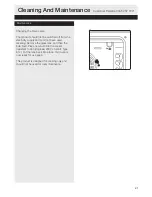
Bypass Screw
Thermostatic oven valve
Bypass Screw
Valve with flame failure device
Installation
Customer Helpline 0345 257 7271
Figure 9.1
Figure 9.2
Figure 9.3
Figure 9.5
Figure 9.4
Figure 9.6
Adjusting the reduced flame position
The flame length in the minimum position is
adjusted with a flat screw located on the valve. For
valves with flame failure device, the screw is
located on the side of the valve spindle. For easier
reduced flame adjustment, it is advised to remove
the control panel (and microswitch, if present)
during adjustment.
To determine the minimum position, ignite the
burners and leave them on in minimum position.
Remove the with the help of a small screwdriver
fasten or loosen the bypass screw around 90
angular degrees. When the flame has a length of at
least 4mm, the gas is well distributed. Make sure
that the flame does not die out when passing from
the maximum position to the minimum position.
Create an artificial wind with your hand toward the
flame to see if the flames are stable.
:
For oven burner, operate the oven burner at
minimum position for 5 minutes, then open and
close the oven door for 2-3 times to check the
flame stability of the burner.
Reduced flame position adjustment is not required
for grill burners.
The position the bypass screw must be loosened
for conversion from LPG to NG. For conversion
from NG to LPG, the same screw must be
fastened. Make sure that the appliance is
unpluged from the electric mains and the gas
supply is open.
9


