Figure 20
User Instructions
Customer Helpline 0345 257 7271
CAUTION: Accessible parts may be hot when the
grill is in use. Young children should be kept away.
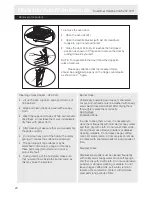
Right after you ignite the burner, place the grill heat
shield under the control panel. After that, lift the
oven door up slowly until it stops at the semi-open
(approx. 30°) position and touches the heat shield.
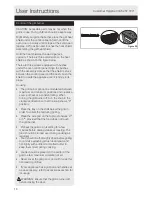
Assembling the grill heat shield
Hold the heat shield as the warnings face
upwards. There are three small slots on the heat
shield as shown on the figure below.
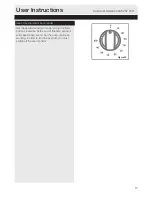
Control of the grill burner
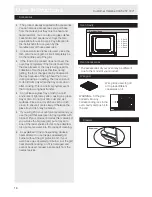
There are
screws equipped with bushes
under the oven control panel. Align the bushes
with the assembly slots so that the shield is stuck
between the control panel and the bush. Push the
shield towards the appliance until it is firmly in its
place.
Cooking
• The grill burner cannot be modulated between
maximum and minimum positions and creates a
source of heat at a constant rating. When
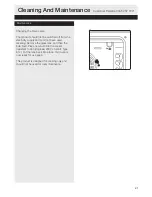
turning the grill burner off, turn the knob in the
clockwise direction so that the knob shows "0"
position.
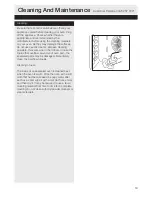
• Place the tray on the shelf below the grid in
order to collect the fat during grilling.
th
• Place the wire grid on the topmost shelves; 4
th
or 5 ; provided that the food does not touch
the grill burner.
• Preheat the grill on a full setting for a few
minutes before sealing steaks or toasting. The
food should be turned over during cooking as
required.
three
!
• Food should be thoroughly dried before grilling
to minimize splashing. Brush lean meats and
fish lightly with a little oil or melted butter to
keep them moist during cooking.
• Foods should be placed on the center of the
grid to allow maximum circulation of air.
• Never cover the grill pan or grid with foil as this
can lead to grill fires.
• If your appliance has a grill pan and handle set
as an accessory, refer to accessories section for
its usage.
WARNING: Ensure that the grill is turned off
before closing the door.
16


