
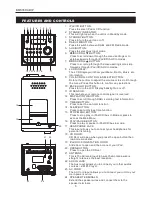


SLEEP FUNCTION
PRESET EQ (remote control only)
X-BASS FUNCTION (remote control only)
MUTE FUNCTION (remote control only)
BACKLIGHT FUNCTION
HEADPHONE INPUT
This function allows you to program the system to switch off after a set period of time.
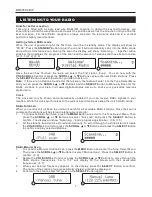
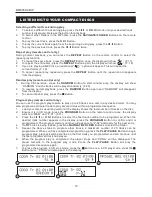
1. To activate the sleep function, repeatedly press the
SLEEP
Button to select one of the sleep
times below.
2. When the display shows your desired sleep time, release the button and the sleep timer will be
activated. The display will show “ ” with the time selected.
3.
To cancel the sleep function, repeatedly press the
SLEEP
Button until the display shows “Sleep
Off”.
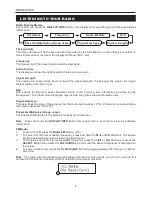
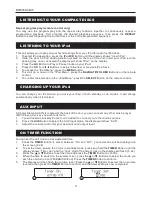
Press the
EQ
Button on the remote control to select different preset EQ modes, the display will show
in the below. Press the
EQ
Button repeatedly to select desired mode.
Press the
X-BASS
Button on the remote control to turn this function on or off. The display will show
“X-BASS ON” or “X-BASS OFF”. When the X-BASS is on, the bass sound is enhanced.
Press the
MUTE
Button on the remote control to turn the sound off completely.
The display will flash
“MUTE” to show the function has been turned on. To cancel mute and restore the sound, press the
MUTE
Button again or the
/-
Buttons and the “MUTE” will disappear from the display.
Press the
BACKLIGHT
Button to turn the display backlight on or off. The backlight will automatically
be off in standby mode.
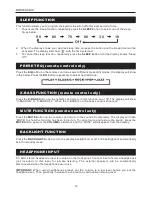
A 3.5mm stereo headphone input is located on the front panel. Connect a set of stereo headphones
(not included) to this input for private listening. The external speakers will be automatically
disconnected when the headphones are in use.
IMPORTANT:
When using headphones always set the volume to a low level before you put the
headphones on. Then gradually increase the volume to a comfortable listening level.
BMS05DABIP
12
90
80
70
60
30
10
Off


