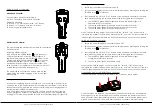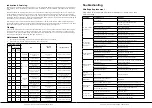
The Control Box has been designed with multiple mounting options to suit a variety
of mounting locations and orientations. The “Bushranger” stick on label is supplied
loose in your winch kit and should be adhered to the Control Box once a suitable
mounting method has been chosen and the correct orientation is known.
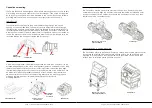
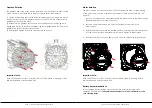
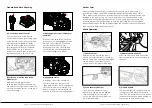
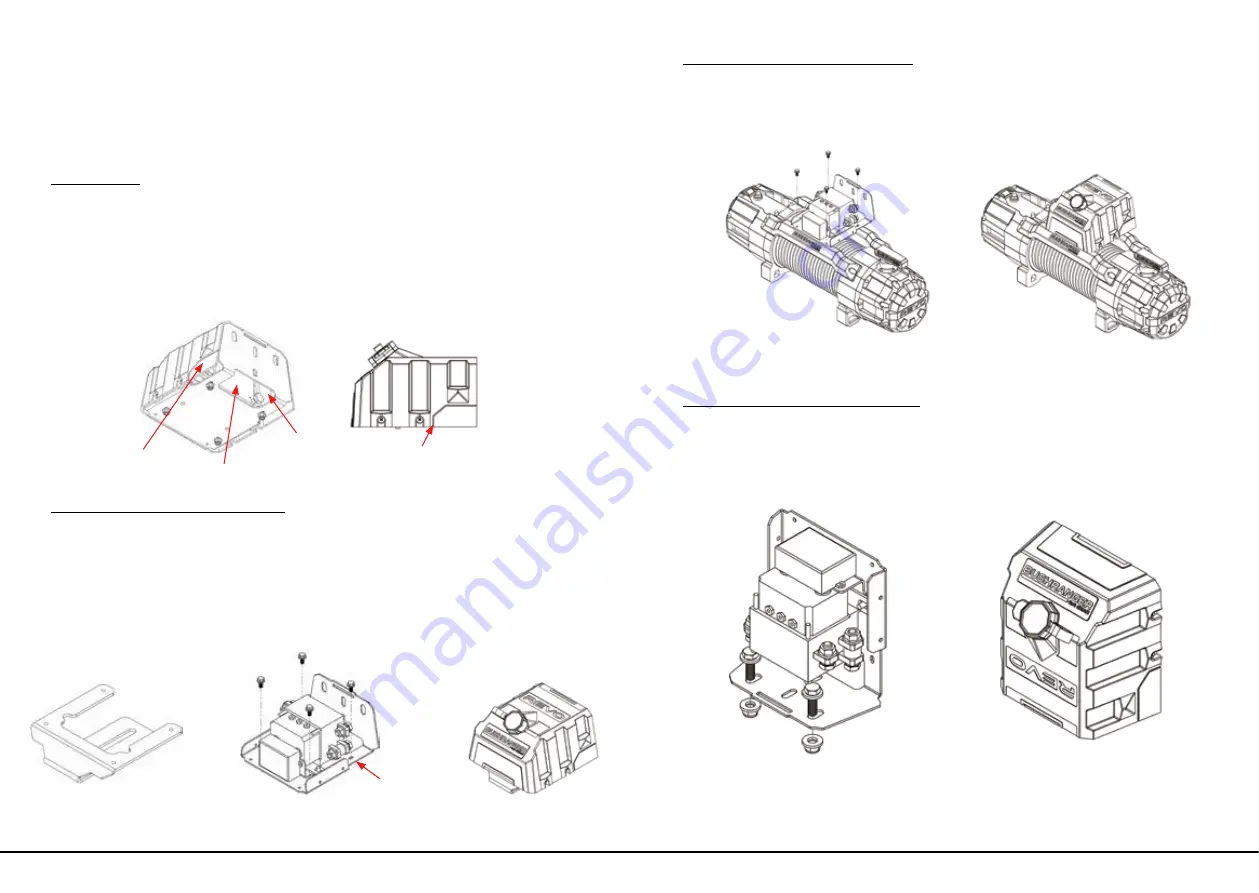
Cable Routing
The control box is supplied with the power cables exiting through the centre
opening on the underside face. The cables can also be routed to leave through
the sides of the control box, which may be more suitable for certain installations. To
re-route the cables through the sides, remove the plastic control box cover and use
a sharp knife or cutters to remove either the left or right hand side cut out section, as
shown. The black contactor unit will need to be removed to allow the cables to be
re-routed through the new opening created in the cover.
Control box mounting
Optional
Side Openings
Contactor Unit
Centre Opening
Cut Line
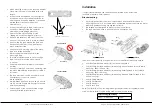
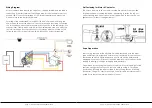
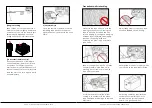
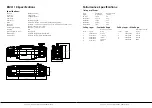
Mounting option 1 - Mounting Bracket
A steel mounting bracket is supplied for applications where the Control Box is to be
installed independently of the winch and requires clearance underneath. To fit, firstly
remove the plastic control box cover by loosening 2 screws each side, then align
the steel mounting bracket with the 4 holes in the base plate of the control box. Use
4 x M5 bolts to fasten the bracket to the base, as shown below, then reinstall the
plastic control box cover. Secure the mounting bracket to the mounting surface
using appropriate bolts (not included) fitted through the slots in the
mounting bracket.
Control Box Bracket
Reinstall cover
Remove cover and
secure M5 bolts
Bolt through
to control
Box Bracket
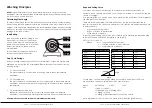
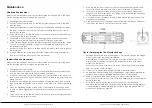
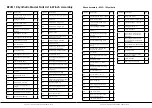
Mounting Option 2 - Directly to winch
The Control Box may be fitted to the cross bars of the winch. Remove the plastic
control box cover and align the 4 x holes in base plate with the 4 x threaded holes
in the winch tie bars. Use 4 x M5 bolts to secure the control box to the winch, then
reinstall the plastic control box cover.
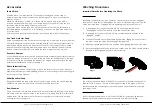
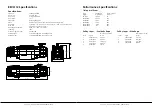
Mounting Option 3 - Vertical Mounting
The Control Box may also be fitted vertically to a surface. Remove the plastic control
box cover and align the slots in base plate with the holes in the flat surface being
mounted to. Use at least 2 x bolts (not included) to secure the control box to the
surface, then reinstall the plastic control box cover.
Remove cover & secure to
winch with M5 Bolts
Remove cover & secure
with appropriate fasteners
Reinstall Cover
Reinstall Cover
| REVO VEHICLE RECOVERY WINCH
|REVO VEHICLE RECOVERY WINCH
Page 5
Page 6
Summary of Contents for REVO 10
Page 1: ...REVO 10S REVO 10W REVO 12S REVO 12W ...
Page 24: ......


