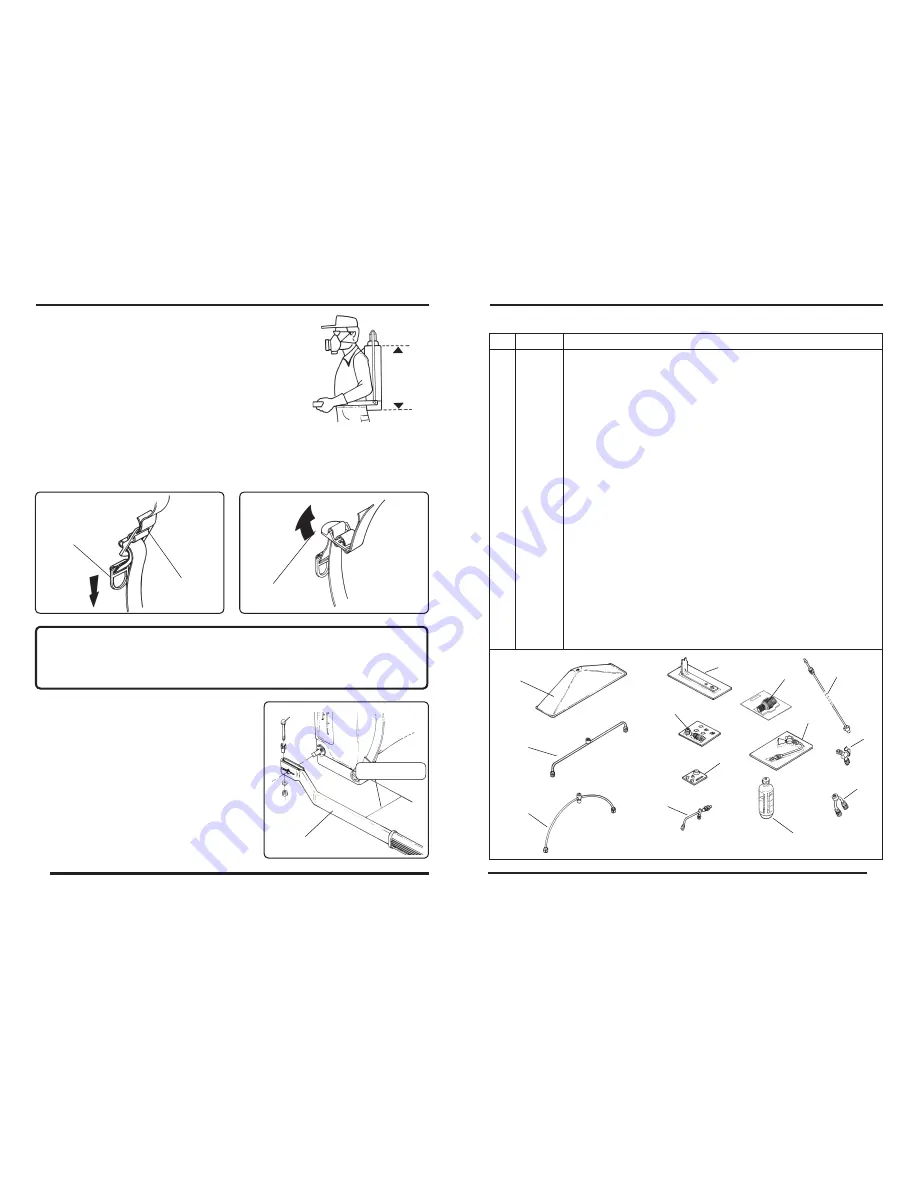
TIGHTENING
- Hold firmly the strap buckle with one hand
and pull the handle downward with the other
hand.
LOOSING
- Hold firmly the strap buckle with one hand
and pull the strap backward with the other
hand.
Handle
Buckle
Buckle
11- ATTENTION
- Cover diaphragm
- Tank bottom
- Wand
- Trigger valve
After assembling the sprayer, fill the tank
with clean water and check for leakage on
the following parts:
Parallel
2
1
04
12- INVERT THE OPERATION SIDE
If it is necessary to invert the pumping lever side,
proceed as follows:
- Remove the bolt (1).
- Remove the pumping lever (2).
- Install the pumping lever on the other side.
NOTE: On inverting the position of the lever, do
not move the chamber so as not to install the
lever improperly.
- Tighten the bolt.
13
10- ADJUSTING THE STRAP
The tank is contoured for the operator comfort. The shoul-
der straps can be quickly adjusted to properly position the
sprayer on the operator's back.
OPTIONAL ACCESSORIES FOR MANUAL KNAPSACK SPRAYERS
Item Part no.
Use
01 761882 Spray guard: prevents nonselective herbicides from drifting.
02 902296 Boom 500: improves the coverage and increases the productivity.
03 907873 Pliable boom: holds the required shape for better coverage.
04 560409 Lance with valve: used for growth-deterrent application.
05 728139 Extension 600: increases the application reach.
06 100016 Extesion 160 - 2 nozzles: increases the coverage and penetration.
07 646901 Flow calibrator bottle: is used to calibrate the sprayer, thus
reducing the waste.
08 336115 Nozzle Y: improves the coverage.
09 452284 Wrench for general maintenance.
10 565648 Non-drip valve: reduces the waste.
11 834382 X-15 basic repair kit. It contains: piston cup, diaphragm, trigger
valve cap and needle assembly.
12
590513
ECOVALVE-Constant Pressure Valve (1; 1,5 and 2 kgf/cm²) -
ensures constant pressure without waste.
13 834390 Cone nozzles kit. It contains: discs 12 and 10, swirl core A
and P, nozzle cap, red adjustable nozzle, nozzle strainer.
1
7
9
8
5
10
11
12
6
4
3
2
13


