Testing Adapter Connectivity
Use the DMA
Port
option on the AutoSCSI Diagnostics Menu to
test the adapter’s connectivity to the motherboard. This test writes and
reads data between the adapter and the motherboard.
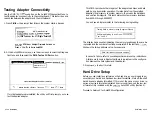
1. Press
Ctrl-B
at
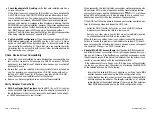
the prompt that follows the system startup banner:
(c) 1994
Inc. All Rights Reserved
SCSI Host Adapter Firmware Version x.x
Press
to Enter AutoSCSl
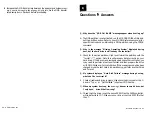
2.
At the AutoSCSI main menu, use the arrow keys to select the Diagnos-
tics Menu and then select the
DMA Test on IO Port
option.
<<<Current Adapter at
Port
Select Option, <Enter> Accept,
Exit,
Help
This DMA test checks the integrity of the adapter’s address and data
path during bus master operation. It writes data from the selected
adapter’s local memory to system memory, then reads the data back
and verifies its integrity. This test destroys system memory locations
from 6000:0 through 9000:FFFF.
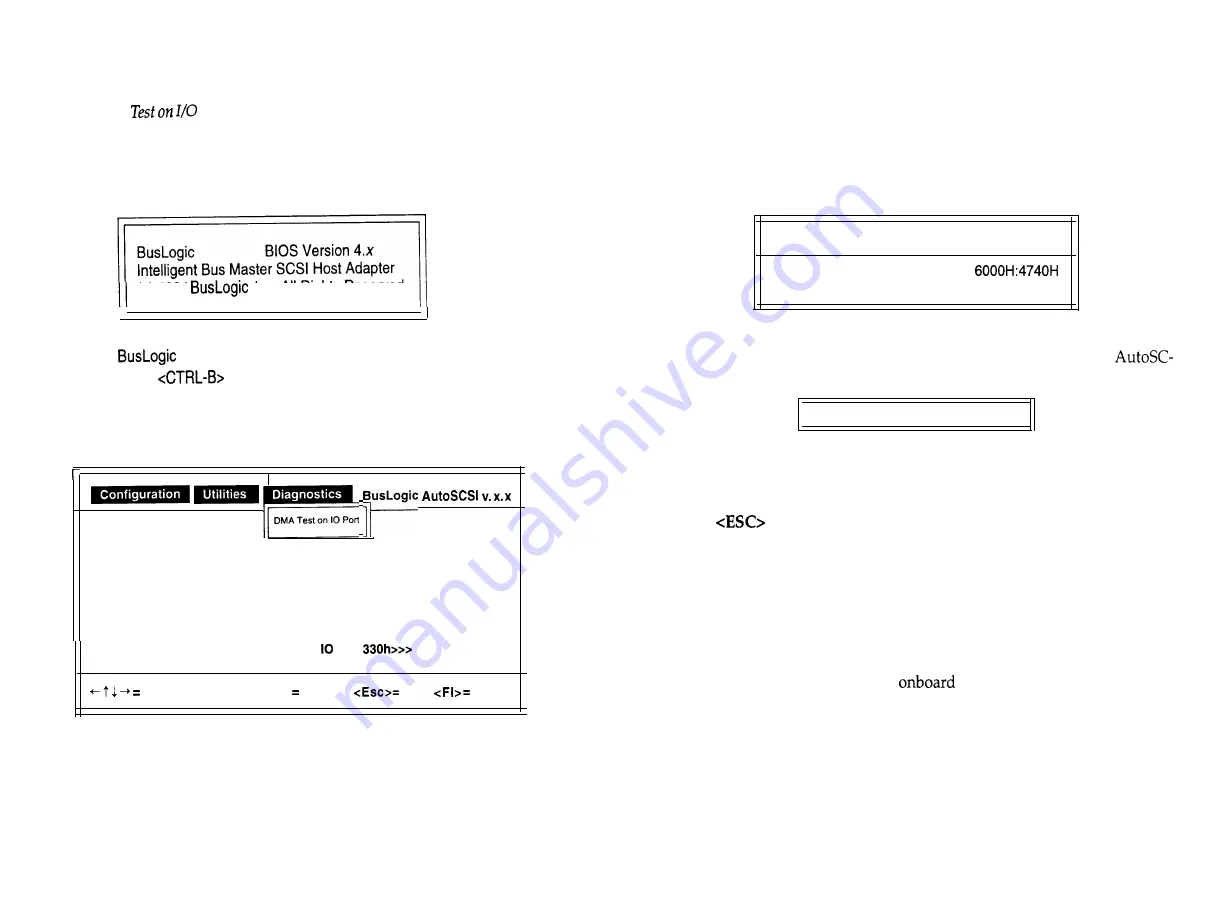
You will see a display similar to the following during testing:
Testing DMA in memory range (Segment:Offset)
Performing Walking l’s and O’s on
Test Loop: 2
The display has a counter indicating the memory locations as they are be-
ing tested and the number of test loops completed. If the test fails,
SI shows the failing address value. For example:
DMA test failed at the above address.
In case of a failure, refer to your adapter hardware set up instructions.
A failure most likely indicates that there is a problem in the configura-
tion between the host system and the adapter.
3. Press
to abort this test.
Hard Drive Setup
Before you can install any software on the hard drive, you will need to en-
sure that your hard drive has been low-level formatted. Most off-the-shelf
hard drives are already formatted. If this is not the case, or your drive re-
quires a low-level format as indicated by error conditions, use the low-lev-
el format utility included with the
AutoSCSI utility (Section 4).
Proceed to Section 3 for AutoSCSI configuration.
If multiple adapters are installed, the utility will first prompt you to se-
lect the desired adapter.
2-14
n
Installation
Installation
n
2-15
Summary of Contents for BT-956C
Page 1: ...m w h 0 0 0 m z n ...

