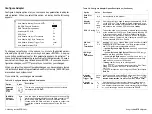
Note:
After you have manually configured the
and BIOS address values, the
adapter
BIOS then automatically assigns the
Port Address to the
adapter upon power-up.
Note:
SCSI
Adapter Driver
Kit
SCSI
management
for all major operating systems.
The
adapter supports the
configuration space header and
data
structure as defined in Chapter 6 of the
2.0 specification. Refer to the
description of Register 3Ch for details on interrupt line requirements.
BIOS Address Configuration
While the
adapter is designed to operate with a motherboard-assigned
BIOS address, if your motherboard is non-compliant, you need to select a
fixed BIOS address for the adapter. Selecting a fixed BIOS address allows
you to then configure an IRQ value for the adapter as well as other system
resource parameters. Use
and JP2 to assign a fixed BIOS address for
your
adapter. The jumpers offer several address options (be sure to se-
lect a value that does not conflict with other installed adapters).
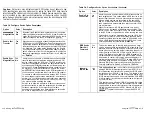
Configure
and JP2 as follows:
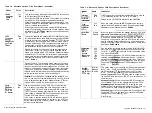
JP2
BIOS Address
O N
O N
DCOO:OOOO
O N
O F F
O F F
O N
O F F
O F F
System BIOS assigns all system resources (default)
OFF=not installed
Where the motherboard is fully compliant, remove both jumpers to allow
the motherboard BIOS to automatically assign resource parameters: BIOS
address, I/O port address and IRQ.
Handling Motherboard Variations
There are five general categories among
motherboards. Following are
configuration guidelines for handling each kind.
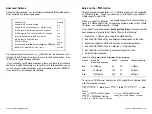
1.
2.
3.
If your motherboard offers hardware jumpers to assign IRQ values
(IRQ9,
IRQ12, IRQ14, IRQ15):
A.
B.
C.
Configure the jumper for one of these IRQ values (as long as it does
not conflict with other installed adapters).
Select a BIOS address for the adapter using
and JP2 (as described
above).
Then use AutoSCSI to assign the selected IRQ value (the IRQ value
must match the value configured via the motherboard jumper) to
the
adapter.
If the CMOS utility for your motherboard’s system BIOS offers an op-
tion to assign the IRQ to a corresponding
slot and interrupt PIN
type:
A.
B.
C.
Select a BIOS address for the adapter using
and JP2 (as de-
scribed above).
Configure CMOS to the desired IRQ (as listed in Guideline
1),
slot (the slot the
adapter is installed in) and PIN values.
Then use AutoSCSI to assign the selected IRQ value (the IRQ value
must match the value configured in CMOS) to the
adapter.
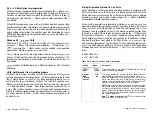
In some cases you will need to both set the motherboard jumpers and
update CMOS:
A.
B.
C.
Configure the jumper for one of the IRQ values listed in Guideline
1 (as long as it does not conflict with other installed adapters).
Configure CMOS to the same IRQ selected in Step A,
slot (the
slot the
adapter is installed in) and PIN values.
Select a BIOS address for the adapter using
and JP2 (as described
above).
A-2
n
Configuration for Non-Conforming PCI Motherboards
Configuration for Non-Conforming PCI Motherboards
n
A-3
Summary of Contents for BT-956C
Page 1: ...m w h 0 0 0 m z n ...

