Page 52 of 61
INSTRUCTION, USE AND
MAINTENANCE MANUAL
EN
14.3.3 Gauges calibration
Press the button
(
Fig. 44 ref. 3
) to display the
following screen page on the monitor:
1
2
KEY
1 – Distance-diameter caliper calibration
2 – External data gauge calibration (standard on
some models)
Distance-diameter caliper calibration
THE NUMERICAL VALUES SHOWN
IN THE FIGURES BELOW ARE
PURELY ILLUSTRATIVE.
Press the button
to display the following screen
page on the monitor:
Place the gauge (
Fig. 45 ref. 1
) on the chuck flange
(
Fig. 45 ref. 2
).
Fig. 45
2
1
The following screen will appear on the monitor to
indicate the measured values:
2
1
Fig.
_
46
KEY
1 – Example of value detected by the gauge
2 – Example of value on threaded chuck
- The value next to the symbol "scale" (Fig.
_
46 ref. 1)
must be equal to or ±1 mm (0.04”) with respect to
what is indicated above the caliper (
Fig._46 ref. 2
).
- Press push button
.
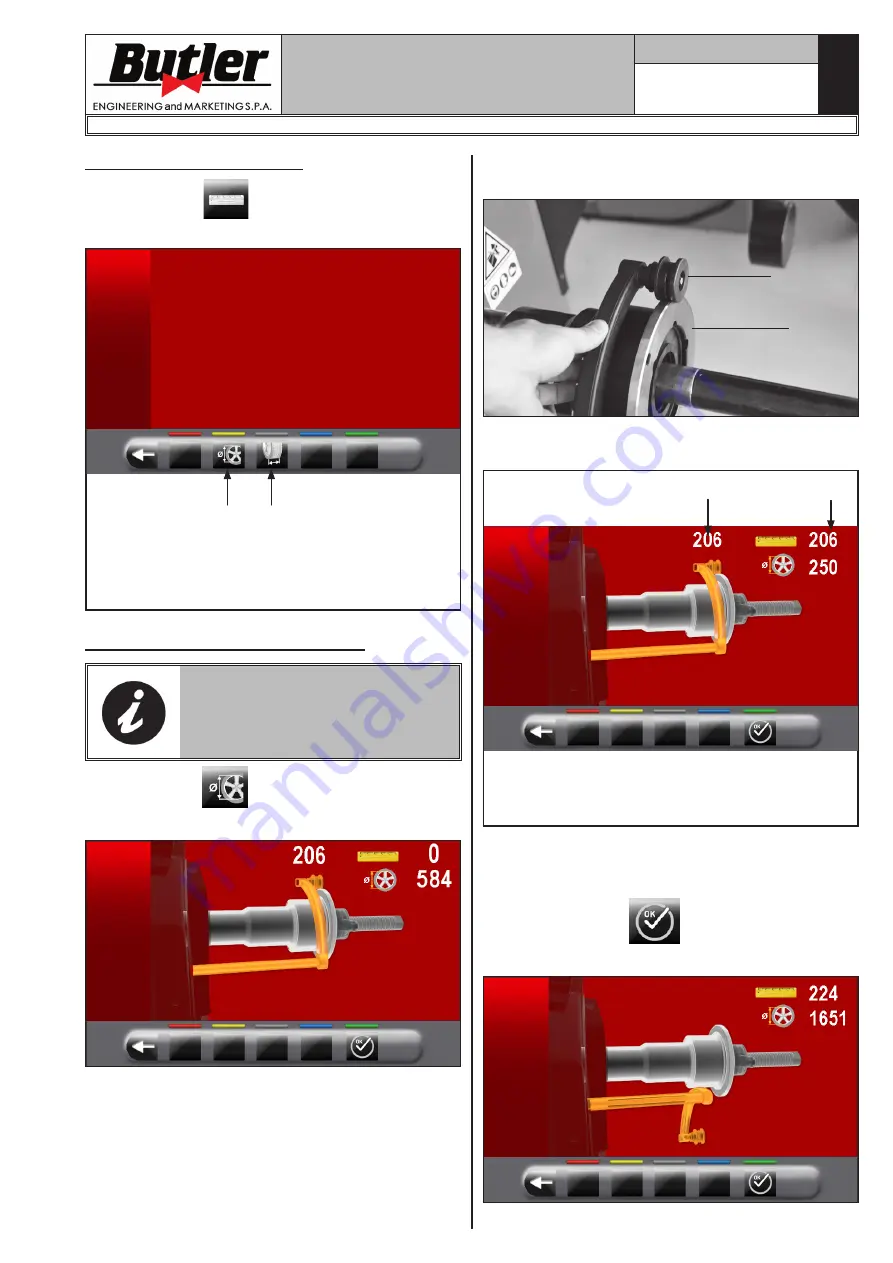
The following screen will appear on the monitor:
1296-M024-01
LIBRAK350 - LIBRAK350PRO


