INSTRUCTION, USE AND
MAINTENANCE MANUAL
GB
Page 16 of 68
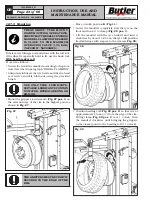
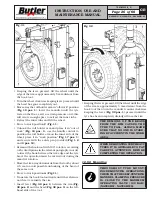
Fig. 13
12.0 USING THE MACHINE
12.1 Precaution measures during tyre re-
moval and fitting
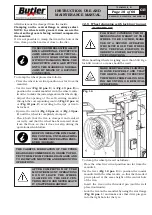
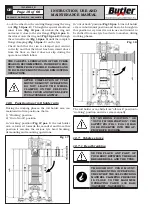
Before fitting a tyre, observe the following safety rules:
• always use clean, dry and in good condition rims
and tyres; in particular, if necessary, clean the rims
after all the balancing weights (as well as the adhesive
weights on the inner side) have been removed, and
make sure that:
- neither the bead nor the tread of the tyre are dam-
aged;
- the rim does not produce dents and/or deformation
(especially for alloy rims, dents can cause internal
micro-fractures, that pass unobserved at visual
inspection, and can compromise the solidity of the
rim and constitute danger even during inflation);
• adequately lubricate the contact surface of rim and
tyre bead, using specific tyre lubricants only;
• replace the inner tube valve with a new valve, if the
tyre tube has a metal valve, replace the grommet;
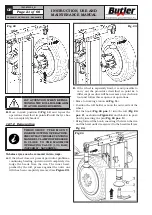
• make sure that the tyre is the right size for the rim;
on the contrary, never fit a tyre unless you are sure
it is the right size (the rated size of the rim and tyre
is usually printed directly on each of them);
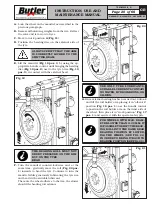
• do not use compressed air or water jets to clean the
wheels on the machine.
7503-M002-6_B
NAV26HW - NAV26HW.S - NAV26HW.ST
11.2 Control device (NAV26HW.S)
The control unit (handle control), thanks to special
belts, can be fixed to the operator’s body, so that it
follows him and stays within reach during all the pro-
duction phases.
It is advisable for the operator to place himself in a
zone free from obstacles in order to have a clear and
complete vision of the working area.
MAKE SURE THERE ARE NO PER-
SONS OR OBJECTS HIDDEN TO
THE OPERATOR VISUAL FIELD
BY THE WHEEL SIDE PLAY (ESPE-
CIALLY IN CASE OF WHEELS WITH
LARGE DIMENSIONS).
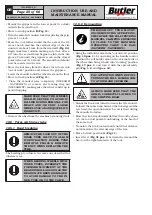
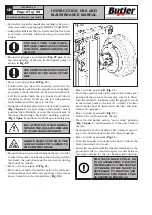
The flashing green led “
A
”, indicates the machine
stand-by position. When any control is operated, the
machine is started and it is ready for operation. Dur-
ing functioning, the green led “
A
” is turned on with a
fixed light.
The simultaneously turned on and flashing led “
B
”
and led “
A
” indicate that the manipulator batteries are
exhausted: in order to carry on the functioning, they
must be charged.
IN ORDER TO ACTIVATE THE COM-
MUNICATION BETWEEN HANDLE
CONTROL AND MACHINE, ON MA-
CHINE SWITCHING AND AFTER
EACH POSITIONING IN STAND-BY
MODE, IT'S NECESSARY TO OPER-
ATE ANY JOYSTICK (LEVER “H”
OR LEVER “I”) FOR 5 SECONDS
AT LEAST.
When the red led“
B
” lights up indicates that there is
a fault in the bluetooth connection with the machine.
“Push-button
C
” has one “hands-on” operating posi-
tion, and when pressed, it opens the self-centring
chuck.
“Push-button
D
” has one “hands-on” operating posi-
tion, and when pressed, it closes the self-centring
chuck.
“Lever
E
” has four “hands-on” positions:
- Lever to the right or left: it starts the travel of the
bead breaking roll/tool to the right or left respectively
(from “B” working position,
Fig. 11
).
- Upwards or downwards lever: it respectively lifts or
lowers the mandrel.
“Lever
F
” has two “hands-on” positions:
- Lever to the right or left, operates the clockwise or
counterclosckwise rotation of the mandrel (from
working position “A”
Fig. 11
).
When any control is operated, the machine is started
again, ready for operation: led “
A
” flashes.
THE HANDLE CONTROL MUST
NOT BE PLACED WHERE WATER
STAGNATES.

