GasAlertMicroClip
Maintenance
3.
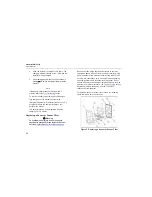
Remove the two screws on the PCB and remove
the PCB.
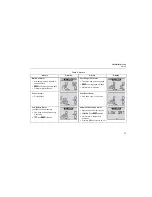
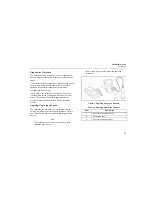
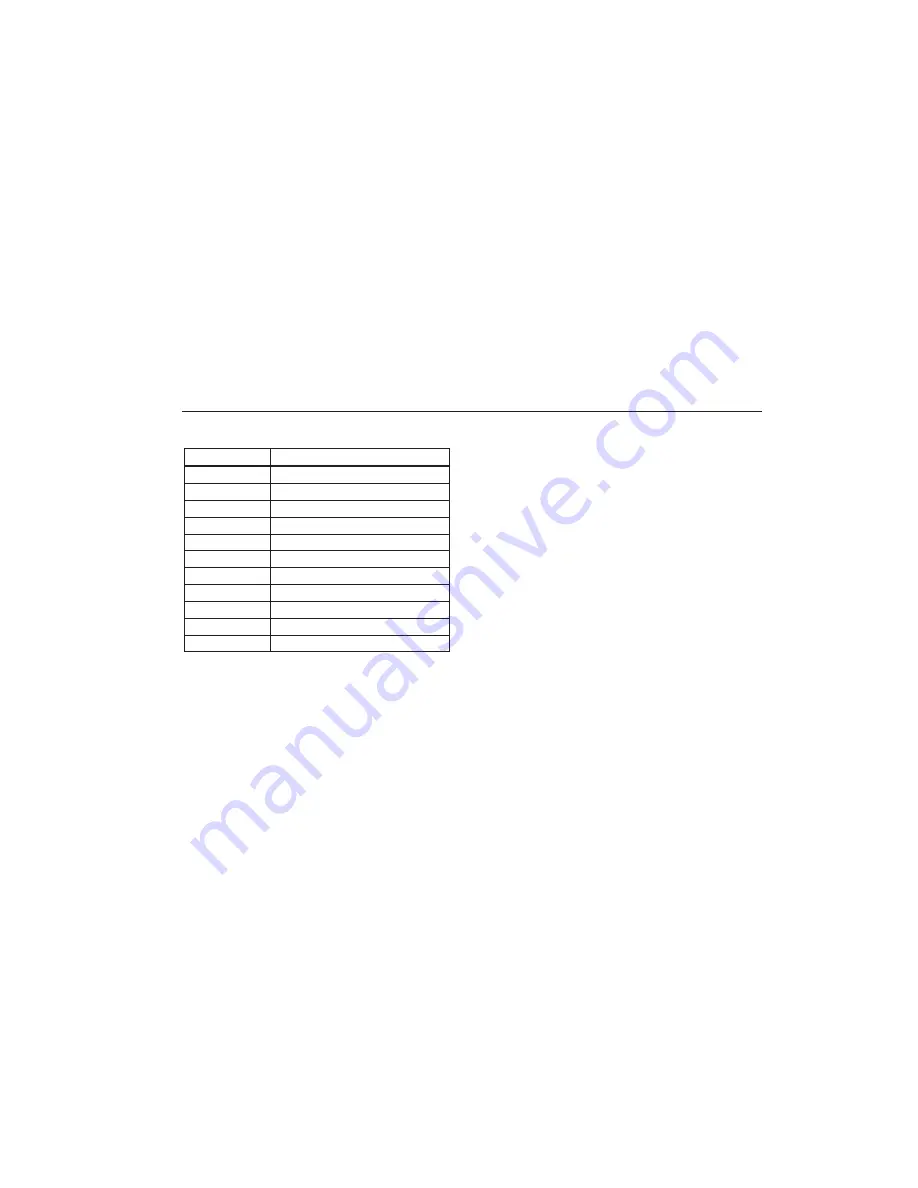
Table 11. Replacing a Sensor or Sensor Filter
Item
Description
1
Front shell
2
LEL sensor
3
PCB
4
PCB screws (2)
5
Rear shell
6
Machine screws (6)
7
Sensor filter
8
O
2
sensor
9
H
2
S sensor
10
CO sensor
11
Sealing rib
Note
Ensure the battery does not get damaged once the
PCB is removed.
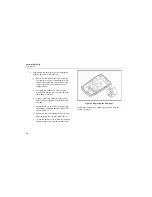
4.
Remove the old sensor filter or slide/pull out the old
sensor(s).
5.
Insert a new sensor filter or sensor(s).
Note
When inserting a new sensor filter, ensure the
white side is facing the sensors (i.e., the black side
is facing out).
Detectors that are configured for 1, 2, or 3 gases
may contain a dummy sensor in one of the four
sensor locations.
1.
Deactivate the detector.
2.
Remove the six machine screws on the rear shell
and remove the back cover.
37

