Copyright 2015 © C. B. Gi
Ʃ
y Cra
Ō
er Supply 7
P
3—I
B
S
In this section we’ll cover how to install the
bridge and saddle, as well as the bridge
bracing block that goes inside the box.
Step 1—Install the Bridge
Bracing Block
Now take the smaller block of wood includ-
ed with your kit that will serve as a mount-
ing brace for the ukulele bridge and glue
that wood block under the spot where the
bridge will be on top of the lid. If there is a
layer of paper on the inside of the box lid
here, you can use a file to remove it for a
better glue joint, if desired.
Your bridge, at the point where the bone
saddle will be seated, will need to be ex-
actly 15” (381mm) away from where the
nut meets the top of the fret board. Place
this bracing block so that it will be as close
to the edge of the box as possible, but
make sure the box lid will still close once it
is in place (
Figure 16
).
Step 2—Position and Drill the
Bridge
Now, center the bridge on the top of the
box (remember that the slot where the
saddle will rest should be towards the
front, and that the front edge of this slot
should be exactly 15 inches from where
the back side of the nut will be—see
Fig-
ure 17
).
Placing the bridge/saddle cor-
rectly (15 inches from the nut) is VERY
important to ending up with a playable
ukulele!
Drill two holes in the center of the tabs on
both sides of the bridge. On top of the box
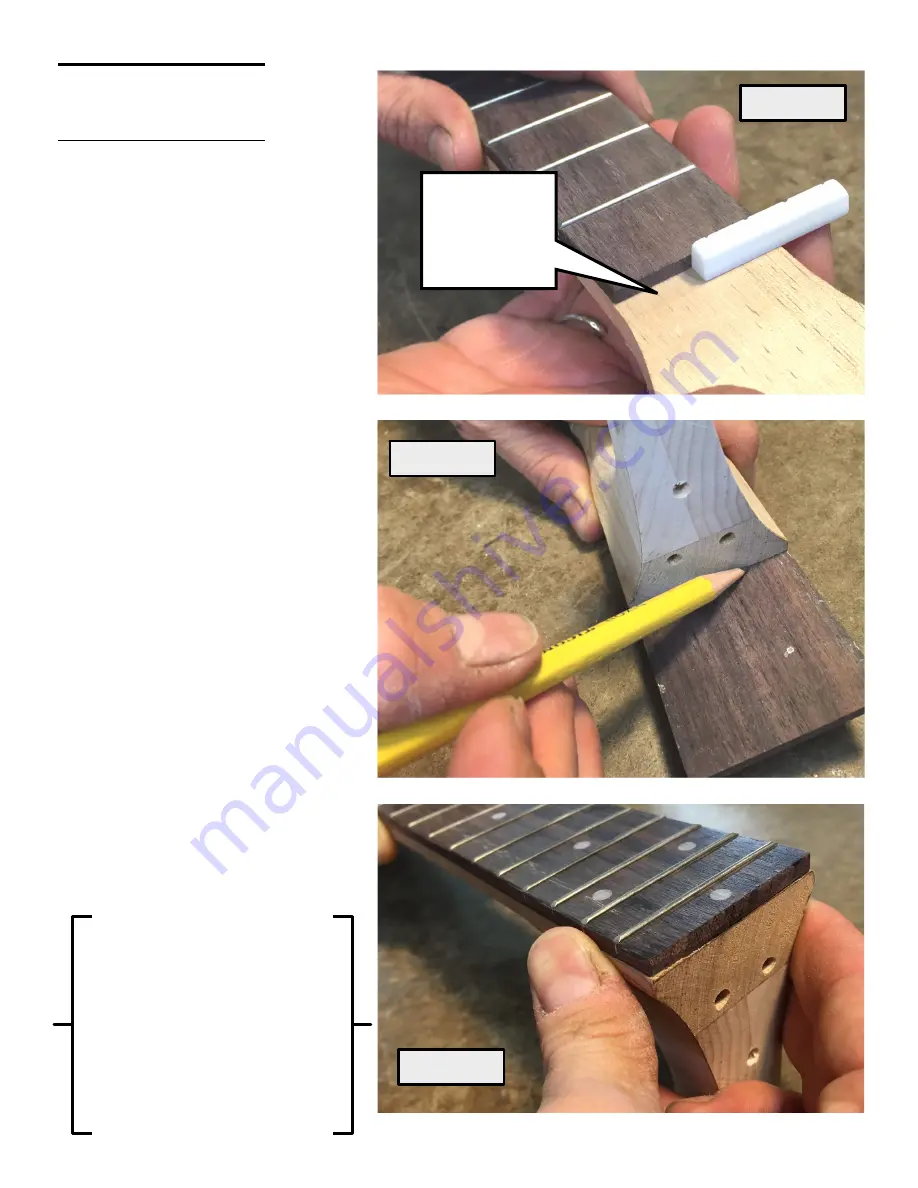
Figure 11
Figure 12
Figure 13
Leave about 1/8”
of space below
where the head
‐
stock angle begins,
for the nut.
Pro tip:
A water-dampened
cloth will help to wipe away
most wood glues before they
dry. Check the directions of
the product you are using to
be certain. Once the glue
dries it can be very hard to
remove excess, so do your
best to clean it up before it
sets.


