MOUNTING Page
11
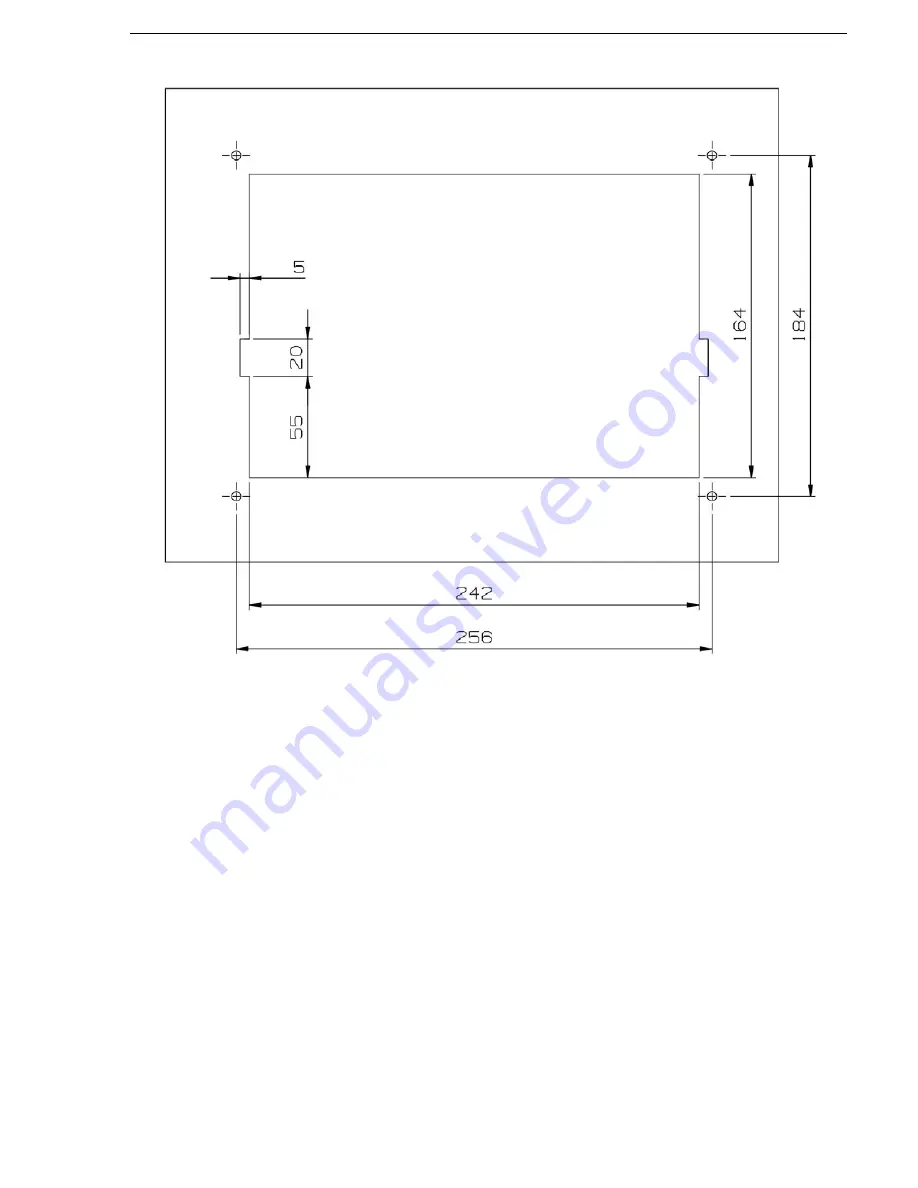
Figure 4-6: Panel mount hole dimensions
3. Place the panel mount frame in the rectangular hole and mark the
location of the four screw holes in the bedding.
4. Remove the panel mount frame and drill four screw holes where
marked in the panel.
5. Place the seal onto the back of the R4 Display. Make sure that it aligns
with the R4 Display body. Place the R4 Display in the panel mount
frame. Press the R4 Display and the frame together and install the two
securing screws, one on each side of the R4 Display.
6. Attach the signal cable (18 pin plug) and the power cable (3 pin socket),
as described in section 4.1.5.
7. Slide the R4 Display with the panel mount frame into the rectangular
hole in the panel and fasten it to the panel with four screws, as
illustrated in Figure 4-7 and Figure 4-8 below.
Summary of Contents for 1000 R4
Page 18: ...MOUNTING Page 12 Figure 4 7 Panel mounting R4 Display Figure 4 8 R4 Display panel mounted ...
Page 79: ...TECHNICAL SPECIFICATIONS Page 11 ...
Page 80: ...TECHNICAL SPECIFICATIONS Page 12 APPENDIX A J4N SCHEMATIC ...
Page 81: ...TECHNICAL SPECIFICATIONS Page 13 APPENDIX B J4N PCA LAYOUT ...


