1. Installing the TS/X software
IMPORTANT! Do NOT connect the C-Pen before the software is installed.
In the package you will find a DVD which contains the installation program. To
install, follow these steps:
1. Close all open applications on the PC.
2. Insert the DVD in your DVD drive. The installation starts automatically. If
the installation does not start, browse to your DVD drive and double click
the file CPenTSX_Install.exe.
3. Follow the instructions on the screen. A message is displayed when the
installation is complete.
4. During the installation an automatic update will be performed, we
therefore recommend having a internet connection during the installation
The C-Pen TS/X software will automatically launch after the installation has been
completed.
If you have lost the CD you can download the latest version of the C Pen TS/X
software directly from http://www.cpen.com/latest.
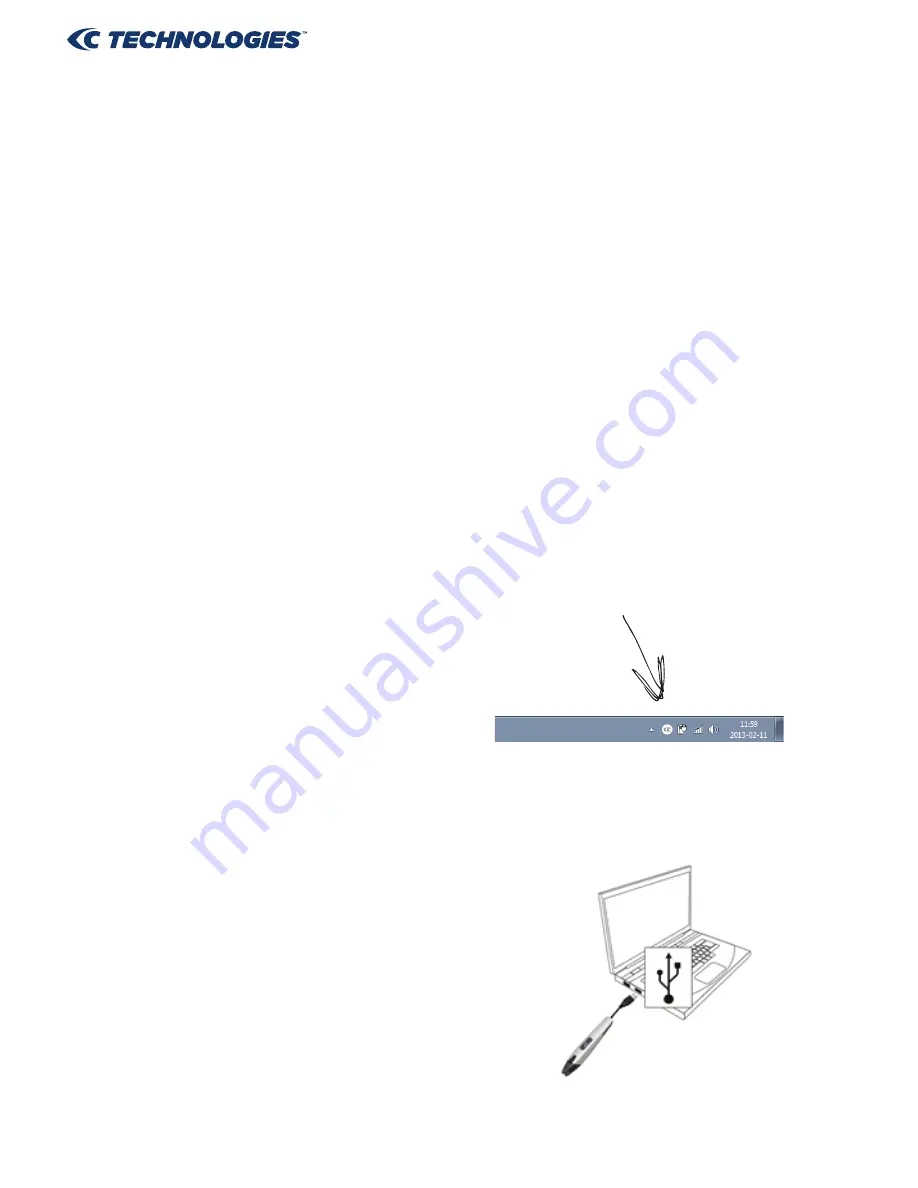
The C-Pen TS/X software is the main
software that will make it possible to
scan text to the cursor. When the
C-Pen TS/X software is started you will
find the C-Pen tray icon in the Windows
system tray. This icon indicates that
the C Pen TS/X software is running
properly. See the image to the right.
More information about the C-Pen TS/X software can be found in Chapter 3.
Connecting the pen
Connect the C-Pen to your computer using
the USB cable. To see the connection status,
point the mouse cursor at the C-Pen tray
icon to display the C-Pen TS/X status window.
Summary of Contents for TS1
Page 1: ...User manual...


