2. Using the C-Pen
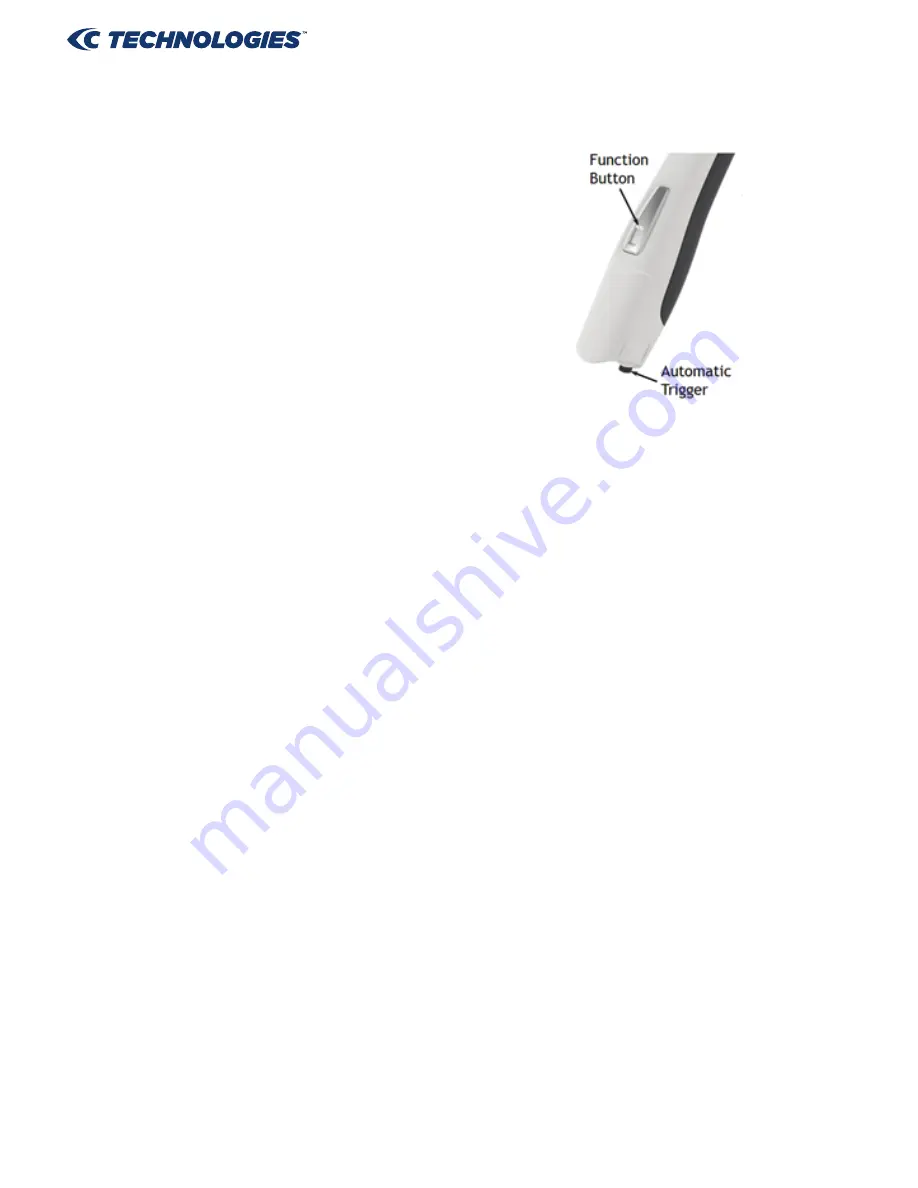
Note that there is a small automatic trigger
at the tip of the C-Pen. This activates the
scanning when the C-Pen is pressed against
the paper. It is important that the trigger is
pressed in during the complete scan.
The automatic trigger is shown in the picture
to the right.
The function button can be used to perform a
certain action in the document. For example, if you
select Enter, the cursor will move to a new blank
row in the document when you press the
Function button (corresponding to pressing Enter on the keyboard).
Settings for the function button can be adjusted in the TS/X application. Please see
section 3 (C-Pen TS/X) for further information.
This is an example on how to scan text into MS Word.
1. First check that the C-Pen TS/X status windows reports that your C-Pen is
connected.
2. Start MS Word (or any other application).
3. Place the cursor where you want the text to appear. Do NOT click any
where else as this will move the cursor and make your program window
“passive”.
4. Place the tip of the C-Pen a few millimetres before the first character of
the text.
5. Press the C-Pen gently towards the paper and start moving it along the
text line. Try to keep a steady line! Lift the C-Pen from the paper when you
have scanned the last character.
Note: Do not press the function button during the scan.
The text you just scanned will instantly be inserted into MS Word (or the applica-
tion you have chosen).
The text is fully editable, e.g. you can change font type and size in MS Word to
customise the text.
Summary of Contents for TS1
Page 1: ...User manual...


