9
9
10
12
11
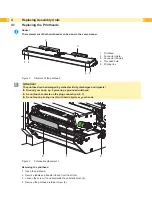
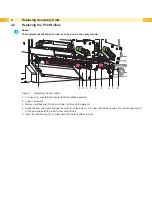
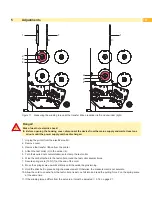
Figure 4
Printhead replacement 2
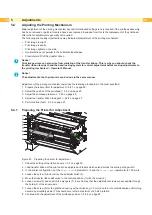
5. Pull the printhead retainer (10) with the printhead out of the printer .
6. First disconnect the power cable (12), following the data cable (9).
7. Loosen 2 screws (13) and remove the printhead (16) from the printhead retainer (10).
13
14
10
16
15
13
14
15
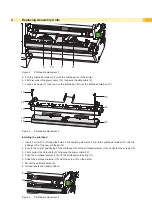
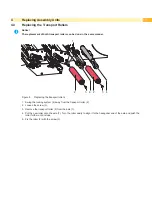
Figure 5
Printhead replacement 3
Installing the printhead
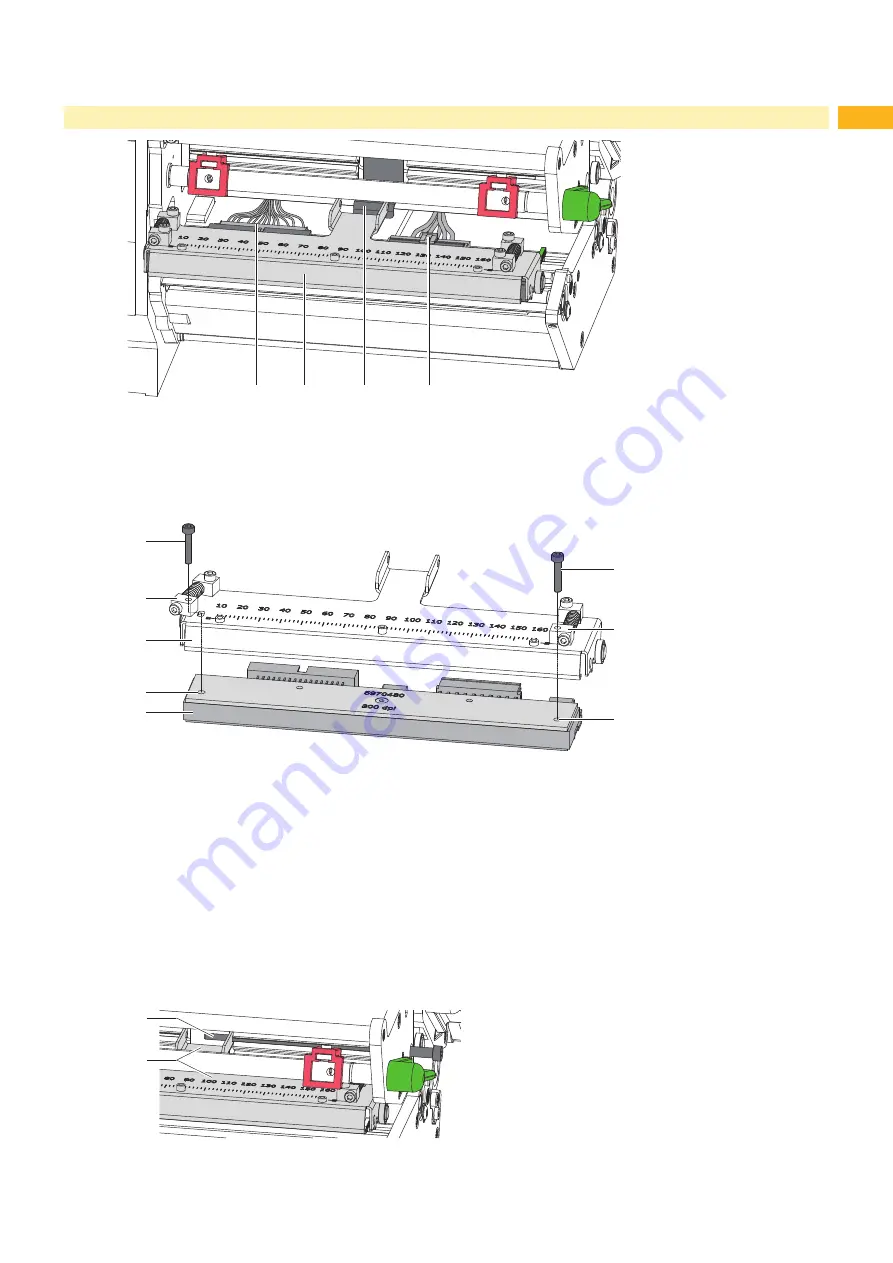
1. Insert 2 screws (13) through the holes in the adjusting elements (14) and the printhead retainer (10) into the
drillings (15) of the new printhead (16).
2. Ensure the correct positioning of the printhead (16) at the printhead retainer (10) and tighten the screws (13).
3. First connect the data cable (9), following the power cable (12).
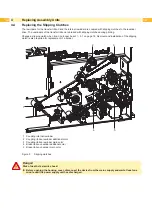
5. Push the printhead retainer (10) with the printhead onto spring (11).
6. Attach the printhead retainer (10) with the screw (8) on the printer.
7. Mount the antistatic brush (6).
8. Reload labels and transfer ribbon.
10
8
Figure 6
Printhead replacement 4
Summary of Contents for Hermes C 6L
Page 1: ...Made in Germany Service Manual Hermes C Label Printer ...
Page 33: ...33 7 Block Diagram Figure 34 Block diagram Hermes C ...
Page 34: ...34 34 8 Layout Diagram CPU Figure 35 Layout diagram PCB CPU components side ...
Page 35: ...35 Figure 36 Layout diagram PCB CPU soldering side 8 Layout Diagram CPU ...


