10
4.2
Adjustment of the Upper Blade Stopper
i
Notice!
The lower stop of the upper blade adjustment is already adjusted by delivery.
After a long operation time, while working at strongly varying temperatures or else after replacing a
blade, it is recommended to re-adjust the lower stop.
3
5
6
1
2
4
7
4
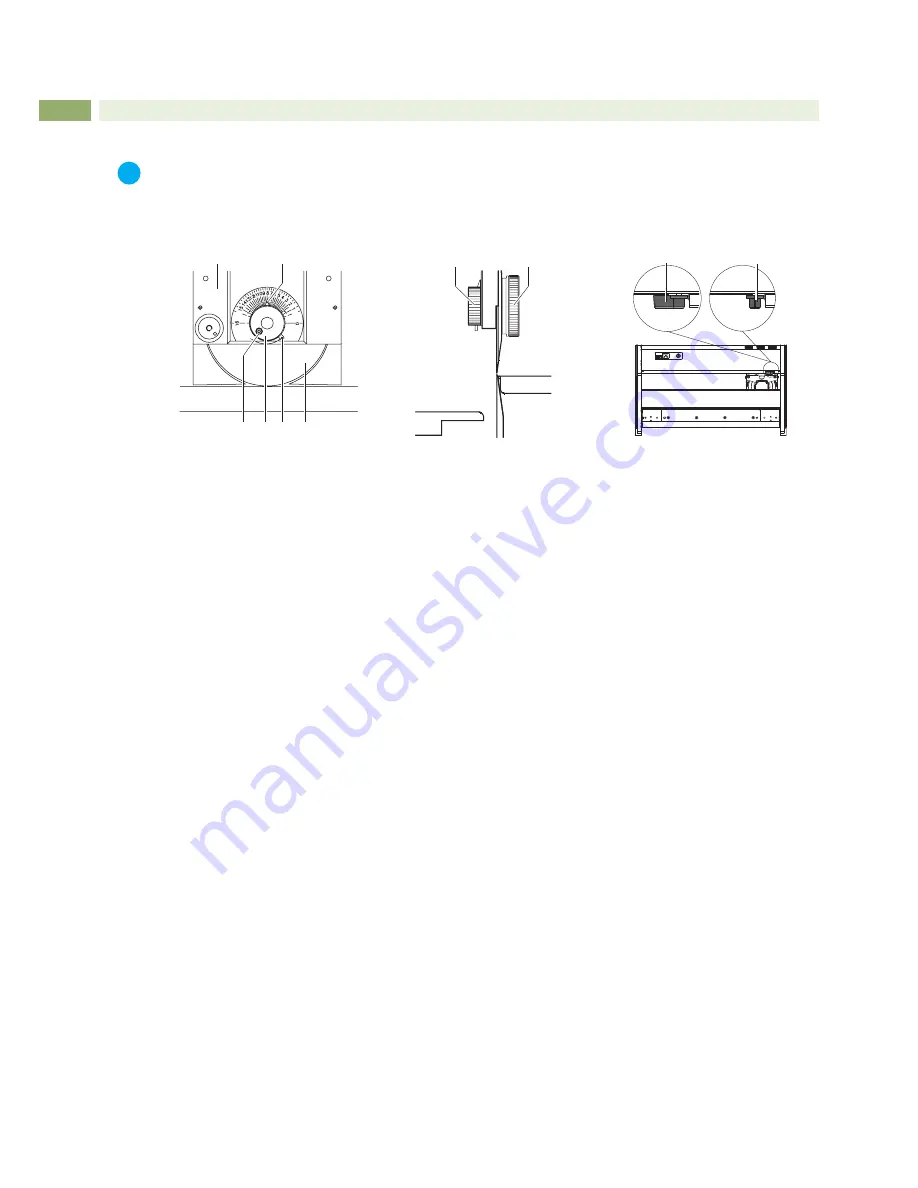
Fig.5
Adjustment of the upper blade stopper
1. Move the lever (8) to the position 'a'. The motor drive to the blade carrier (1) is now disconnected.
2. Rotate the pointer (2) with the knob (4) counterclockwise to position "16".
3. Move the upper blade carrier (1) in the middle position of the lower blade.
4. Loosen the screw (3).
5. Move the knob (4) clockwise until the upper and lower blades are in a distance of 0.03 mm. Use a thickness
gauge.
6. Swing the strut (5) clockwise until you reach the stop and tighten the screw (3). This adjustment locks the upper
blade in place to prevent it from moving out of adjustment.
7. Move the lever (8) to the position 'b'. The motor drive to the blade carrier (1) is now reconnected.
4
Test and Change Device Parts


