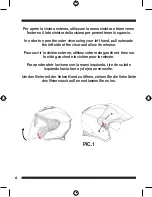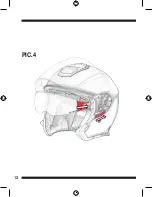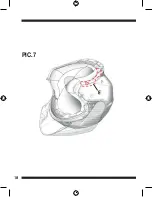
1. Rimuovere i guanciali e gli eventuali inserti antirumore dal
casco. Posizionare gli altoparlanti nell’apposita sede dopo aver
applicato il velcro adesivo.
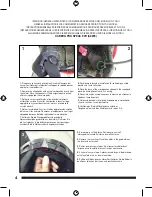
1. Remove the cheek pads and any noise reduction inserts from
the helmet. Place the speakers in the designated ear pockets,
after having applied the velcro pads.
1. Retirer les mousses latérales et les éventuels éléments
antibruit du casque. Placer les haut-parleurs dans le siège
approprié sous-jacent des mousses, après y avoir posé le
scratch adhésif.
1. Retirar las almohadillas y los insertos de protección auditiva
del casco, si los hubiera. Posicionar el autoparlante en el lugar
apropiado después de haber aplicado el velcro adhesivo.
1. Entfernen Sie die Wangenpolster und eventuelle
Geräuschdämpfungseinsätze aus dem Helm. Platzieren Sie
die Lautsprecher in die dafür vorgesehenen Aussparungen,
nachdem Sie die Klettverschlüsse angebracht haben.
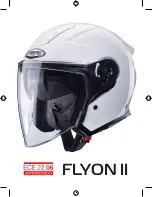
ISTRUZIONI GENERALI DISPOSITIVO DI COMUNICAZIONE SPECIFICO DEL MODELLO FLYON II.
GENERAL INSTRUCTIONS FOR COMMUNICATION DEVICES SPECIFIC TO FLYON II MODEL.
INSTRUCTIONS GÉNÉRALES DISPOSITIFS DE COMMUNICATION SPÉCIFIQUES DES MODÈLES ET FLYON II.
INSTRUCCIONES GENERALES DE LOS DISPOSITIVOS DE COMUNICACIÓN ESPECÍFICOS PARA LOS MODELOS FLYON II.
ALLGEMEINE ANWEISUNGEN FÜR DIE SPRECHANLAGEN, DIE SPEZIFISCH FÜR DIE MODELLE FLYON II.
CABERG PRO SPEAK EVO (A9235)
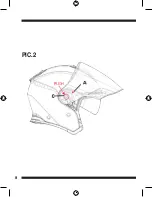
2. Posizionare la base del microfono al di sotto del guanciale,
posizionare l’asta nella sede.
2. Place the base of the microphone underneath the cheek pad,
place the microphone stem in its housing.
2. Placer la base du microphone sous la mousse, positionner la
tige dans l’emplacement.
2. Colocar la base del micrófono por debajo de la almohadilla;
situar la varilla en su compartimento.
2. Positionieren Sie die Mikrofonbasis unter den
Wangenpolstern, und den Mikrofonarm in seinen Sitz.
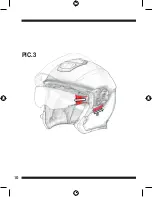
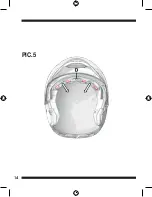
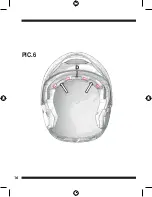
3. Rimuovere la cuffia interna. Posizionare i cavi nell’
intercapedine tra calotta interna e calotta esterna.
3. Remove the inner liner. Place the cables in the gap between
the inner and outer shell.
3. Retirer les mousses internes. Positionner les câbles dans
l’espace entre la calotte interne et la coque extérieure.
3. Extraer el casco interno. Colocar los cables en el doble fondo
entre la calota interna y la calota externa.
3. Entfernen Sie den inneren Hörer. Positionieren Sie die Kabel in
den Raum zwischen der Innen- und der Außenschale.
3
1
2
4
Summary of Contents for JET FLYON II
Page 1: ...JET FLYON II D1724...
Page 2: ......
Page 3: ...FLYON II...
Page 8: ...8 PIC 2...
Page 10: ...10 PIC 3...
Page 12: ...12 PIC 4...
Page 14: ...14 PIC 5...
Page 16: ...16 PIC 6...
Page 18: ...18 PIC 7...
Page 20: ...FLYON II CABERG SPA via Emilia 11 24052 Azzano S Paolo BG ITALY PEDERSOLI PUBBLICIT 13 03 2023...


