CT-HDIPSS Manual V1.0
7
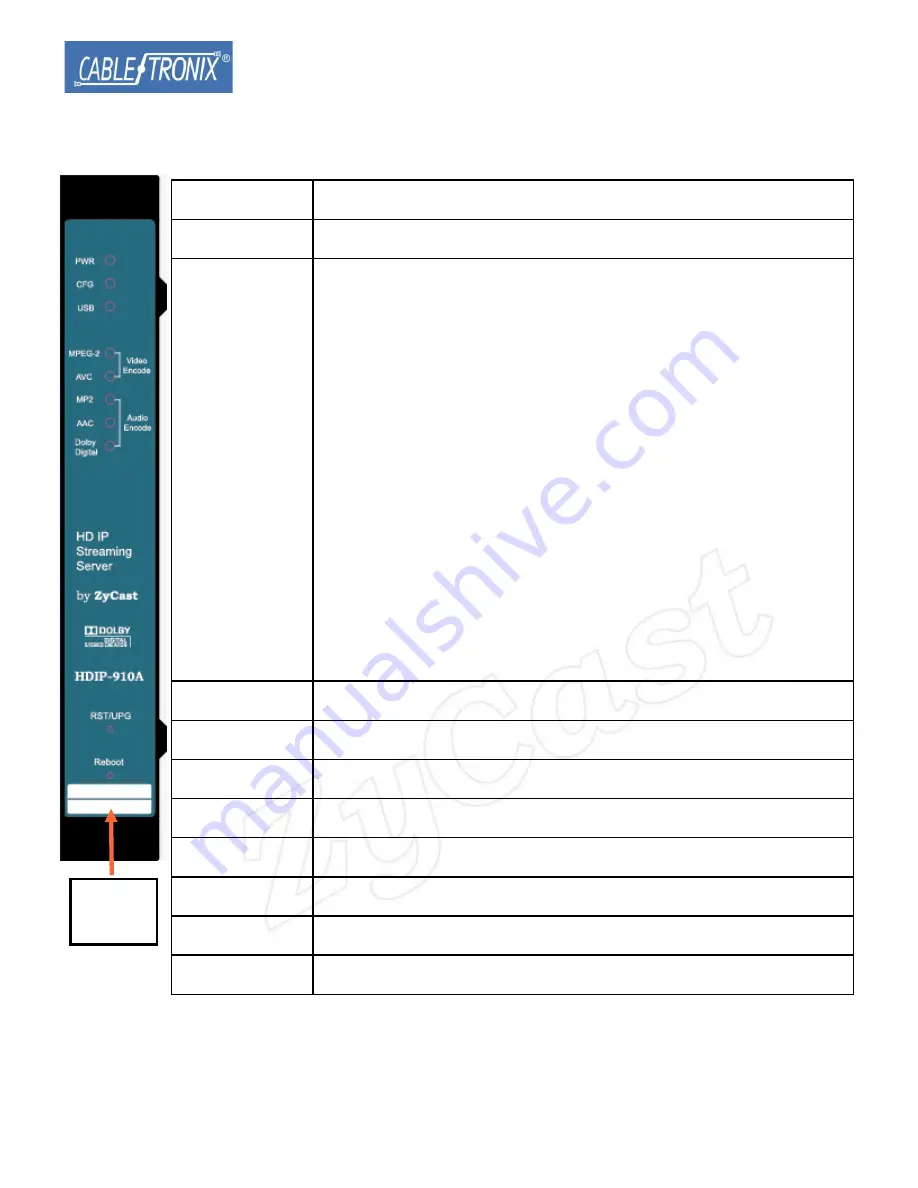
Front-Panel
Buttons/LEDs Description
Reboot button Reboots the device (unsaved settings will be lost)
RST / UPG
button
To reset all the settings of the device to factory default:
1.Press and hold the RST/UPG button and boot-up the
device
2.Hold the button until CFG led to flashes 10 times
(about 10 seconds)
3.After the CFG led stops flashing release the button
To upgrade firmware using the USB port:
1.Plug-in the USB drive with the upgraded firmware
image (“hdip_upg.img”)
2.Press and hold the RST/UPG button and boot-up the
device
3.USB led will flash while copying the image from USB
drive (about 3~5 seconds)
4.Wait until the CFG led stop flashing
5.Release the RST/CFG button and wait for the device
to reboot and upgrade the firmware (about 1
minutes)
PWR
Power is ON
CFG
Indicates device is in configuration mode
USB
Indicates USB drive is mounted
MPEG-2
Indicates device is encoding video using MPEG-2
AVC
Indicates device is encoding video using AVC
MP2
Indicates device is encoding audio using MPEG-1 Layer 2
AAC
Indicates device is encoding audio using AAC
Dolby Digital
Indicates device is encoding audio using Dolby
®
Digital
For
recording
IP
Summary of Contents for CT-HDIPSS
Page 1: ...INSTALLATION CONFIGURATION MANUAL CT HDIPSS HD IP Streaming Server ...
Page 12: ...CT HDIPSS Manual V1 0 12 8 Right Click on the device icon Select View Device Webpage ...
Page 13: ...CT HDIPSS Manual V1 0 13 9 Overview Welcome page will be displayed ...
Page 16: ...CT HDIPSS Manual V1 0 16 ...
Page 18: ...CT HDIPSS Manual V1 0 18 Streaming Setup ...
Page 19: ...CT HDIPSS Manual V1 0 19 Network Configuration ...
Page 20: ...CT HDIPSS Manual V1 0 20 Administration ...
Page 30: ...CT HDIPSS Manual V1 0 30 3 Open VLC media player 4 Select Media Open Network Stream ...
Page 31: ...CT HDIPSS Manual V1 0 31 5 Enter the network URL listed in the RTSP ex rtsp 172 16 1 200 t ts ...
Page 32: ...CT HDIPSS Manual V1 0 32 ...


