Central Site Remote Access Switch 345
C
ONFIGURING
IPX
IPX-Specific Information for Devices
7.
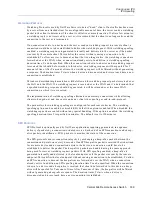
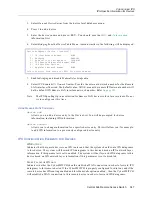
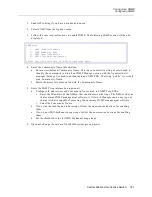
Enable IPX routing. Select IPX Routing and follow on-screen instructions.
8.
Enable make calls feature. Select Make calls for IPX data and follow on-screen instructions only
if the CyberSWITCH is to dial-out to remote1.
9.
Although IPXWAN Protocol appears on the menu, the feature is not yet completely functional.
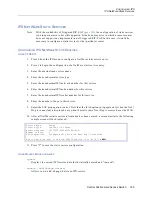
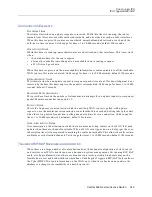
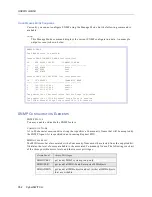
10. Select Routing Protocol. A menu similar to the following will be displayed:
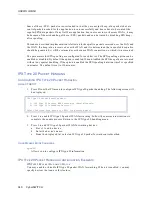
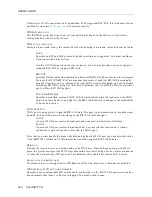
11. Select routing protocol. When you select Triggered RIP/SAP, you will need to identify the WAN
peer type as either active or passive. An active peer receives broadcasts at all times; a passive
peer receives broadcasts only when a connection is up.
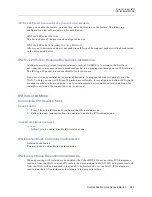
12. If you plan to use IPX over Frame Relay, and if you are also using a CSX200 or CSX400 on the
other side of the Frame Relay connection, select IPX External WAN Net Num. Provide a unique
number that you will also reflect on the CSX200 or CSX400 platform.
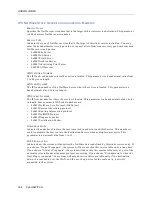
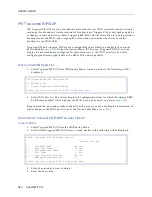
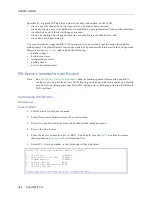
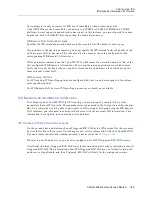
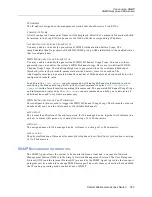
13. Select Spoofing Options. Make changes to default spoofing setup, if desired, through the
following menu:
a.
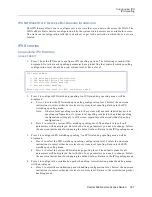
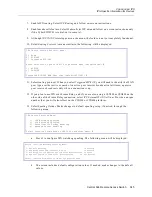
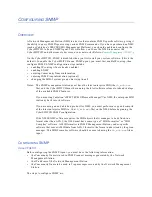
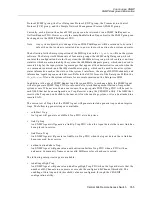
Press 1 to configure IPX watchdog spoofing. The following menu will be displayed:
b.
The screen includes default configuration values. If needed, make changes to the default
values.
IPX Device Routing Protocol Menu:
1) None
2) RIP/SAP
3) Triggered RIP/SAP
Enter selection or press <RET> for previous menu [default=None}:
3
1) ACTIVE
2) PASSIVE
Triggered RIP/SAP WAN Peer type [default=ACTIVE]:
1
IPX Device Spoofing Menu:
1) IPX Watchdog Spoofing
2) SPX Watchdog Spoofing
3) Serialization Packet Handling
4) Message Packet Handling
Select function from above or <RET> for previous menu: 1
Device Level IPX Watchdog Spoofing Menu:
1) Default Handling is Discard
2) Handling while the connection is up is Forward
3) Handling for the special period after disconnecting is Spoof
4) Special period of time after disconnecting is 120 Minutes
Select function from above or <RET> for previous menu:

