Central Site Remote Access Switch 33
C
ONNECTIVITY
Connecting a Central Site Product to a Terminal Adapter/Modem
Configure a Dial-Out Location
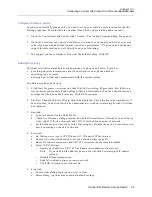
In order to successfully place a call, you need to set up your remote access location for specific
dialing properties. These include the number from which you are dialing and area code.
1.
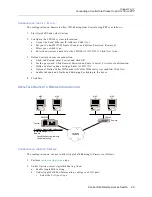
Open the Control Panel and double click Telephony. The Dialing Properties dialog box appears.
2.
On the My Locations tab, select United States of America as your country and 313 as your area
code. If you need an additional number (such as a preliminary “9”) to reach an outside line,
supply this information as well. Specify tone or pulse dialing.
3.
We suggest you leave Telephony Drivers at the default values. Click OK.
Add a Dial-Up Entry
This final set of instructions details configuration of a phone book entry. It involves:
•
providing physical information about the network (such as phone number)
•
specifying type of server
•
defining how to find and communicate with the remote system
To add a new phone book entry:
1.
Click Start, Programs, Accessories and then Dial-Up Networking. (If necessary, first follow on-
screen instructions to install and configure Dial-up Networking.) You then should receive a
message that the phone book is empty. Click OK to continue.
2.
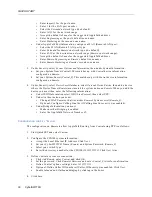
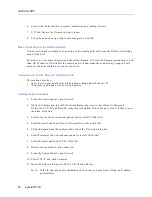
The New Phonebook Entry Wizard should be displayed. Check the box to edit properties (I
know all about...) and click Finish. The Phonebook Entry window, containing five tabs, will then
be displayed.
3.
Basic tab:
a.
Type in a Central for the Entry Name.
b.
Check Use Telephony dialing properties box. Select United States of America as your Country
Code, type 313 for the Area code, and 5551111 for the Phone number of network.
c.
Set the modem you want to use in the Dial using box. Disable the option Use another port if
busy by assuring no check is in this box.
4.
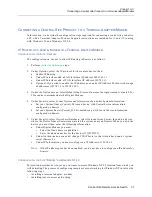
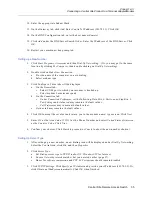
Server tab:
a.
Set Dial-up server type to PPP: Windows NT, Windows 95 Plus, Internet.
b.
Ensure Network protocols match what you entered earlier (page 37).
c.
Boxes for software compression and PPP LCP extensions should remain disabled.
d. Select TCP/IP Settings:
•
Specify an IP address of 101.78.1.2 and name server addresses, if necessary.
Note:
If you enabled the address pool on Central, click Server assigned IP address
instead.
•
Disable IP header compression.
•
Enable Use default gateway on remote network.
•
Click OK to return to previous menu.
5.
Script tab:
a.
Ensure After dialing (login) option is set to None.
b.
Before dialing... options may remain at default settings.

