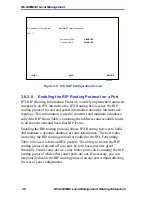
The IPX General Configuration Screen
MicroMMAC Local Management Routing Addendum
29
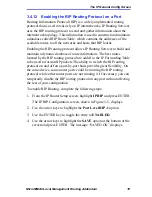
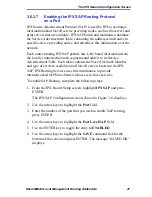
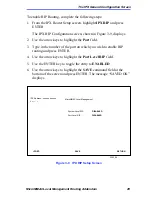
To enable RIP Routing, complete the following steps:
1. From the IPX Router Setup screen, highlight IPX RIP and press
ENTER.
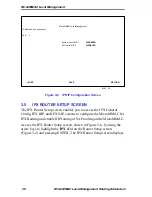
The IPX RIP Configuration screen, shown in Figure 3-9, displays.
2. Use the arrow keys to highlight the Port field.
3. Type in the number of the port on which you wish to enable RIP
routing and press ENTER.
4. Use the arrow keys to highlight the Port Level RIP field.
5. Use the ENTER key to toggle the entry to ENABLED.
6. Use the arrow keys to highlight the SAVE command field at the
bottom of the screen and press ENTER. The message “SAVED OK”
displays.
Figure 3-9
IPX RIP Setup Screen
System Level RIP:
Port Level RIP:
RETURN
SAVE
+PORT-
DISABLED
DISABLED
IPX Address: xxx.xxx.xxx.xxx
2262_09
MicroMMAC Local Management
P o r t : 1
Summary of Contents for MicroMMAC 22ES
Page 1: ...Title Page MICROMMAC LOCAL MANAGEMENT ROUTING ADDENDUM...
Page 2: ......
Page 4: ...Notice ii MicroMMAC Local Management Routing Addendum...
Page 6: ...Contents iv MicroMMAC Local Management Routing Addendum...
Page 36: ...MICROMMAC Local Management 30 MicroMMAC Local Management Routing Addendum...

