Installing the 9C500 Plus Power Box
1-4
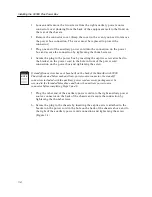
1. Loosen and remove the two screws from the right auxiliary power source
connector cover (looking from the back of the equipment rack to the front) on
the rear of the chassis.
2. Remove the connector cover. (Keep the cover in the event you need to remove
the power box connection. The cover must be replaced to protect the
connector.)
3. Plug one end of the auxiliary power cord into the connection on the power
box and secure the connection by tightening the thumb screws.
4. Secure the plug to the power box by inserting the captive screw attached to
the bracket on the power cord in the hole in front of the power cord
connection on the power box and tightening the screw.
5. Plug the other end of the auxiliary power cord into the right auxiliary power
source connector on the back of the chassis and secure the connection by
tightening the thumb screws.
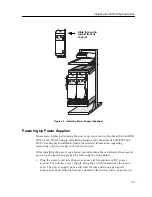
6. Secure the plug to the chassis by inserting the captive screw attached to the
bracket on the power cord in the hole on the back of the chassis above and to
the right of the auxiliary power cord connection and tightening the screw
(Figure 1-1).
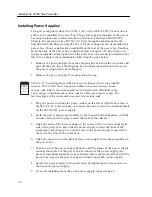
If standoff connectors have not been built on the back of the SmartSwitch 9000
Chassis above and below each auxiliary power source connector, the standoff
connectors included with the auxiliary power cord accessory package must be
screwed in the threaded holes above and below the auxiliary power source
connector before completing Steps 5 and 6.
NOTE
Summary of Contents for SmartSwitch 9000
Page 1: ...9031344 02 SmartSwitch 9000 9C500 Plus Power Box Installation Guide ...
Page 2: ......
Page 6: ...Notice iv ...
Page 8: ...Contents vi ...


