2 / 56
P/N 466-
2948 • REV D • ISS 15MAR21
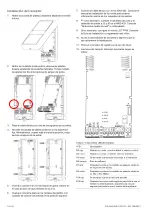
5. Re-install the rear rubber tamper button if it was removed.
6. Re-install the circuit board into the plastic housing taking
care to position the antennas in the up position.
7. Connect the buss cable to J1 on the NXG-433. Refer to
control panel installation manual for cable requirements.
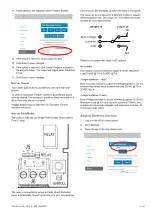
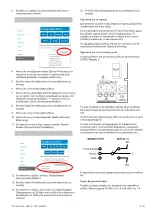
8. If required, connect zone cabling and output cabling to J3
and J6 the NXG-
433. Refer to “Note on Relay Modes”
below.
9. Set J2 TERM link if required. Refer to xGen Installation &
Programming Guide.
10. Turn on the power to the control panel and wait for panel
to complete initialisation.
11. Push the Enrollment switch on xGen panel.
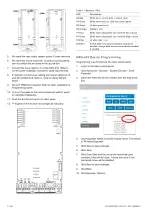
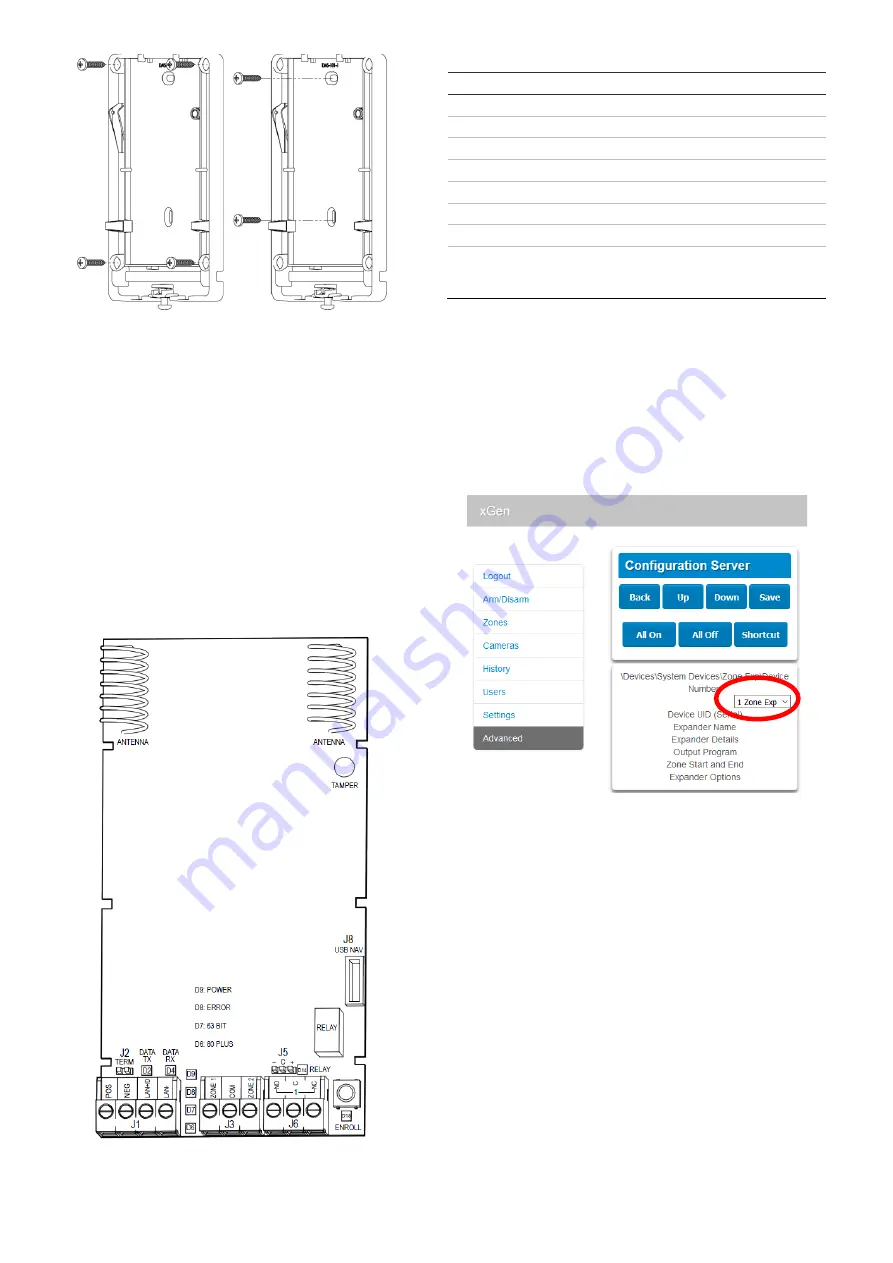
12. The lights on the receiver should light as indicated:
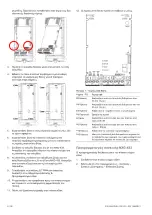
Table 1
– Receiver LEDs
LED
Description
D2 Red
Blinks when sending data to control panel
D4 Green
Blinks when receiving data from control panel
D9 Green
Lit when power is on
D8 Orange
Software error
D7 Blue
Blinks when valid packet received from 63 bit device
D6 Green
Blinks when valid packet received from 80plus device
D14 Red
Lit when relay is on
D15 Red
A triple blink every second indicates module not
enrolled, a single blink every second indicates module
is enrolled
NXG-433 Device Programming
Programming is performed via the xGen control panel.
1. Log in to the xGen control panel.
2. Click Advanced
– Devices – System Devices – Zone
Expander.
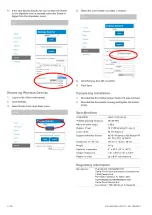
3. Select the NXG-433 device number from the drop-down
box:
4. Click Expander Name to set the module name. The default
is “Wireless Expander”.
5. Click Save to save changes.
6. Click Back.
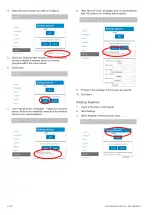
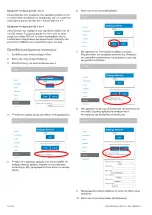
7. Click Zone Start and End to set the hardwired zone
numbers if they will be used. If these are set to 0, the
hardwired zones will be disabled.
8. Click Save to save changes.
9. Click Back.
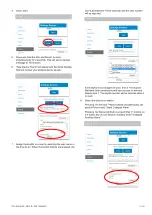
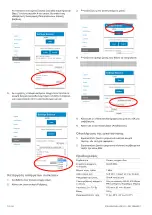
10. Click Expander Options.


