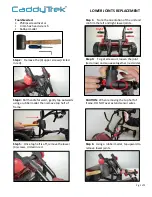
Tools Needed:
•
Phillips screwdriver or
•
3 mm hex head wrench
•
Rubber mallet
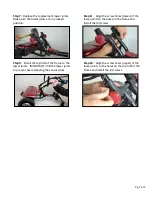
Step 2:
Remove the (4) upper screws (circled
in red).
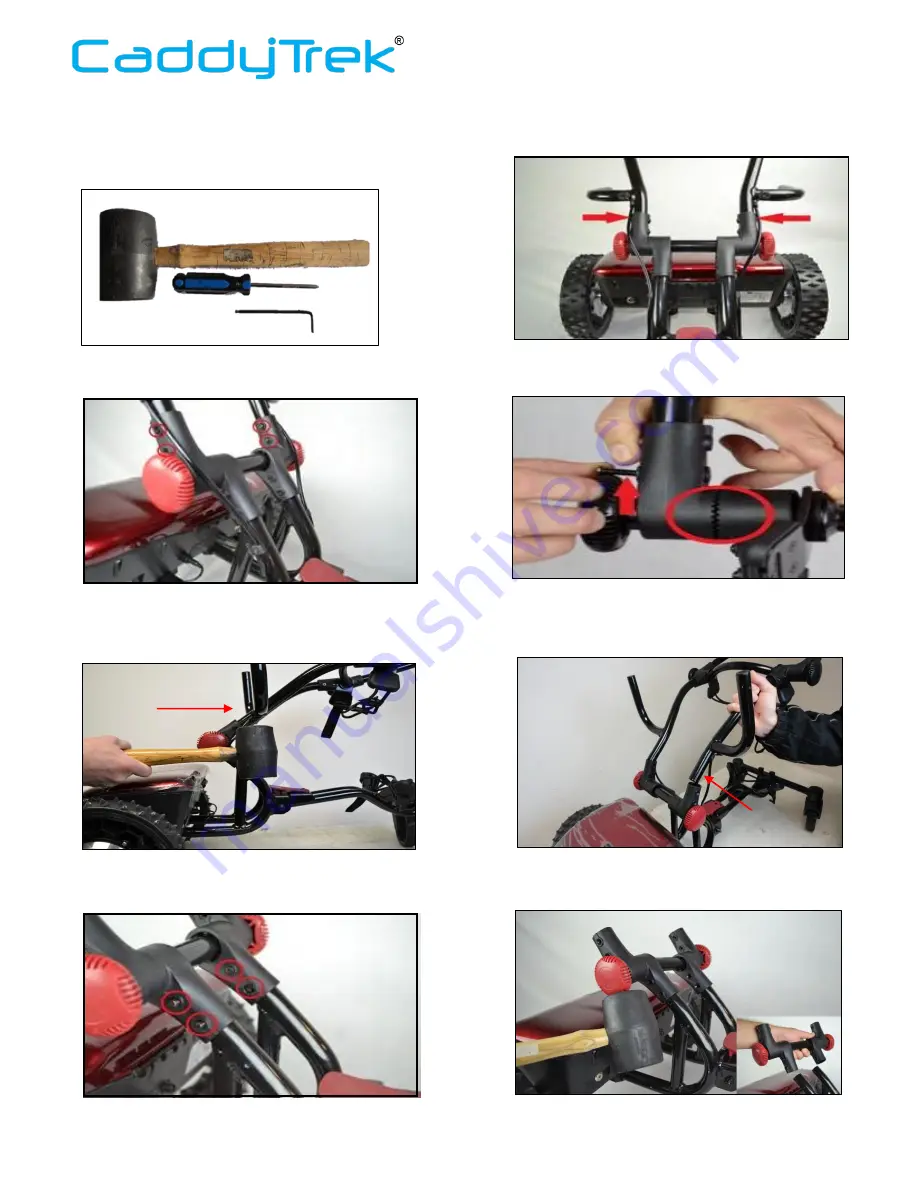
Step 4:
Roll handle forward, gently tap outwards
using a rubber mallet then remove top half of
frame..
Step 5:
Once top half is off, remove the lower
(4) screws, circled in red.
LOWER JOINTS REPLACEMENT
Step 1:
Note the orientation of the unit and
confirm the left and right lower joints.
Step 3:
To get screw out, loosen the joint
(red arrow) and squeeze together (red circle).
CAUTION:
When removing the top half of
frame, DO NOT over extend sensor wires.
Step 6:
Using a rubber mallet, tap upward to
remove lower joints.
Pg. 1 of 2
Right Left


