70
VENUS - GIOIA
EN
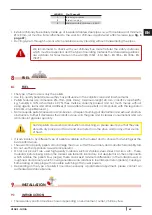
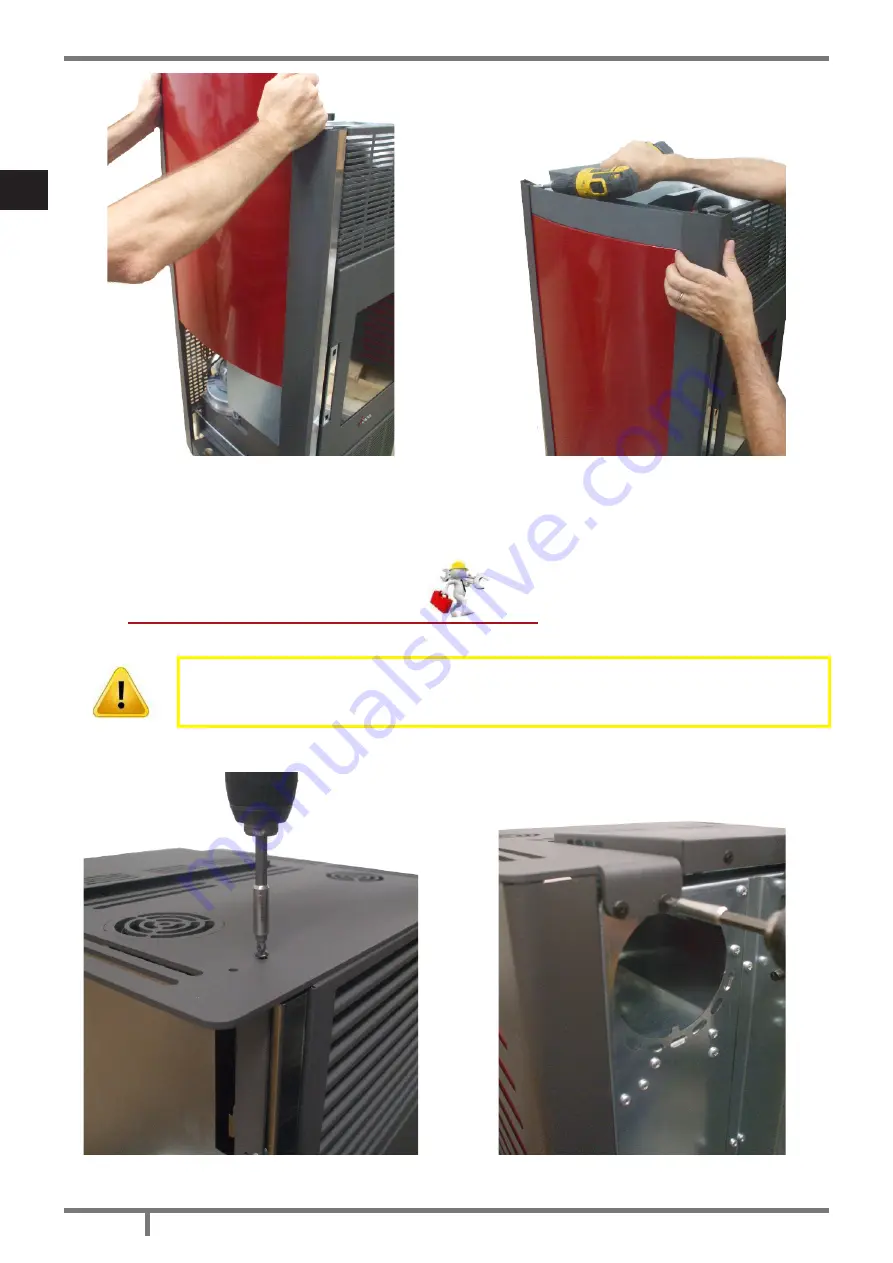
Fig. 19 - Side panel insertion
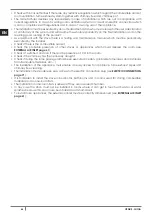
Fig. 20 -
Replace upper curved profiles
•
Insert from on high the metal or majolica side panels on the appropriate guides getting it slightly course
all the way (see
Fig. 19 page 70
).
•
Screw the upper profiles (see
Fig. 20 page 70
).
9.5
PANELS ASSEMBLY (GIOIA MODEL)
Assembly must be carried out by an authorised technician.
For panels installation, proceed as follows:
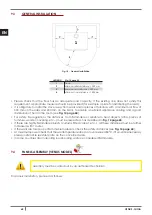
Fig. 21 - Upper screws removal
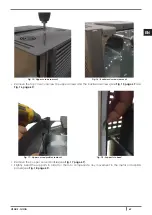
Fig. 22 - Backward screws removal
• Remove the top cover: unscrew the upper screws and the backward screws (see
Fig. 21 page 70
and
Summary of Contents for GIOIA
Page 2: ......
Page 49: ...49 VENUS GIOIA IT 14 3 RICAMBI Fig 60 Ricambi ...
Page 52: ...52 VENUS GIOIA IT 14 4 DICHIARAZIONE DI CONFORMITÀ Fig 61 Dichiarazione di Conformità ...
Page 98: ...98 VENUS GIOIA EN 14 3 SPARE PARTS Fig 60 Spare parts ...
Page 101: ...101 VENUS GIOIA EN 14 5 DECLARATION OF CONFORMITY Fig 61 Declaration of Conformity ...
Page 148: ...148 VENUS GIOIA FR 14 3 PIÈCES DÉTACHÉES Fig 60 Pièces détachées ...
Page 151: ...151 VENUS GIOIA FR 14 5 DÉCLARATION DE CONFORMITÉ Fig 61 Déclaration de Conformité ...
Page 197: ...197 VENUS GIOIA ES 14 3 REPUESTOS Fig 60 Repuestos ...
Page 200: ...200 VENUS GIOIA ES 14 5 DECLARACIÓN DE CONFORMEDAD Fig 61 Declaración de conformedad ...
Page 247: ...247 VENUS GIOIA NL 14 3 RESERVEONDERDELEN Fig 60 Reserveinderdelen ...
Page 250: ...250 VENUS GIOIA NL 14 5 CONFORMITEITSVERKLARING Fig 61 Conformiteitsverklaring ...
Page 297: ...297 VENUS GIOIA PT 14 3 PEÇAS SOBRESSALENTES Fig 60 Peças sobressalentes ...
Page 300: ...300 VENUS GIOIA PT 14 5 DECLARAÇÃO DE CONFORMIDADE Fig 61 Declaração de conformidade ...
Page 348: ...348 VENUS GIOIA EL 14 3 ΕΞΑΡΤΗΜΑΤΑ Fig 60 Εξαρτήματα ...
Page 351: ...351 VENUS GIOIA EL 14 5 ΔΗΛΩΣΗ ΣΥΜΜΟΡΦΩΣΗΣ Fig 61 Δηλωση Συμμορφωσησ ...


