KRISS
3
- TECNA
3
- EVO
3
- ELISE
3
- SHELL
3
- CRISTAL
3
- GLASS - VERVE AT - PRETTY AT - TITANIA AT - VENERE AT - BREEZE AT
30
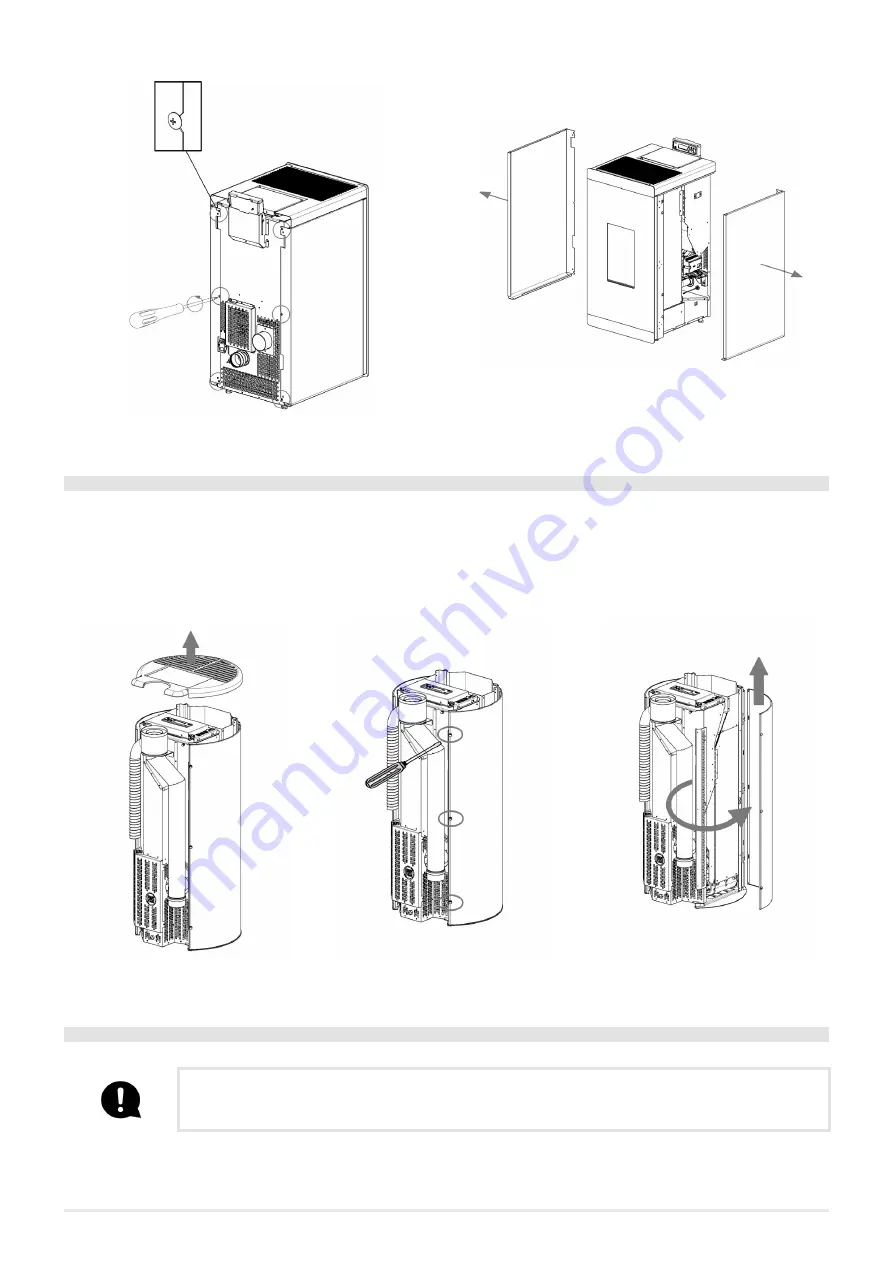
Fig. 69 - Loosen screws
Fig. 70 - Remove side panels
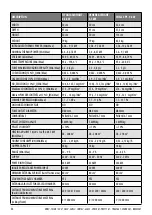
5.15 BREEZE AIRTIGHT SIDE PANEL DISASSEMBLY
To access the internal stove parts, disassemble the side panels as indicated below:
• Remove the cast iron cover (see
).
• Loosen the rear screws of the sides (see
• Open the side and release it from the teeth (see
).
• To assemble proceed in reverse order.
Fig. 71 - Top removal
Fig. 72 - Remove screws
Fig. 73 - Removing the side panel
5.16 ELECTRIC CONNECTION
Warning: the appliance must be installed by an authorized technician!
• The electric connection occurs through a cable with plug put in an electric socket which is able to support charge and tension
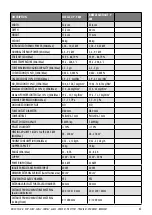
specific of every model, as described in the technical datas table (see
• The plug must be easily accessible when the appliance is installed.
Summary of Contents for KRISS3
Page 46: ...NOTE...


