25
WALL - SMALL - STYLE
EN
After "WEEKLY CHRONO":
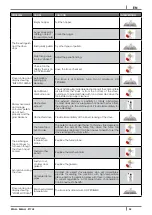
Press P5: the display shows "START PROG-1", with P1 and P2 keys insert the ignition time value or put in "OFF".
Press P5: the display shows "STOP PROG-1", with P1 and P2 insert the switching off value or put in "OFF".
•
Press P5: the display shows "MONDAY PROG-1", with P1 and P2 keys set "ON" or "OFF".
•
Press P5: the display shows "TUESDAY PROG-1", with P1 and P2 keys set "ON" or "OFF".
•
Press P5: the display shows "WEDNESDA PROG-1", with P1 and P2 keys set "ON" or "OFF"".
•
Press P5: the display shows "THURSDAY PROG-1", with P1 and P2 keys set "ON" or "OFF".
•
Press P5: the display shows "FRIDAY PROG-1", with P1 and P2 keys set "ON" or "OFF".
•
Press P5: the display shows "SATURDAY PROG-1", with P1 and P2 keys set "ON" or "OFF"".
•
Press P5: the display shows "SUNDAY PROG-1", with P1 and P2 keys set "ON" or "OFF".
•
Now press P5 and repeat all the previous instructions for Prog-2, Prog-3, Prog-4.
•
To exit press three times P4.
12.15
PELLET SUPPLY
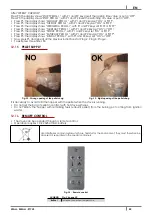
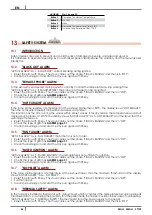
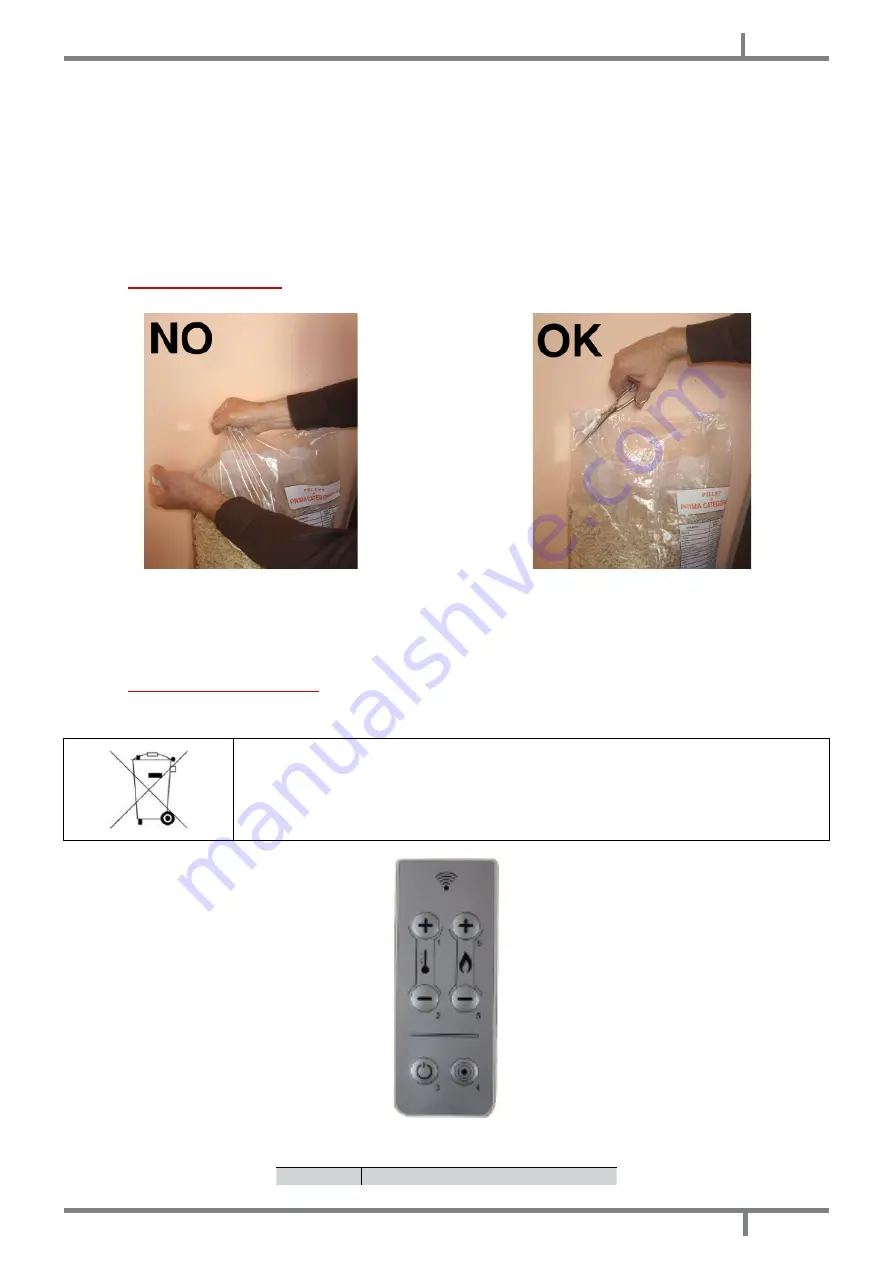
Fig. 32 - Wrong opening of the pellets bag
Fig. 33 - Right opening of the pellets bag
It is necessary to avoid to fill the hopper with the pellet when the stove is running.
•
Do not get the bag of pellet in contact with hot stove surfaces.
•
Do not empty the hopper with remaining fuels (unburnt pellet) from the burning pot coming from ignition
waster.
12.16
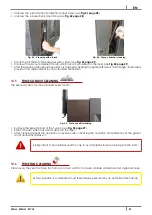
REMOTE CONTROL
•
The stove can be operated through a remote control.
•
Operation requires 1 CR 2025 Lithium battery.
Used batteries contain metals which are harmful for the environment; they must therefore be
disposed of separately in the special containers.
Fig. 34 - Remote control
LEGEND
Button 1
Increase the desired temperature


