19
WALL - SMALL - STYLE
EN
•
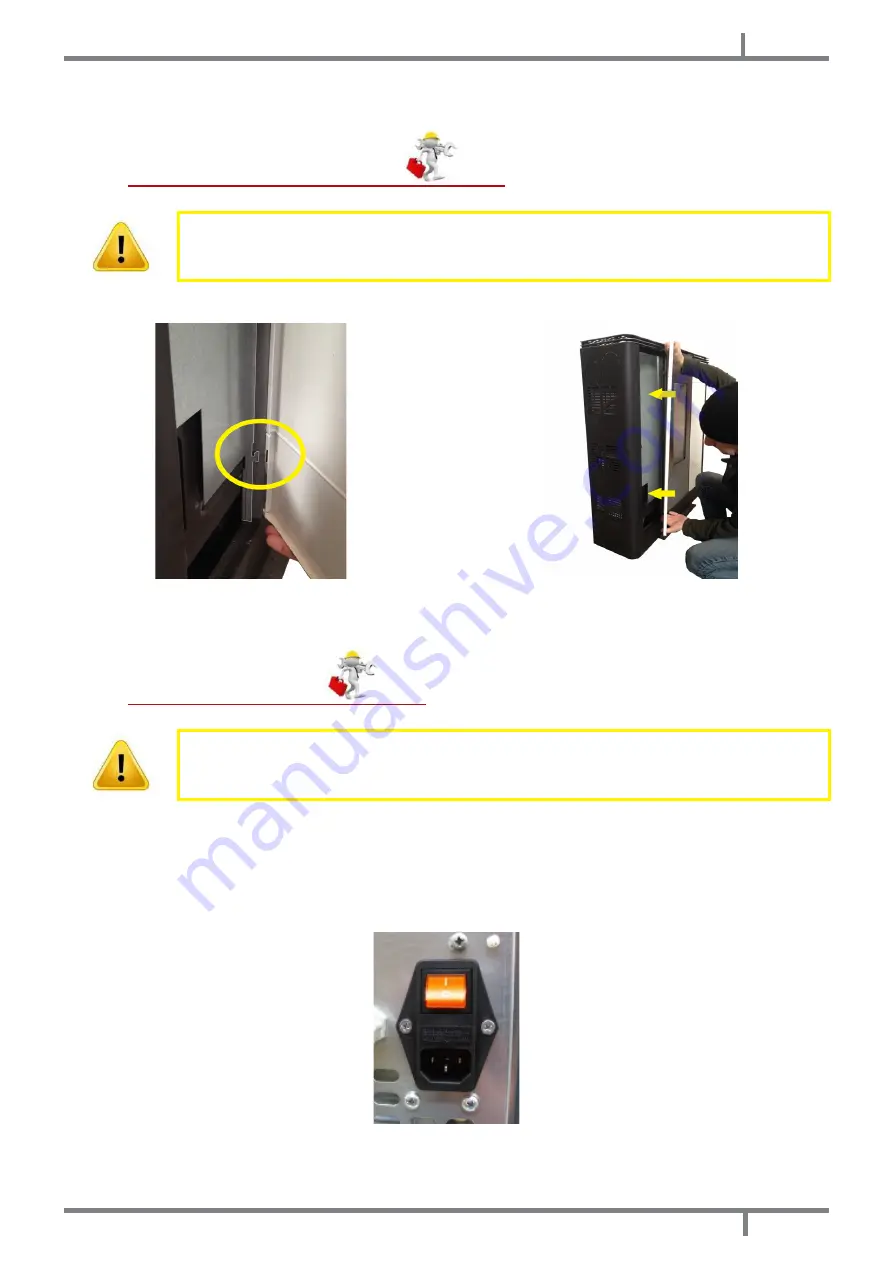
Insert the metal side panles from above, placing the two teeth on the special slots and pushing all the way
down (see
•
Use no.8 wrench to tightenthe two screws under the panel (see
11.7
PANELS ASSEMBLY (STYLE MODEL)
Assembly must be carried out by an authorised technician.
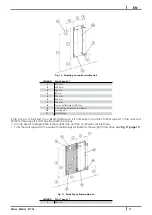
For panels installation, proceed as follows:
Fig. 21 - Panels assembly
Fig. 22 -
Panels fixing
•
Insert the metal side panles from above, placing the teeth on the special slots and pushing all the way down
).
11.8
ELECTRIC CONNECTION
Warning: the appliance must be installed by an authorized technician!
•
The electric connection occurs through a cable with plug put in an electric socket which is able to support
charge and tension specific of every model, as described in the technical datas table (see
).
•
The plug must be easily accessible when the appliance is installed.
•
Please further assure you that your network is endowed with an efficient earth connection: if it does not exist
or if it is not efficient, please endow you with one in compliance with the law.
•
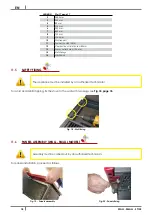
Connect the supply cable first on the back of the stove (see
) and then at a wall electric
socket.
Fig. 23 - Electric socket with master switch
•
The master switch O/I (see
) is to open only to switch the stove on, otherwise it is advisable
to keep it off.
•
Do not use extension cables.


