
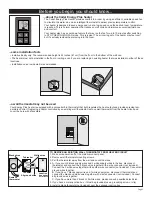


Before you begin, you should know...
73
73
73
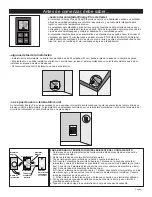
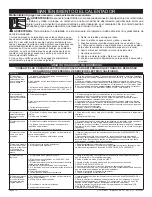
Remove
thermostat
Junction
box cover
(not included)
To heater
To breaker
White wires
Black wires
All ground wires
73
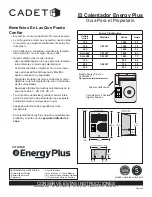
...about the Cadet Energy Plus heater
...some installation facts
...a wall thermostat may not be used
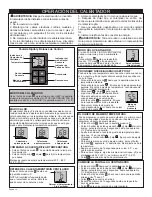
The Cadet Energy Plus Heater provides
comfort to a room by using an efficient, variable speed fan
to circulate the warm air, and an intelligent thermostat to deliver precise temperature control.
Your heater is designed to save energy and run at a low speed once the desired room temperature
is reached. This is normal operation that reduces on/off cycles and improves overall performance
and comfort.
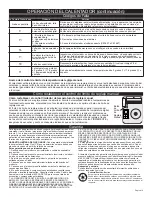
Your heater also has a cool down feature that may run the fan for up to 10 minutes after switching
to STOP HEATING/NO FAN mode. This is typical. The air coming out of the heater
may feel cool,
but it’s actually residual heat moving into the room.
• Install vertically only. The recommended height is 24 inches (61 cm) from the floor to the bottom of the wall can.
• The heater must not be installed in the floor or ceiling, even if you are replacing an existing heater that was installed in either of these
locations.
• Installation on an inside wall is recommended.
Your Energy Plus heater is equipped with a unique built-in thermostat that both regulates the heat output and provides precise tem-
perature control. If replacing a heater controlled by an existing wall thermostat, remove wall thermostat from the heater circuit and
cover the hole with a faceplate.
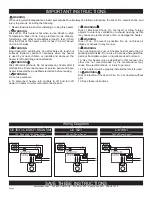
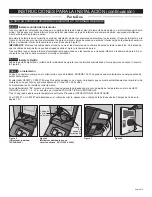
TO REMOVE AN EXISTING WALL THERMOSTAT FROM HEATER CIRCUIT
1. Make sure power is off at the main disconnect panel.
2. Remove wall thermostat mounting screws.
3. Pull the thermostat away from the wall and count the wires.
4. A. If you count 2 black supply wires and 2 white supply wires in the box, disconnect
thermostat and connect the 2 black wires together with a wire connector (not included).
Connect the 2 white wires together with another wire connector (not included). Connect all
ground wires together.
B. If you have 1 black supply wire and 1 white supply wire, disconnect thermostat and
connect the black and white wires together with a wire connector (not included). Connect
all ground wires together.
C. If you have more than 2 black or 2 white wires, please consult a qualified electrician.
5. If you have a metal junction box, it must be grounded (use a grounding screw or clip).
6. Install a blank faceplate (not included) over the exposed junction box.
Page 3


