12
49-2000636 Rev. 1
* Compatible Apple or Android devices and home Wi-Fi network required.
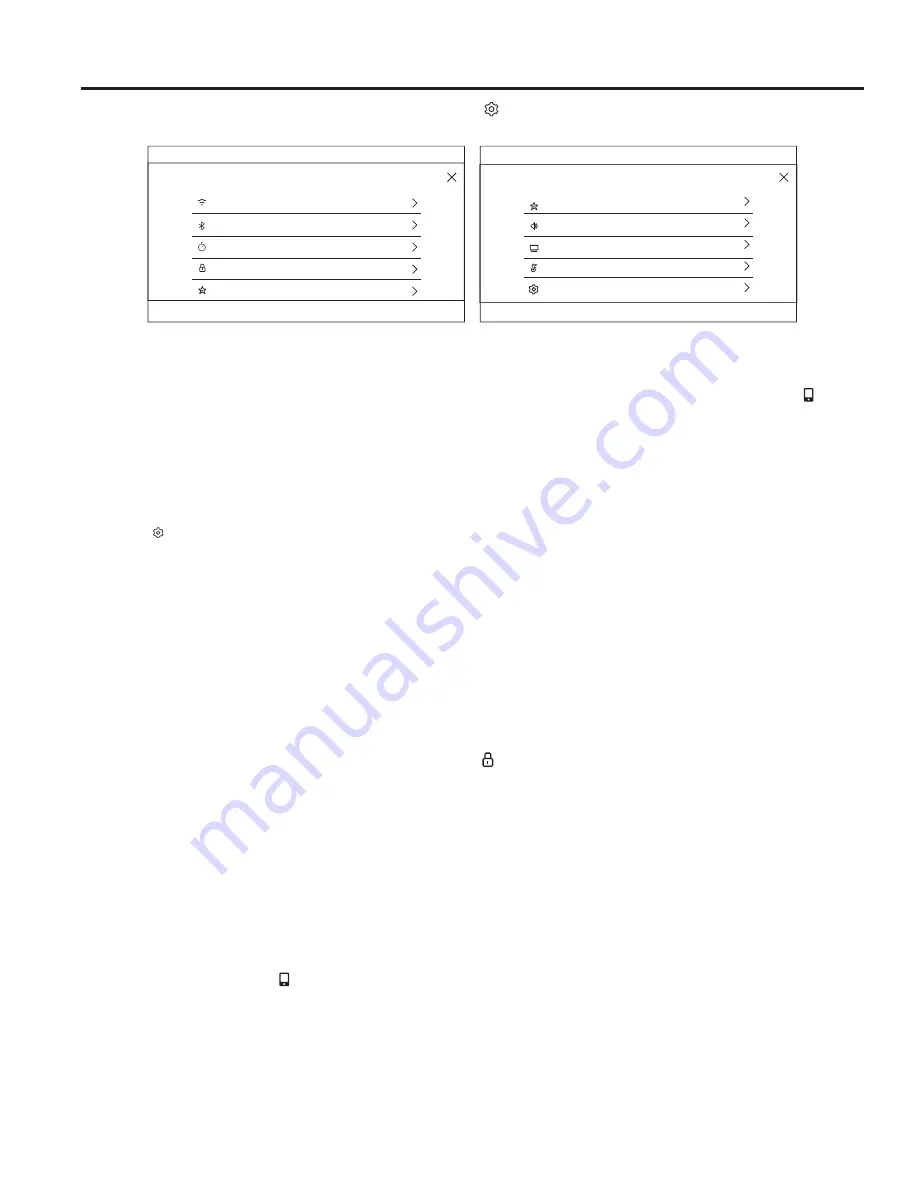
There are numerous settings that are accessed by pressing in the top right corner of the main screen.
Wi-Fi & Remote Enable
This appliance is configurable to allow remote operation
at any time. Do not store any flammable materials or
temperature sensitive items inside or on top of this
appliance. By using the Wi-Fi Connect feature, you will
be able to control essential oven operations such as
temperature settings, timers and cooking modes using
your smartphone or tablet.*
Select the then
Wi-Fi & Remote Enable
- follow the
instructions on your oven display and phone app. It is
necessary to turn on Wi-Fi before using Remote Enable
on your oven.
Connecting your Wi-Fi Connect Enabled oven
1. Have your smart phone or tablet ready with the ability
to access the internet and download apps.
2. You will need to know the password of your home
Wi-Fi router. Have this password ready while you are
setting up your GE Appliances oven.
3. On your smart phone or tablet, visit
GEAppliances.com/connect
to learn more about
connected appliance features and to download the
app to connect to your oven.
4. Follow the onscreen instructions in the app to connect
your GE Appliances oven. When connected, your
oven should show that it is connected to your home
Wi-Fi network.
5. If there are issues connecting wirelessly to your oven,
please call 800.220.6899 and ask for assistance
regarding oven wireless connectivity.
To connect additional smart devices, repeat steps 3 and 4.
Remote Starting your Oven
To be able to start the oven remotely once connected
to Wi-Fi, press
Remote Enable
on the main menu or
access
Wi-Fi & Remote Enable
in the settings menu
and turn Remote Enable on. The oven can now be
started remotely using a connected device. The icon
must be active to start the oven remotely. To disconnect
your phone from Remote Enable, access the
Wi-Fi &
Remote Enable
settings and turn Remote Enable off.
NOTE:
)RRGVWKDWVSRLOHDVLO\²VXFKDVPLONHJJVILVK
VWXIILQJVSRXOWU\DQGSRUN²VKRXOGQRWEHDOORZHGWR
sit for more than 1 hour before or after cooking. Room
temperature promotes the growth of harmful bacteria. Be
sure that the oven light is off because heat from the bulb
will speed harmful bacteria growth.
Set Clock
This feature allows you to set the clock and specifies
how the time of day will be displayed. Options are for a
standard 12-hour clock with AM and PM selections or
24-hour military time display.
Lock Control
Select this option in order to lock the LCD from any
undesired screen selections. To unlock the screen, press
and press
Unlock
on the next screen.
Sabbath
6DEEDWKPRGHGLVDEOHVWKHRYHQOLJKWVWKHRYHQOLJKW
ZLOOQRWWXUQRQZKHQWKHGRRULVRSHQHGDOOVRXQGV
WKHFRQWUROZLOOQRWEHHSZKHQWKHVFUHHQLVSUHVVHG
Convection modes, Broil modes, Warm, Proof, and all
time functions. Sabbath mode can only be used with
traditional Bake. This feature conforms to the Star-K
Jewish Sabbath requirements. Please reference the
Sabbath Mode section for more information.
Sound
This setting screen allows you to change the volume, the
end of cycle tone, and turn on or off the touch sound.
Slide up and down to access all the settings
USING THE RANGE:
Settings
Settings
COOKING
SYSTEM
SETTINGS
SABBATH
SOUND
DISPLAY
12:30 PM
SETTINGS
12:30 PM
Wi-Fi & REMOTE ENABLE
BLUETOOTH
SET CLOCK
SABBATH
LOCK CONTROL
Summary of Contents for C2S900M
Page 1: ...Owner s Manual ...
Page 29: ...28 49 2000636 Rev 1 Notes ...
Page 30: ...49 2000636 Rev 1 29 Notes ...
Page 61: ...28 49 2000636 Rev 1 Notas ...
Page 62: ...49 2000636 Rev 1 29 Notas ...


