16
Settings
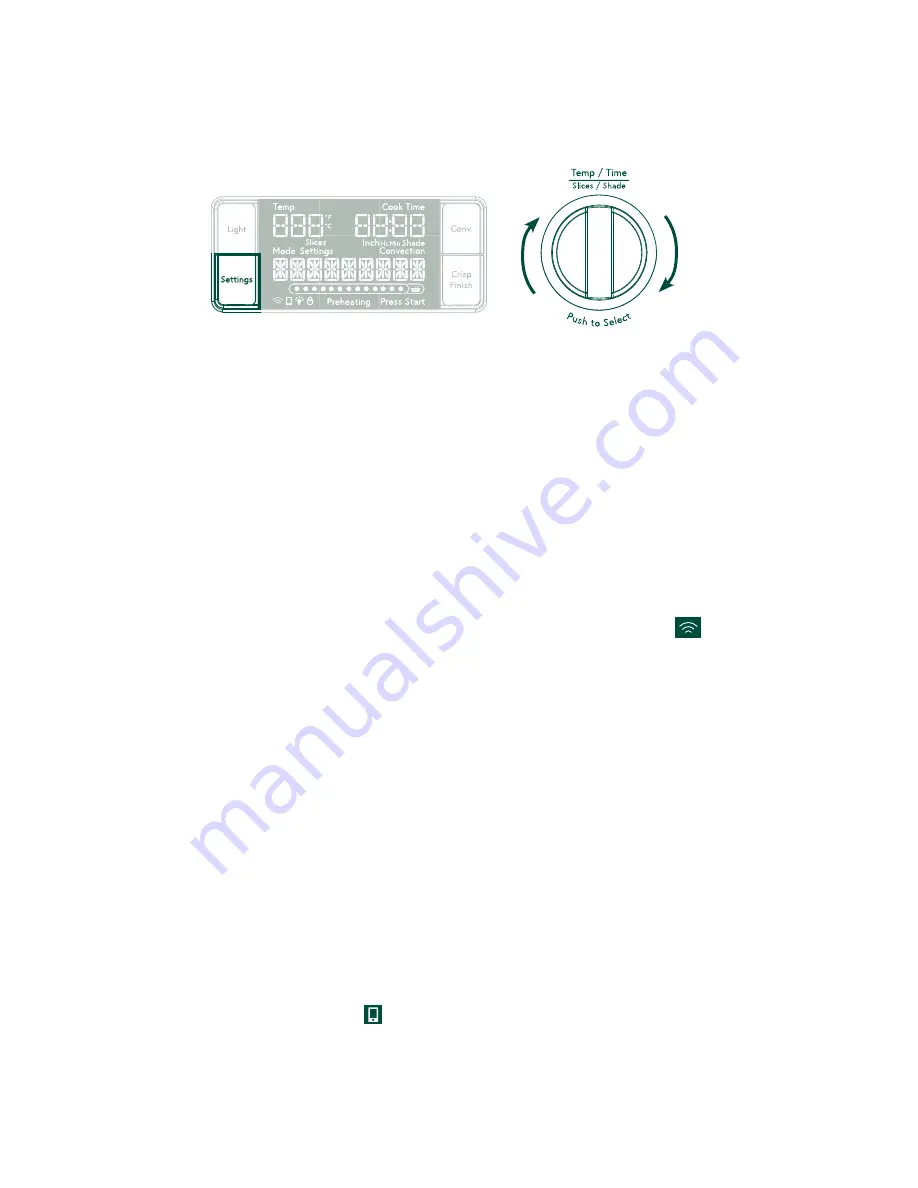
Your Café oven has a variety of settings and features that may be configured to your preferences. To access the
Settings
menu, press the
Settings
button next to the control display. Then rotate the
Temp/Time knob
to scroll through the available
settings. Push in the
Temp/Time knob
to select the setting to be adjusted.
WiFi Connect – SmartHQ™ App
Your Café oven is WiFi Connect Enabled. A WiFi module is built into the product allowing it to communicate with your Smart
Phone for remote monitoring, control, notifications, and appliance software updates. To take advantage of your appliance’s
connected features, please download the SmartHQ™ mobile app.
To connect the oven to your WiFi network:
•
Press the
Settings
button and use the
Temp/Time knob
to select “
WIFI
”.
•
Rotate the
Temp/Time knob
to toggle the WiFi status (
On/Off
).
•
Push the
Temp/Time knob
to confirm the setting “
WIFI ON
”. The control display will show “
PAIRING
” and the
WiFi
icon in the display will begin to flash.
•
Follow instructions in the SmartHQ™ app to continue WiFi setup.
•
When the appliance has successfully connected to WiFi, the
WiFi
icon will be solid on.
To disconnect from WiFi:
•
Press the
Settings
button and use the
Temp/Time knob
to select “
WIFI
”.
•
Rotate the
Temp/Time knob
to toggle the WiFi status.
•
Push the T
emp/Time knob
to confirm the setting “
WIFI OFF
”.
NOTE:
Connecting the machine may take multiple attempts.
NOTE:
In case of loss of power or connection, the oven may take a up to five minutes to reconnect.
Please visit
geappliances.com/ge/connected-appliances/
to learn more about connected appliance features and to learn
what connected appliance apps will work with your Smart Phone.
Remote Enable
Whenever the oven is connected to a WiFi network, you will be able to adjust oven temperature, add or reduce cooking time,
and/or stop a cooking cycle from the SmartHQ app. However, an additional step is required before the oven can be remotely
started. The Remote Enable mode must be activated before a cooking cycle may be started from the SmartHQ app. This is
to ensure that the user has properly inspected the immediate area around the oven for hazards and potentially flammable
materials, as the the exterior surface of the oven can get hot while cooking.
To activate the Remote Enable mode, press and hold the
Start
button for three seconds. The LED ring around the Start button
will begin to flash and the
Remote Enable
icon
will illuminate on the control display. At this time, you will have 10 minutes
to program and start a cooking cycle from the SmartHQ app. If the oven is not started within 10 minutes, then the Remote
Enable mode will be automatically deactivated.
To manually deactivate the Remote Enable mode, press and hold the
Start
button for three seconds. The LED ring around the
Start button will stop flashing and the
Remote Enable
icon will disappear on the control display.
NOTE:
Opening the oven door after activating Remote Enable but before starting the oven will automatically deactivate the
Remote Enable mode.
Navigate settings by turning the Temp/Time knob


