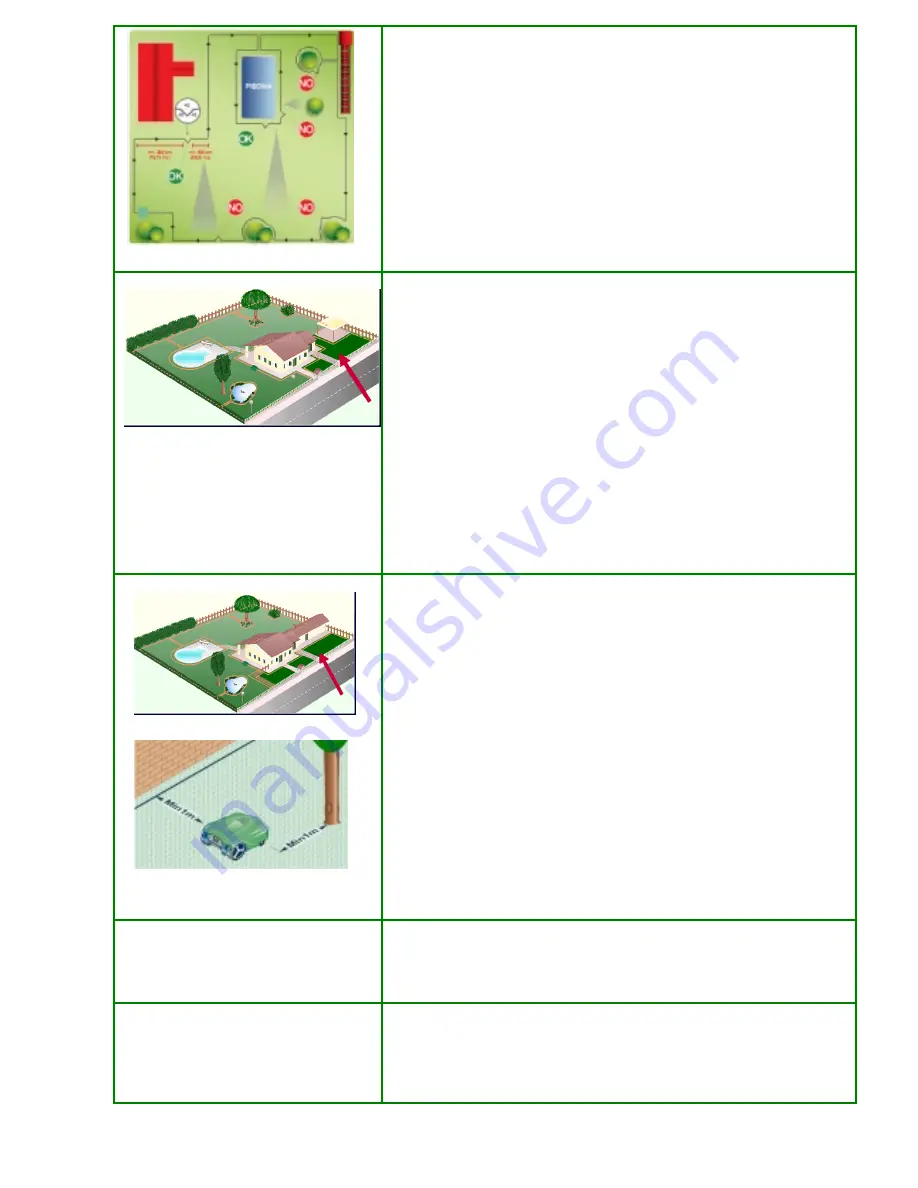
background image


- 5 - 


Secondary Area 


The secondary area is a part of the garden connected to the main garden by 
a narrow passage that is hard to be achieved by chance. Saying if the passage 
is big or small for the robot depends on the primary area dimension. 
Obviously the secondary area must be at the same level of the primary area 
(without steps). 
 
The robot can manage up to three secondary areas (the primary and three 
secondary areas). 
The minimum passage is 70 cm from cable to cable. So the passage that you 
need is 1 meter and 40 cm wide. It is better to increase the distance if the 
passage is very long. On the contrary, if the passage is shorter than 2 meters, 
we can venture some centimeters less. 
 
During the programming it is necessary to set in the robot the dimensions of 
the secondary areas with percentage in relation to the lawn and to the best 
way for the robot to reach them faster (clockwise/anticlockwise), and 
obviously in relation to the meters the machine has to follow the cable in 
order to reach the secondary area. 

Closed secondary area 


The secondary area is a part of the garden separated from the main area but 
connected to it with the going in and out of cable. 
 
The robot must be carried to the closed area by hand and it must be taken 
again to the primary area to recharge its batteries. 
 
These solutions do not fit big gardens because the management will be 
difficult. 
In fact the robot cannot fulfill the charging cycle completely and the 
mulching effect is not completely successful because it is highly probable that 
the customer won’t punctually move the machine from one area to the other 
or may forget to do it. 
 
In order to tell the robot that it is working in a closed area, it is necessary to 
switch it on in the closed area.  Push "Enter" to enter programming mode.  
Scroll voices up to "

WORK MODE". Set "NO PERIMETER

" and 

set Robot working minutes.


From this moment on the robot knows that it is in a closed area and that 
when it finishes working it must not look for the recharging base but has to 
stop. 
 

Installation without perimeter 

It’s possible to let the robot work even without a border. We do not suggest 
this option. It is normally used for demonstrations only or for small gardens 
situated near the main lawn and completely delimited by fences (even the 
flowerbeds).  
 

Installation of neighboring perimeters 
 

Situation : 1 – Solution “A” 

Situation 1: (Same owner with 2 different and separated gardens not 
accessible to the same robot) 


In these situations there are 2 different solutions. 

Solution “A”

. Have only one installation of the garden 1 and 2 by 

linking the 2 gardens together. The recharging base in garden no 1 

Summary of Contents for Ambrogio L200

Page 1: ...Menu 16 Service Menu Release November 2009 16 Service Menu Statistics 17 Service Menu Test Motors 17 Service Menu Battery Type 18 Service Menu Test Tilt 18 Service Menu Test Bump 18 Service Menu Blac...

Page 2: ...d of the installation it will be useful in order to test the correct operating Arranging the garden It is necessary to inform the customer about how to prepare the garden before the installation The m...

Page 3: ...cations in front of the base and behind it to create this store it is necessary to make a flowerbed and leave cable intermingled with the cable delimiting the surface Work in a clockwise direction Rem...

Page 4: ...the base it returns quickly to recharge again Remember that the robot recognizes consequently a maximum of three arrows each working cycle IMPORTANT Never put an arrow in the return way otherwise the...

Page 5: ...a by hand and it must be taken again to the primary area to recharge its batteries These solutions do not fit big gardens because the management will be difficult In fact the robot cannot fulfill the...

Page 6: ...the robot no 2 o In case of failure of one robot the other one cannot be used to mow the zone 1 as well Situation 3 Installation of Ambrogio when in the closest garden there is a robot by another man...

Page 7: ...Preferred Widest area but not compulsory Socket Flat area Water system Check the water systems position At the end of the installation Settle the rain sensor Test how the robot follows the border cabl...

Page 8: ...every working day it is possible to show with 1 if the robot must work and with 0 if not The robot must work every day or every other day to exploit the mulching effect Working hours It is possible to...

Page 9: ...ameter represents the dimension of the secondary area in relation with the whole garden 100 Let s see some examples that show how often the robot mows the secondary area according to percentage variat...

Page 10: ...ting the file BT Remote Control jar and then select in the menu FILE Send to Bluetooth device At this point the procedure changes in relationship with the Bluetooth module installed on the PC but in g...

Page 11: ...t been fulfilled it is not possible to control the robot with the mobile Settle it in Pause and restart it Settle the spiral in order to optimize the work in that area While the robot is working it is...

Page 12: ...witch 10 serial connector Upgrade and Bluetooth remote control 11 Sinusoidal Receiver 12 Coil 13 F1 Fuse 1Ah 14 L200 Light bulb 15 Blade Motor 16 Anti reversing detector 17 Display Connector Display B...

Page 13: ...No Auto recognition With this mode it is necessary to select the model manually Step by step the software will suggest the devices which can be updated The function Advanced Update is available only...

Page 14: ...recognition activated N B Disabled for the models of previous version 3 Auto recognition successfully completed Press the key Next 4 The programmer suggests the possible updates for this model Full U...

Page 15: ...completed the update situation of each electronic board is shown In this case the boards had already been updated and the board of the compass was not present 7 Example for the update by activating th...

Page 16: ...O ZCS ADVICE 14 Debug Used to visualize some useful information to detect problems in place of battery signalling while the robot is operating To enter the menu push in sequence the keys ON PAUSE CHAR...

Page 17: ...em is caused by problems on the way or on the base which do not allow the robot to recharge High Battery last time the robot switched off for high battery and total number of the times an error has be...

Page 18: ...recharging base it resets the reference of the two terrestrial axes of the sensor The horizontal plan of the robot will be the new reference parameter When the values are being checked it is necessar...

Page 19: ...ff the cutting disc during the wire following It can be helpful whenever there are strong signal disturbs and the robot can not find the perimeter wire while looking for the charger OFF it disables th...

Page 20: ...ain forward again backwards In the statistics menu there are three different values which point out how serious is the problem The most serious is the third one which tells you how many times the robo...

Page 21: ...Detached white connector Transmitter led meanings Flashing Green Yellow Perimeter Ok Steady Green The perimeter is interrupted or not connected Steady Yellow Initial reset of about 5 seconds Flashing...

Page 22: ...ot by connecting one only battery at a time This permits to check if both the batteries are well working If one of them is not working check the internal fuse otherwise get in touch with our service o...

Page 23: ...fuse of the mother board Motor cables or green connector cable may be broken or detached because of the BLADE vibration Blade motor encoder not working The robot is working but the speed is not displ...

Page 24: ...rted Any remove or insertion operation should be done with the batteries unplugged Broken F1 fuse in the mother board Broken sinusoidal receiver Faulty mother board High Battery Should the robot displ...

Page 25: ...ase to the transmitter Disconnect in the base the cable end passing under the recharging base red connector Press the button following the perimeter in clockwise direction cable still connected The in...

Reviews: