83
Engl
ish
3.
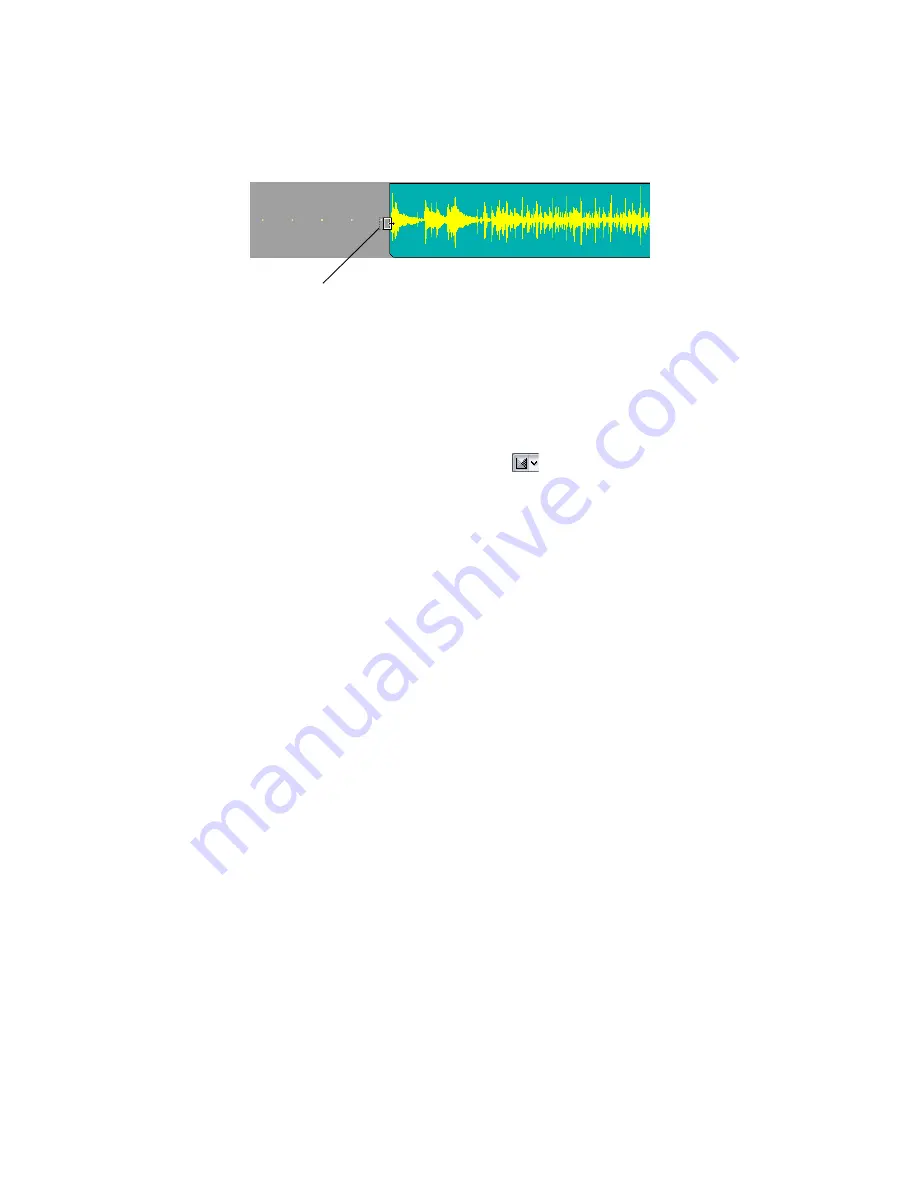
When the cursor turns into a rectangle, click and drag the beginning of the clip until you have
reached the beginning of the waveform.
The beginning of the clip is now hidden. The data is not lost, as you will see if you drag the
beginning to where it was originally. slip edited data is still in the project, but it is not seen or
heard.
Automatic Crossfades
Let’s combine these two tracks and create a crossfade.
1.
Enable automatic crossfades by clicking (depressing) the
Enable/Disable Automatic Crossfades combo button
located next to the Snap to Grid button
on the Track view toolbar.
2.
Click the down arrow on the Enable/Disable Automatic Crossfades combo button, select
Default
Crossfade Curves
and select a crossfade curve.
3.
Make sure no clips are currently selected by clicking in the Clips pane outside of any clips.
4.
Hold down the Shift key and drag the second guitar clip on top of the first guitar track and drop it
there; make sure that Blend Old and New is selected in the Drag and Drop dialog box before you
click OK. Shift-dragging ensures that a clip can only move vertically and not horizontally, so you
don’t need to enable the Snap to Grid button to keep the same exact rhythmic placement of a
dragged clip.
The two clips appear on the same track with a crossfade marker on the overlapping data. The first
guitar track fades out as the second guitar fades in. For more information about crossfades, see the
online help topic “Using Fades and Crossfades in Real Time.”
Bouncing Tracks
When you finish editing a certain number of audio tracks, you can conserve memory and simplify your
mix by bouncing (combining) some tracks down to one or two tracks. You can choose to include any
effects and automation in the new track that are on the tracks that you want to combine, greatly
reducing the load on your CPU.
Let’s bounce, or combine our two percussion tracks together:
1.
Make sure no time range is selected by clicking in the Clips pane outside of any clips.
2.
Select the tracks that you want to combine: in this case, Maracas and Congas. To select multiple
tracks, hold down the Ctrl key while you click each track’s track number. You can also solo tracks
instead of selecting them.
3.
Click the Snap to Grid button to turn it on (the Snap to Grid setting is still set to Measure).
4.
In the Time Ruler, select measures 18 through 28.
5.
Use the
Edit-Bounce to Track(s)
command to open the Bounce to Track(s) dialog box.
6.
In the Destination field, choose <8> New Track.
Drag to here
Summary of Contents for Cakewalk SONAR
Page 1: ...Cakewalk SONAR User s Guide ...
Page 2: ......
Page 4: ......
Page 22: ...xxii ...
Page 50: ...50 ...
Page 102: ...102 ...
Page 182: ...182 ...
Page 302: ...302 ...
Page 420: ...420 English ...
Page 466: ...466 ...
Page 502: ...502 ...
Page 574: ...574 ...
Page 580: ...580 ...
Page 608: ...608 ...


