S-600 Assembly Instructions
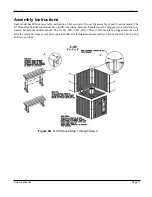
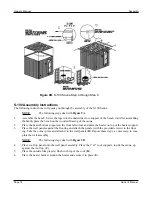
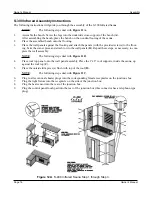
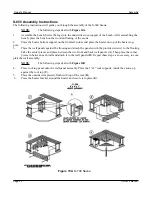
The following instructions will guide you through the assembly of the S-600 Sauna.
NOTE
:
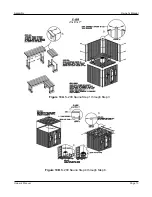
The following steps deal with
Figure 14A.
1.
Assemble the bench. Screw the legs into the underside cross-support of the bench. After assembling the
bench, place the bench on the wooden flooring of the sauna.
2.
Place the heater bottom support on the front left corner and place the heater on top of the heater sup-
port.
3.
Place the wall panels against the flooring and attach the panels (with the provided screws) to the flooring.
Take the center pieces and place between the two front and back wall panels (
A
). Then place the corner
pieces in between each wall and attach it to the wall panels (
B
). Repeat these steps, as necessary, to com-
plete the wall assembly.
NOTE
:
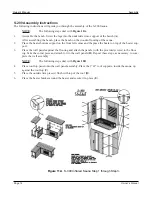
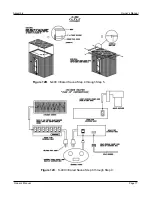
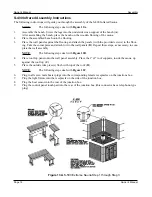
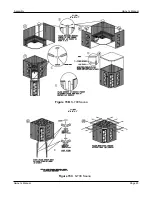
The following steps deal with
Figure 14B
.
4.
Place roof top panel onto the wall panel assembly. Place the 1”x2” roof supports, inside the sauna, up
against the roof top (
C
).
5.
Place the outside trim piece(s) flush with top of the roof (
D
).
6.
Place the heater bracket around the heater and secure it in place (
E
).
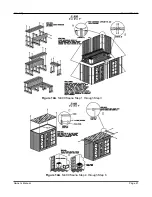
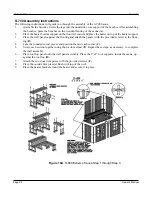
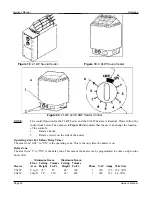
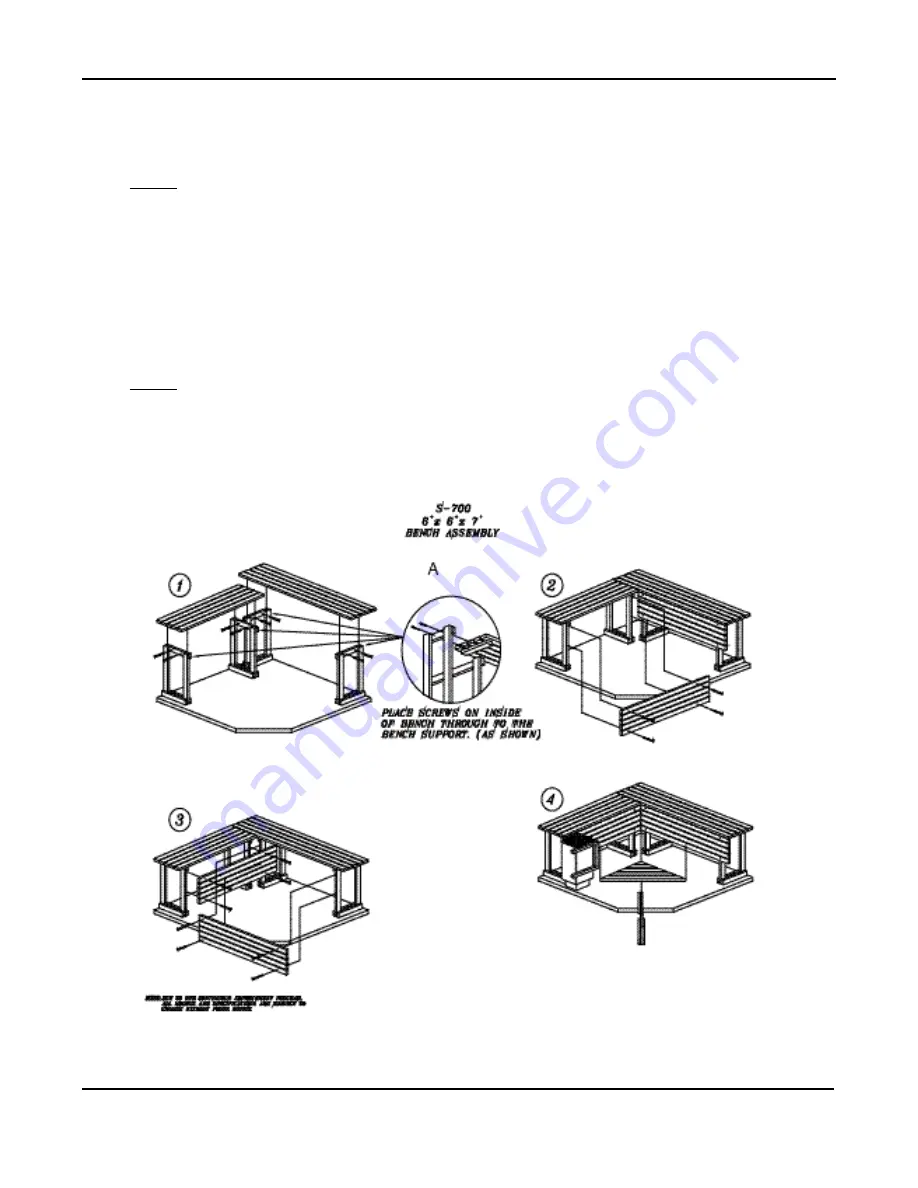
Figure 15A
. S-700 Sauna
Page 22
Owner’s Manual
Owner’s Manual
Assembly

