Page 18
Revised 01/01/04
Up
This button allows the user to cycle Up from one though seven massage modes one at a time. Each mode offers
a different pulsating massage. Some modes are faster than others, so just cycle through them to find the
massage you like best.
Down
This button allows the user to cycle Down through all seven massage modes, one at a time.
stop the demo in that massage mode.
Demo Mode
After turning on the Pump and Pulse modes, press and hold both the UP and Down Buttons together for two
seconds then release. In this mode, every twenty (20) seconds this system will automatically switch to the next
massage mode. Once the user finds the perfect massage mode, pressing either the UP or DOWN button will
Time Reset Mode
Pulse will normally run for 15 minutes then time-out. The user might press the pulse button for another 15
minute session, if the user wants to use it one more time, a green LED will blink and the pump will run on H1
speed mode as part of a 15-minute cool down period. After that, the pump will stop automatically and the green
LED light on the panel will continue to blink for a period of 1 minute then shutoff automatically.
Pulse Mode System
Pulse mode system will shut off for two hours unless reset by the following procedure. During this time the
pump will run at a maximum speed.
1.
In the off position, press the pulse mode 1 time.
2.
Power green light will flash to indicate reset.
IMPORTANT:
This system will automatically turn itself off after fifteen (15) minutes of operation. The
system can be restarted again by pressing the pump on/off button and the Pulse on/off
button. After the second fifteen minute session, the system will run through a cool down
cycle for up to two (2) hours. In this cool down mode, the user will only be able to
operate the pump (by again pressing the pump on/off button). However, the massage
modewill remain off until the cool down mode is completed.
General Operating Instructions
Owner’s Manual
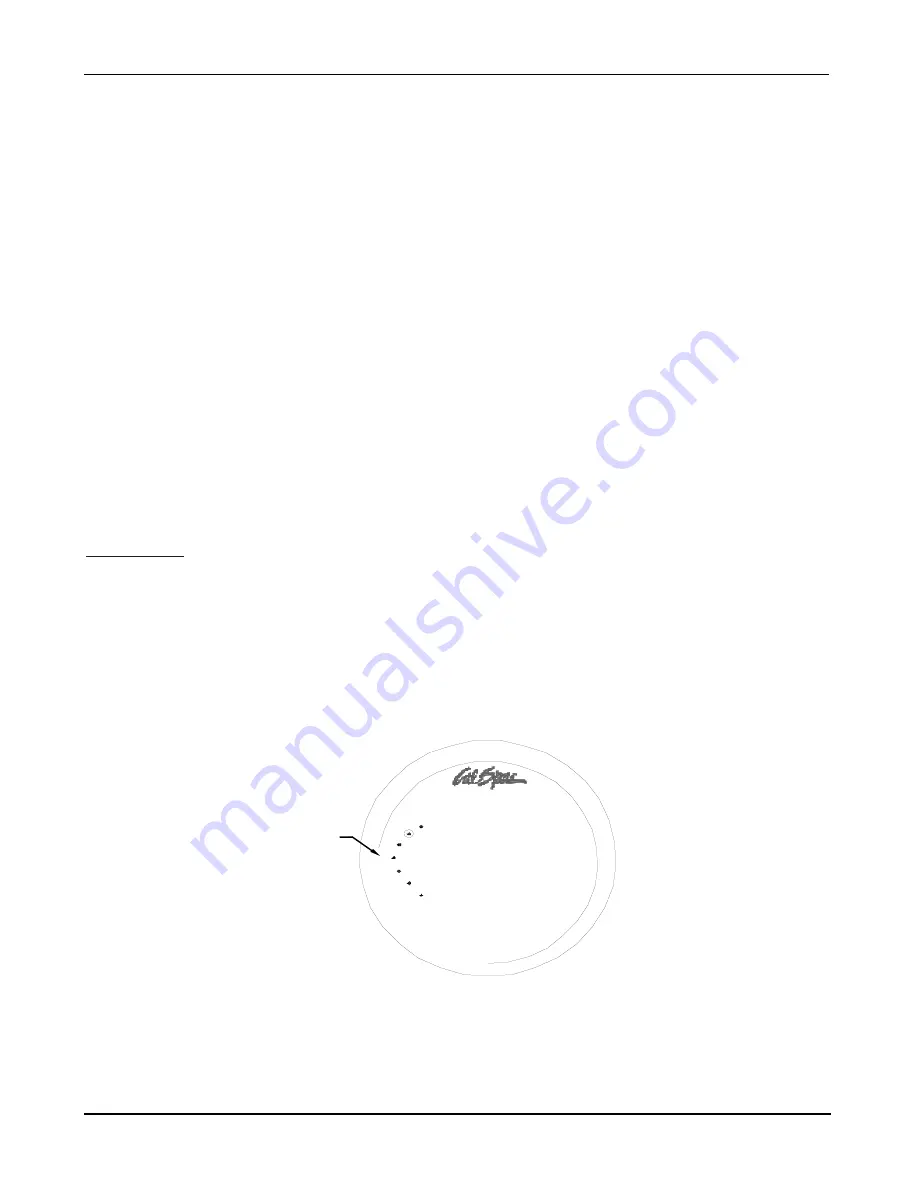
(1-7) MASSAGE MODES
Summary of Contents for 1100 Electronic Series
Page 12: ...10 ...
Page 78: ...10 ...
Page 118: ...10 ...
Page 161: ...Owner s Manual Page 11 Electrical Installation Owner s Manual Figure 3 GFCI Hook Up ...
Page 219: ...Owner s Manual Page 11 Electrical Installation Owner s Manual Figure 3 GFCI Hook Up ...
Page 282: ...Owner s Manual Page 11 Electrical Installation Owner s Manual Figure 3 GFCI Hook Up ...


