Operating Your Spa
2006 Portable Spa Owner's Manual
Page 31
LTR20061000, Rev. A
9800 Electronic Control Operation
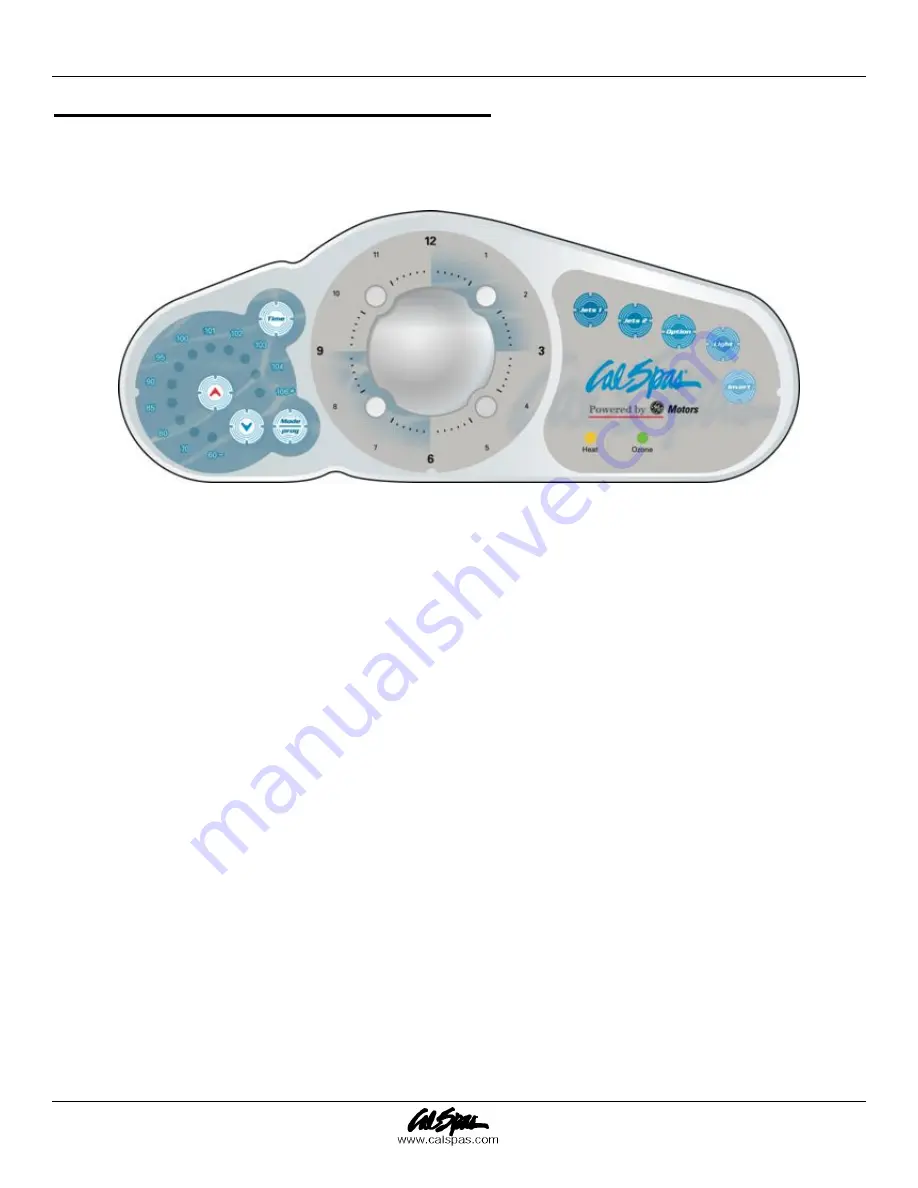
When first powered up, the 9800 electronic system (Figure 9) will perform a self-diagnostic check and then it
will automatically heat to and maintain a temperature of 100°F (37.5°C) until you change the set temperature as
listed in the “Temperature Adjustment” section below.
Figure 9. 9800 Electronic Control Panel
These instructions will describe features and options that your particular spa may not be equipped with.
Initial Start-up
When your spa is first powered up, it displays some configuration codes and then goes into priming mode (Pr
will appear on the display panel). This mode lasts up to four minutes and then the spa begins to heat to its pre -
programmed temperature of 100°F.
Temperature Adjustment
80°F - 104°F (26.0°C - 40.0°C)
The start-up temperature is set at 100°F (37.5°C). The last measured temperature is constantly displayed on the
control panel. Note that the last measured spa temperature is displayed. The displayed temperature will be
updated when the pump has been running for at least two minutes.
Press the “UP” or “DOWN” buttons once to display the set temperature. Each time either button is pressed
again, the set temperature will increase or decrease depending on which button is pressed. After three seconds,
the control panel will automatically display the last measured spa temperature.
NOTE:
Some spa models are equipped with the exclusive XL Heat Exchanger™, the most efficient spa heater
available anywhere. This highly innovative device heats water faster and more efficiently with no chemical
build-up. For your protection, it includes a High Limit Overheat Protection safety device that prevents spa
equipment from overheating. The XL Heat Exchanger™ works automatically and requires no maintenance.
Time
When time hasn’t been programmed, the “TIME” icon flashes. To set the time, press the “TIME” button and
then the “MODE/PROG” button. Use the “UP” and “DOWN” buttons to adjust time. See the next page for
more detailed instructions.


