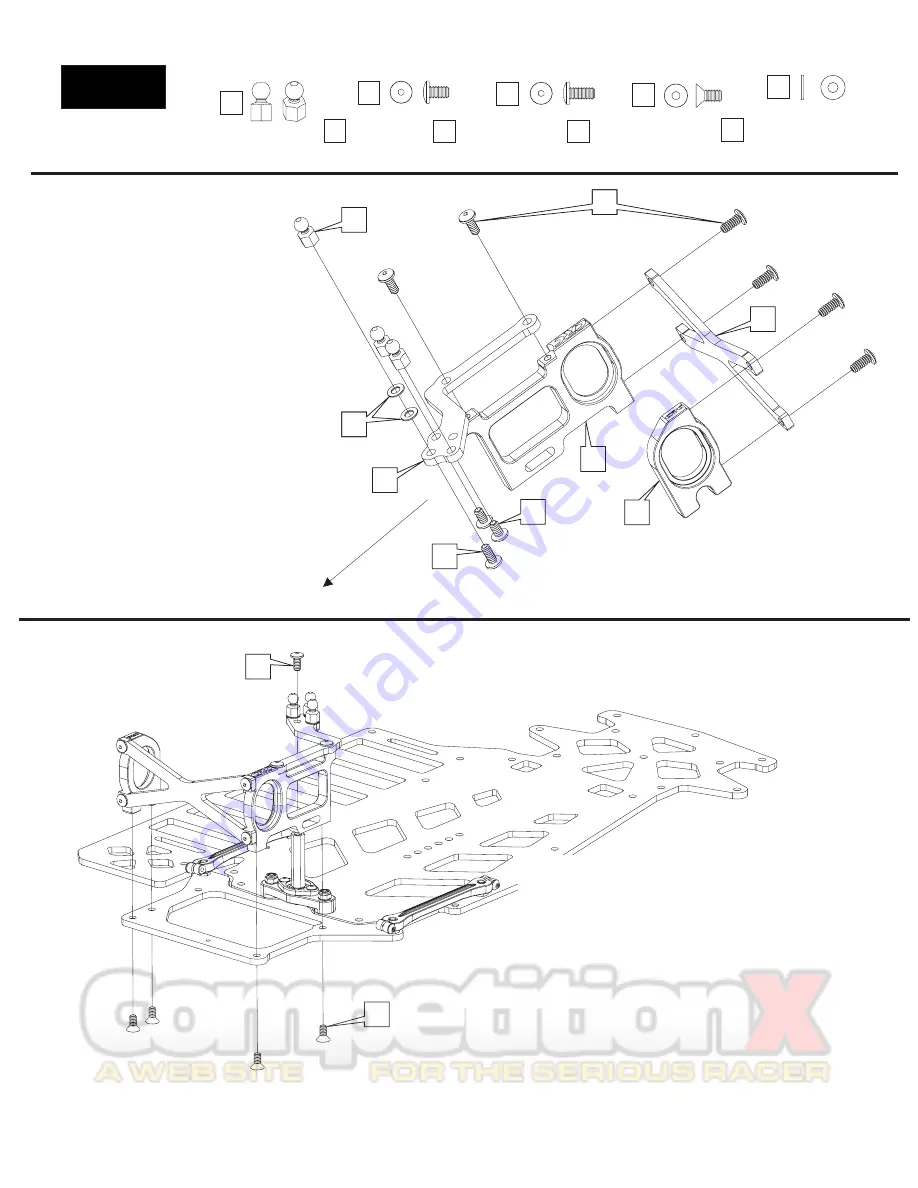
Bag 3
4-40 x 1/4”
Red Button Head
Motor Plate
Graphite
X-brace
Graphite
Top Plate
4-40 x 3/16”
Red Button Head
Front
of
car
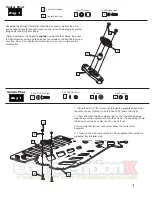
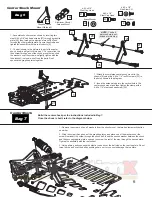
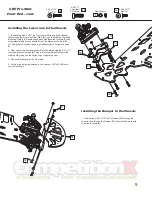
1 - Insert a 1/4” red button head screw [22]
through the bottom of the front hole on the
graphite top plate [17] so that the threads
point upward. Slide two washers [8] over the
screw and then tighten with the red female
ballstud [18].
2 - Repeat this process for the 2 outer holes
behind the front hole, except you will use the
3/16” red button head screws [16], and no
washers will be used.
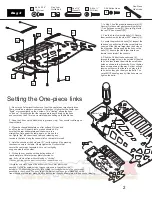
3 - Install the Graphite X-brace [19] to the
back of the two aluminum pods [20 & 21].
Use 4 1/4” red button head screws [22] to
attach the graphite piece to the aluminum.
4 - Attach the assembled top plate to the
motor plate [20] using 2 1/4” red button head
screws [22].
Rear X-Pod
3
16
17
20
16
17
19
20
22
18
19
22
22
21
Red Aluminum
Female Ballstud
18
4-40 x 1/4”
Red Alum FH
23
Micro Left Side
Pod Plate
21
Washer
8
8
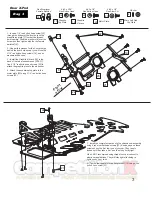
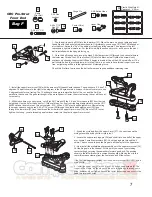
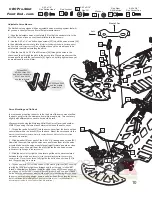
1 - Install the completed rear pod to the chassis sub-assembly
using 4 red alum flat head screws [23]. Keep an eye on these
screws during the first few runs of your car. They tend to
loosen until they take a “set” and then they’ll stay tight.
We do NOT recommend using thread lock on aluminum to
aluminum applications. They will stay tight after being re-
tightened once or twice.
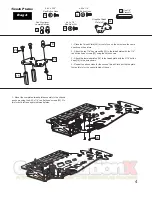
2 - Tighten the top plate to the hex standoff [15] using a red
button head screw [22].
23
22


