Bag 6A
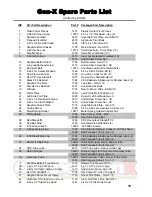
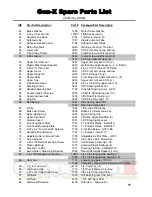
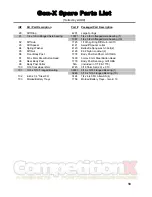
Graphite Battery
Tray Mount
Battery Top Deck
7
4-40 Thin Hex Nut
7
26
37
40
37
4-40 x 3/8”
Red FH
39
4-40 x 5/16”
Red FH
38
Spring Holder /
Captive Nut
26
Red 3/4”
Standoff
40
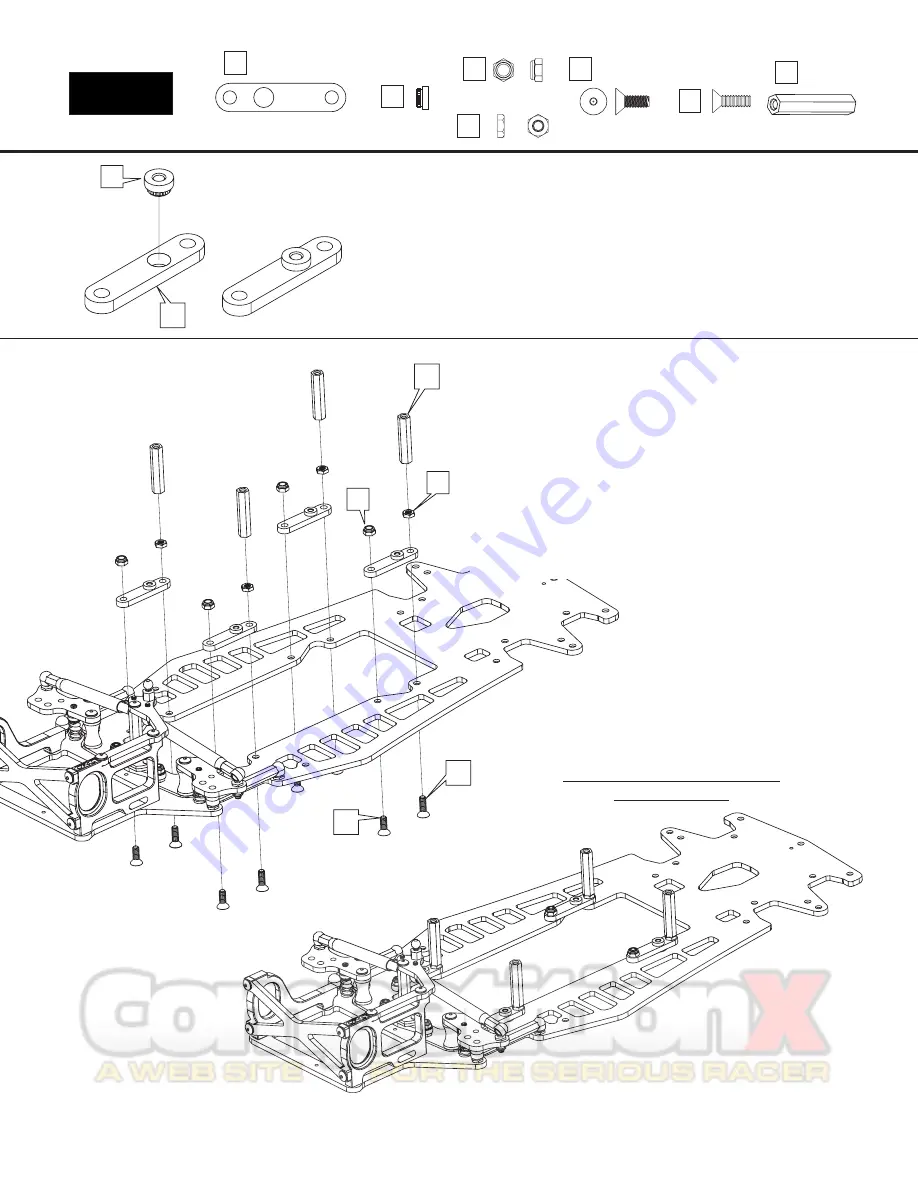
1 - Insert a captive nut [26] into a Graphite battery tray mount [37]
with the “teeth” on the nut facing the graphite. You will be able to
gently squeeze it in with a pair of pliers.
2 - Repeat this for the other 3 pieces.
Red Locknut
9
1 - Take one of the completed mounting brackets and line it up with
the holes in the chassis as shown in the diagram to the left. The
captive nut should line up with the dimple cut out of the chassis.
2 - Slide one of the shorter 5/16” red FH screws [38] through the rear
hole and tighten with a red lock nut [9].
3 - Slide one of the longer 3/8” red FH screws [39] through the front
hole and tighten with a silver thin hex nut [7]. Finish by tightening a red
3/4” hex standoff [40] on top of the thin hex nut [7].
Comlete the above steps for all 4 brackets. Your car should now look
like the diagram below.
9
7
39
38
Completed Bracket Assembly
and Installation


