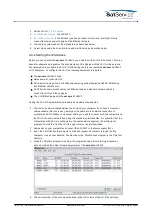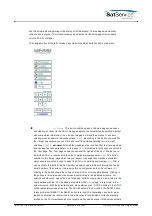
empty, the ACU is not connected properly. If there are more entries in the list, the
configuration program has found other devices in this network segment which use the same
technology.
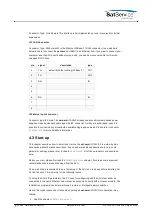
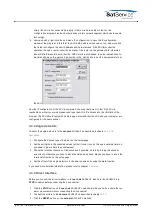
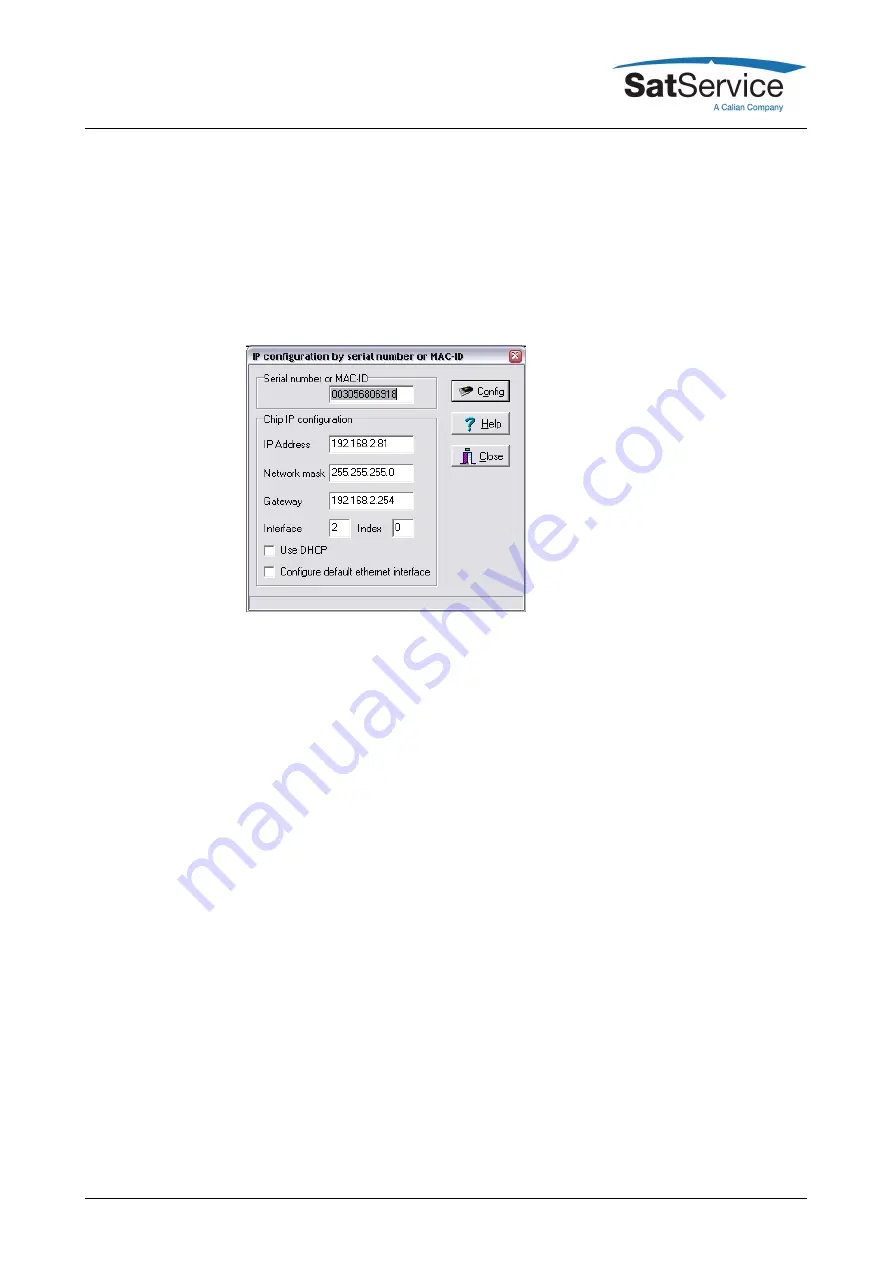
6. Now open with a right-click the sub-menu 'IP configuration' to open the IP configuration
window of the program. In this form the ACU's MAC address is shown on top, below you find
the fields to configure the new IP address and network mask. If the ACU later shall be
operated through a router, enter the address of the router on the gateway field, otherwise
leave this field blank. Be sure, that the 'DHCP' mark is unchecked, the other values have to
be set as shown on the picture. Finally click to the 'Yes' button to set the new parameters at
the ACU.
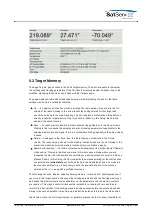
Now the IP configuration of the ACU is completed. You may finally want to test if the ACU is
reachable now. Start your web browser and type the ACU's IP address into the URL field of the
browser. The ACU should reply with it's main page, provided that the ACU and your computer are
configured for the same subnet.
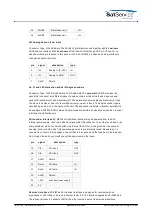
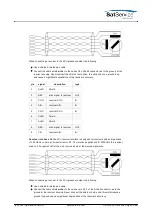
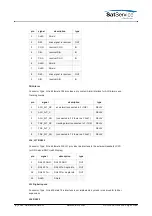
Connect the angle detectors to the sat-nms ACU19V2 as described in chapter
4.2.2 Pin
description
.
1. Configure the desired type of detector on the setup-page.
2. Set the soft-limits to the expected values (at first it is ok if you do this approximately, later on
you need to type in here the exact values).
3. Check the rotational direction of the encoders. If possible, do this by turning the encoder
axis directly, otherwise you have to move the antenna by hand. Maybe you have to invert the
rotational direction on the setup page.
4. Set the offset of the angle detectors to the desired values by using the calc function.
If you need more detailed information, please refer to chapter
5.6 Setup
.
Before you connect the driver interface to the sat-nms ACU19V2, take care the ACU19V2 is in
STOP condition before connecting the drive cabinet.
1. Click the STOP button on the sat-nms ACU19V2`s website. By this you can be shure that no
motor movement will occur connecting the drive cabinet.
2. Connect the motors to the sat-nms ACU19V2 as described in chapter
4.2.2
.
3. Click the RESET button on the sat-nms ACU19V2`s website.
(C) 2022, SatService GmbH
www.satnms.com
ACU-19V2-UM-2209 Page 16/65


