12
19
5. PRESET STATION [ 1-6 ] BUTTONS
In RADIO mode:
1) To memorize the current frequency on the current band, press and hold any one
of the six preset buttons (1-6) on the remote control or one of the six icons(P1-P6)
in the radio interface.
2) To recall the preset memory on the current band, press one of the preset buttons
[1-6] on remote control or
6. STEREO/MONO BUTTON
Press the ST button on the remote control to select the STEREO or MONO sound
mode for FM band.
7. LOC BUTTON
1) In RADIO mode, when the signals of the distant radio stations are very weak and
the receiving effect is bad during tuning, check whether there is the word LOC on
LCD. If there is the word LOC on LCD, press this button to turn off the LOC
function, then tune again for the distance radio station;
2) In RADIO mode, when the signals of the local radio stations are too strong this
2. BAND BUTTON
In RADIO mode, press the BAND button on the remote
control to select your desired radio band of FM1, FM2, FM3,
AM1 and AM2.
3. TUNE/SEEK UP/DOWN BUTTONS
In RADIO mode:
1) Press and hold the >>|/|<< button on the remote control or the icons in the
radio interface to automatically search up/down for an available station from
current frequency.
2) Briefly press the >>| / |<< button on the remote control or tap the icons in the
radio interface to manually search up or down with step by step for your desired
station from the current frequency.
4. APS BUTTON
In RADIO mode:
1)When pressing and holding the APS button on the remote control,the radio searches
from the lowest frequency and checks the signal strength level until 1 cycle search is
stations are preset to the corresponding preset number memory bank. The AS oper-
-ation is finished. And then the 6 strongest implemented in the each bank of the sel-
-ected band. When the AS operation is finished, it will scan each preset station for 5
seconds in FM or AM band from M1 as briefly pressing APS button. After finishing a
circle of scanning , it will resume broadcasting on the M1.
(It can store 3x6 stations for FM and 2x6 stations for AM in all)
2) When briefly pressing the APS button, the radio will scan each preset station for 5
seconds in FM or AM band from M1. After finishing a circle of scanning, it will resume
broadcasting on the M1.
NOTE: In FM band, FM1,FM2,FM3 is checked one at a time; In AM band, AM1, AM2 is
checked one at a time.
one of the six icons(P1-P6) in the radio interface.
4.11 Playback in Scan Mode
1. When playing VCD(PBC OFF)/CD discs , press the INT button to play
the previous 10 seconds part of each track on the disc. Press the INT button
again to resume normal playback.
2. When playing DVD/MP3/WMA sources , the INT button is not available.
4.12 Playback from a specified chapter/track
1. When playing DVD discs , press the SEARCH button to display a
interface and highlight the title item, then use the number buttons to input
the serial number of the title; use the direction buttons to highlight the chapter
item, then use the number buttons to input the serial number of the chapter,
finally press the OK button to play the selected chapter.
2. When playing VCD/CD content, press the SEARCH button to
display a interface and highlight the track item, then use the number buttons
to input the serial number of the track,
4.13 Playback in Random
When playing DVD/VCD(PBC OFF)/MP3/WMA/CD content , press the
RDM button to switch between RANDOM (ON)/RANDOM OFF. When in
RANDOM (ON) mode, it will play in random.
4.14 Playback in Different View-Angle
1. When playing VCD/MP3/WMA/CD sources , the VIEW-ANGLE button on
the IR remote controller is not available.
2. When playing DVD discs , press the VIEW-ANGLE button repeatedly
on the IR remote controller to view in different angle.(This function is only
for the DVD media with ANGLE function)
4.15 Playback in Zoom Mode
In DVD/VCD mode, during playback, press the ZOOM button continuously
to enlarge a certain area of the images on the screen with these multiples:
finally press the OK button to play the
selected chapter.
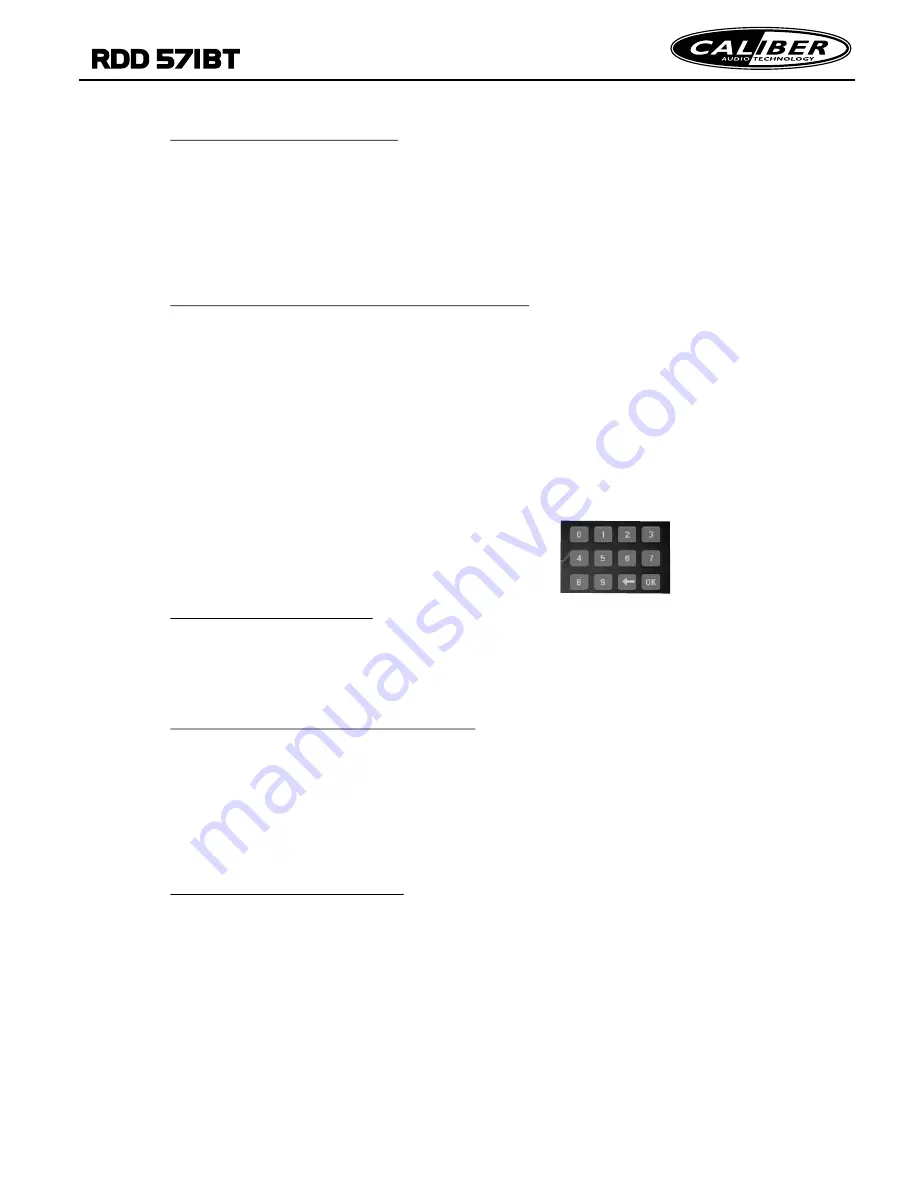
Note: After Pressing the SEARCH button,
you can also use the NUMBER KEYBOARD
in the interface to inputting numbers.
ZOOMx2,ZOOMx3,ZOOMx4,ZOOMx1/2,ZOOMx1/3,ZOOMx1/4,ZOOM OFF.
Press one of the ^/v/>/< buttons to select the area you want to enlarge.


