S320 OCS Hardware User Guide
Doc. Part No. 460167-00
May 27, 2015
Rev. B7
Page 36 of 46
ESD mats
Wrist grounding straps
Anti-ESD examination gloves
5.1.4
Installing the S320 OCS in a Rack
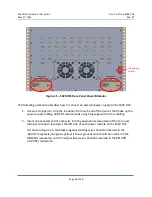
The S320 OCS is a 7-RU unit that is installed in a rack by inserting screws through the flange
holes on each side of the switch’s front panel and screwing them into the appropriate holes on
the rack uprights.
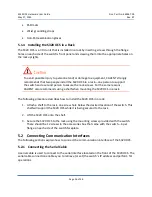
To avoid possible injury to personnel and/or damage to equipment, CALIENT
strongly
recommends
that two people install the S320 OCS in a rack—one person to support
the switch and a second person to secure the rack screws. For the same reasons,
CALIENT also recommends using a shelf when mounting the S320 OCS in a rack.
The following procedure describes how to install the S320 OCS in a rack:
1.
Attach a shelf to the rack, one screw hole below the desired location of the switch. This
shelf will support the S320 OCS while it is being secured to the rack.
2.
Lift the S320 OCS onto the shelf.
3.
Secure the S320 OCS to the rack using the mounting screws provided with the switch.
There should be 12 screws in the accessories box that came with the switch—6 per
flange on each side of the switch faceplate.
5.2
Connecting Communication Interfaces
The following sections explain how to connect the communication interfaces of the S320 OCS.
5.2.1
Connecting the Serial Cable
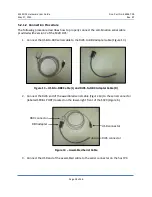
A serial cable is used to connect to the serial interface located on the front of the S320 OCS. The
serial cable connection enables you to retrieve (or set) the switch’s IP address and perform TL1
operations.


