6
OPERATION
•
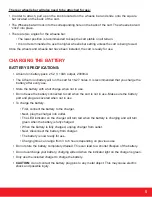
First, strap the battery down on the cart so it does not move during operation.
•
Plug a fully charged battery to the cart. The plug and port have grooves to specifically align the
battery into the cart battery port as well as a red line on the port and the plug. Align the red mark
on the plug and port to correctly install. Make sure you remove the port cover on the cart before
trying to connect the battery.
•
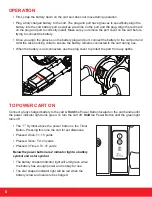
Once you align the grooves on the battery plug and port, connect the battery to the cart port and
twist the silver locking collar to ensure the battery remains connected to the cart during use.
•
When the battery is not connected, use the plug cover to protect the port from any debris.
TO POWER CART ON
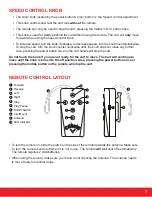
Connect a fully charged battery to the cart &
Hold
the Power Button located on the cart handle until
the power indicator light turns green. To turn the cart off,
Hold
the Power Button until the green light
turns off.
•
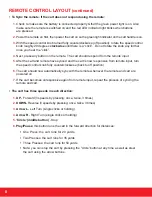
The “T” Symbol above the power button is the Timer
Button. Pressing this runs the cart for set distances:
•
Pressed Once: T1: 15 yards
•
Pressed Twice: T2: 23 yards
•
Pressed 3 Times: T3: 37 yards
Below the power button are 2 indicator lights: a battery
symbol and a star symbol.
•
The battery shaped Indicator light will emit green when
the battery has enough power and is okay for use.
•
The star shaped indicator light will be red when the
battery is low and needs to be charged.


